Struggling with Drawing? Try this Easy Approach
Jun 09, 2025Do you struggle with how much or how little to outline your scene before you start painting?
Do you avoid certain subjects because the drawing feels intimidating?
Today I'm going to give you some tried and true tips that will simplify the drawing process for you.
Drawing Made Easy - Try These Strategies
The more I draw, the more I realize success is not determined by pure talent, but by my ability to slow down and compare my drawing to my reference. In the beginning, there were definitely scenes that intimidated me because of the complicated drawing they required, but little by little I have pushed myself into more difficult subjects, and learned a thing or two about drawing for watercolor.
Keep reading (or watch the video above) for some tips that will help you as you take on various subjects.
What Supplies Do I Need For My Drawing?
When I draw, I use a simple 2B mechanical pencil and a kneaded eraser.
2B mechanical pencils are great because they have a fine point lead and they don't smear much when I wet the front of my paper. The kneaded eraser is really helpful too, as you can form it into the shape you need to erase more precisely.
5 Tips for Your Drawings
Okay, let's get to the drawing tips!
1. Draw the Horizon Line/Eye Line.
The first decision you'll make about your scene is where you want to place the horizon line.
Here's an example of a painting where I placed the horizon line (or eye line) on the top third of the painting.
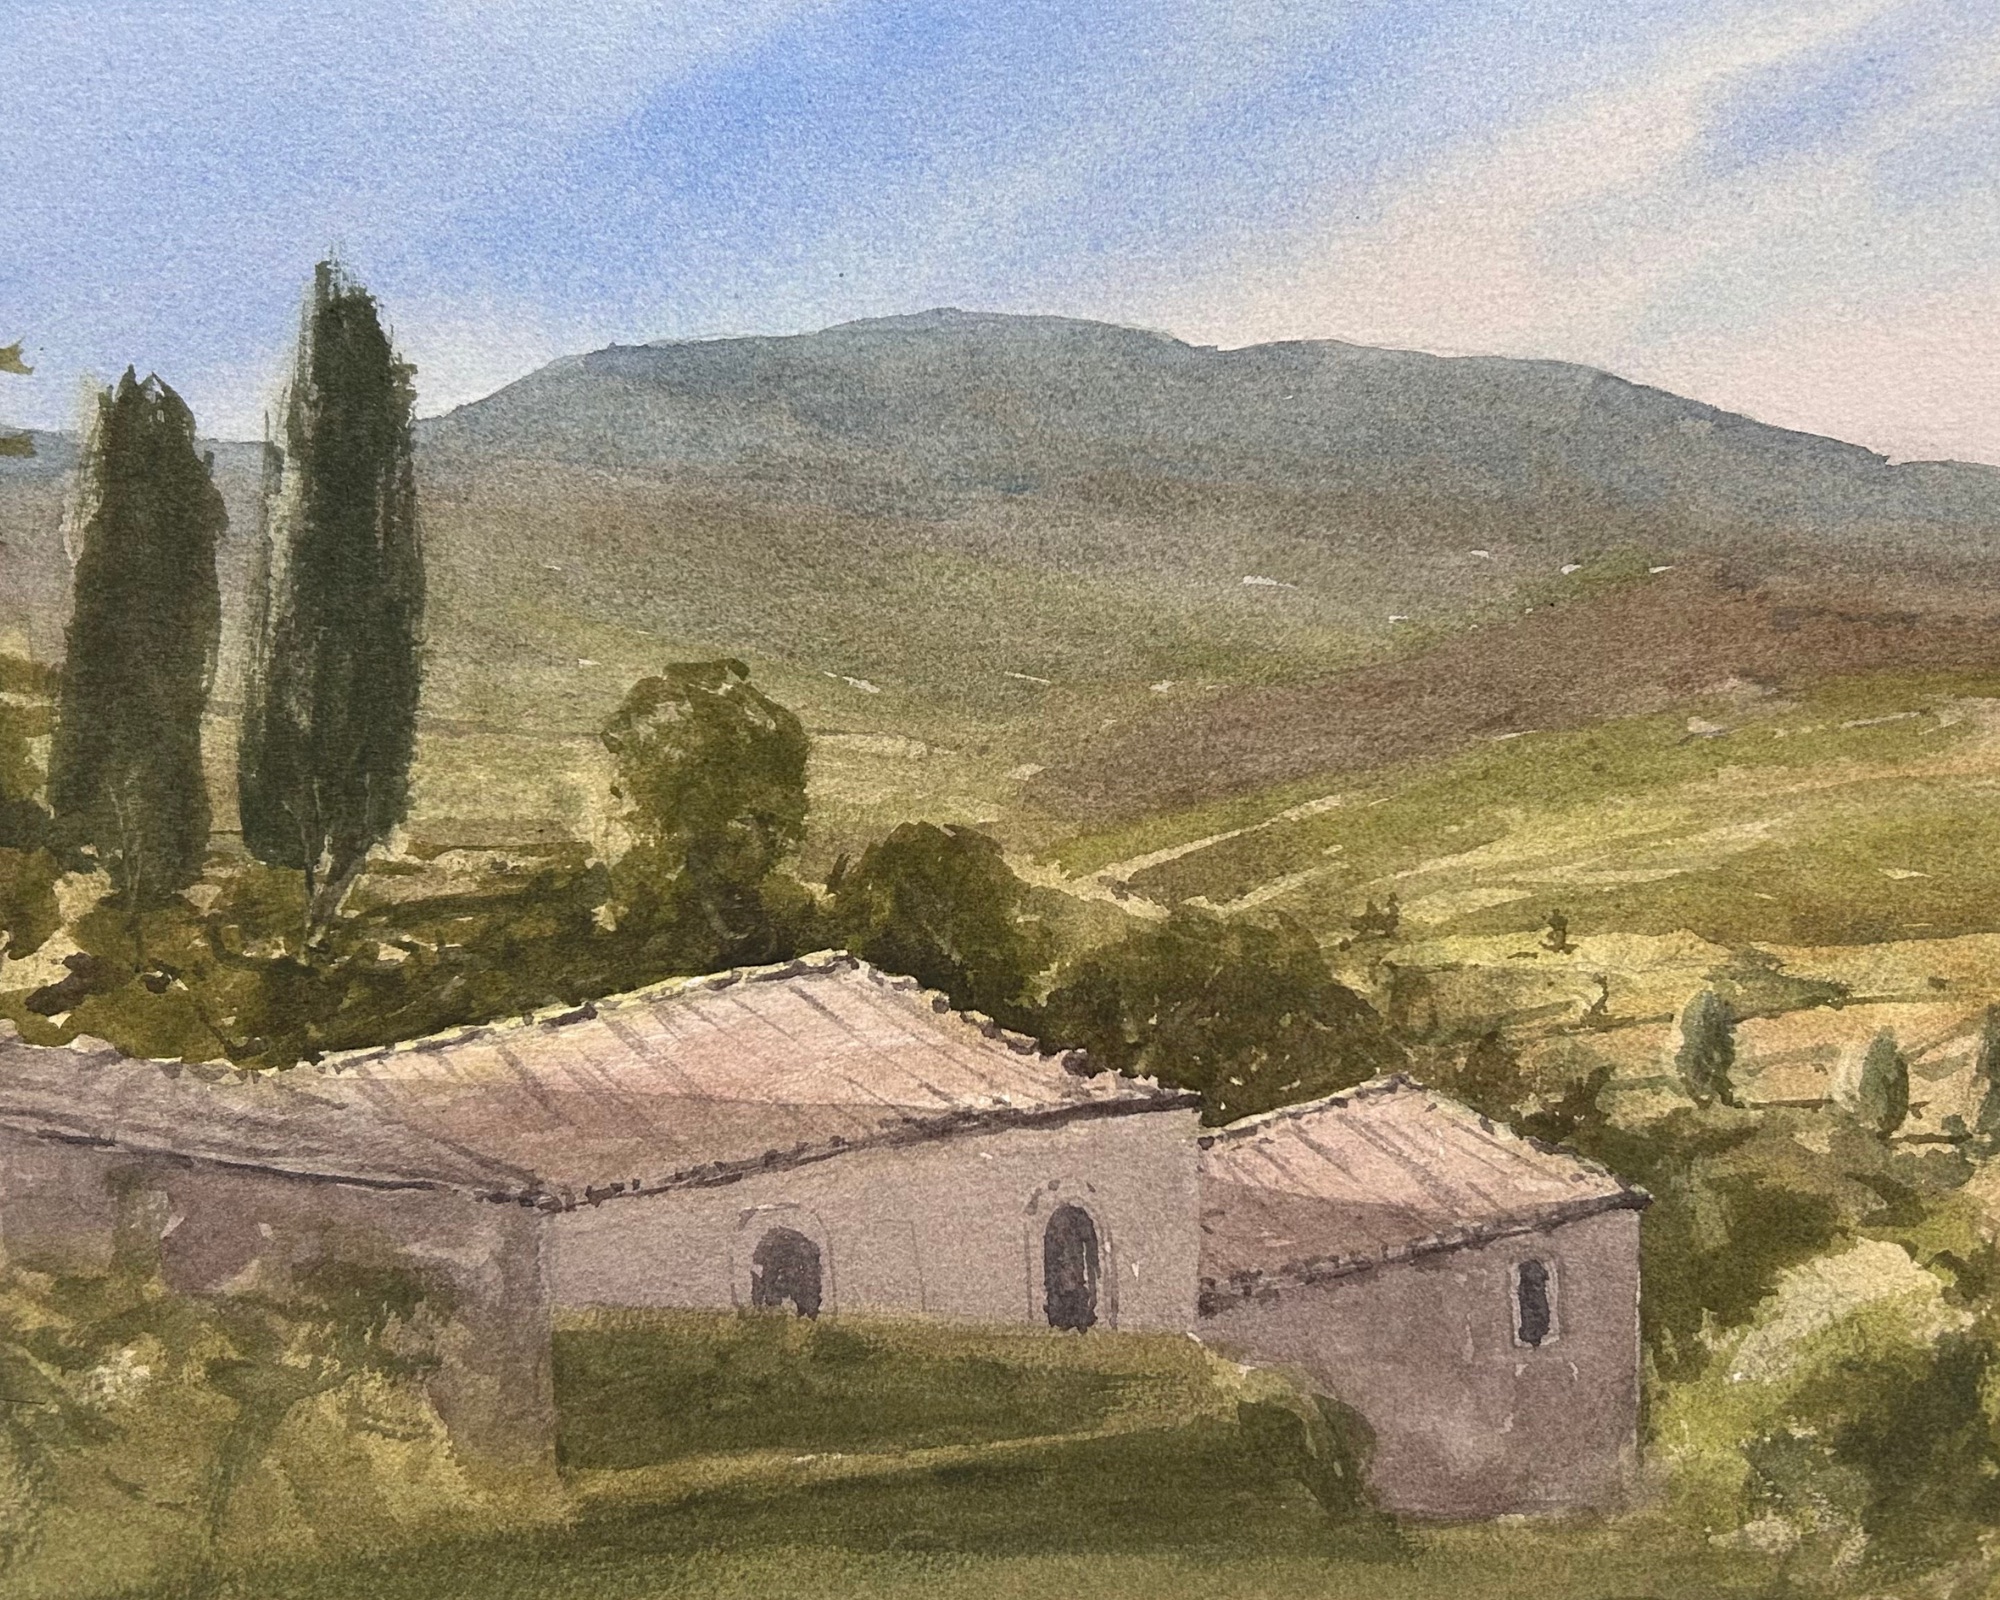
Here's an example of a painting where I placed the horizon line (or eye line) on the bottom third of the painting.
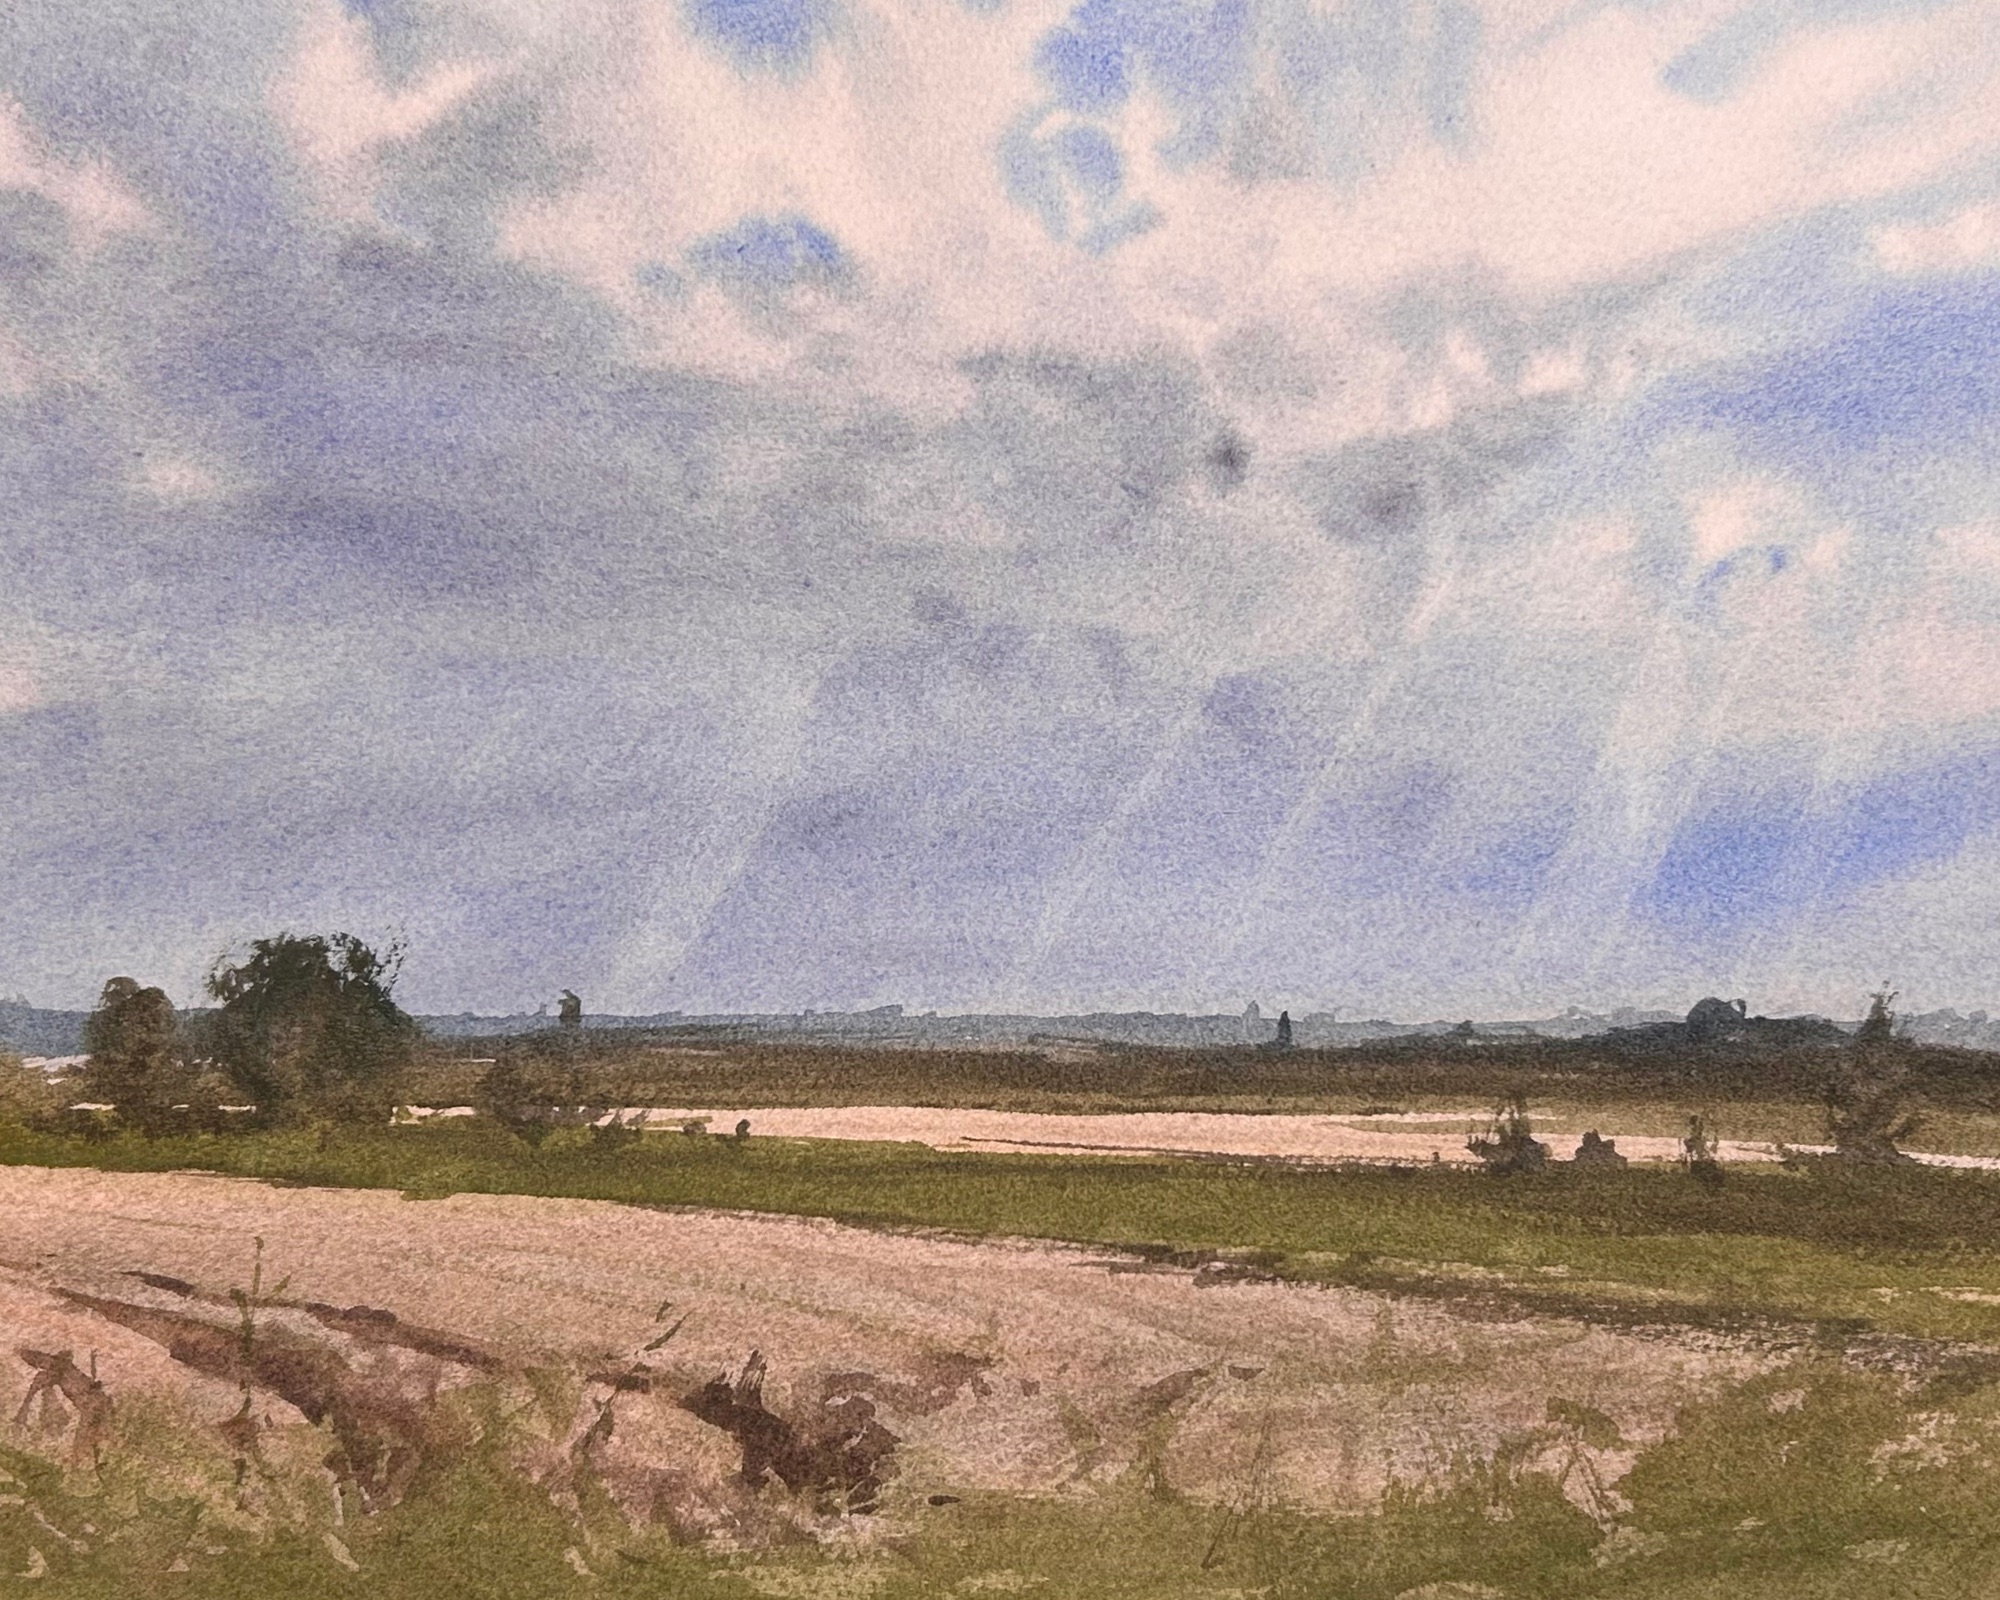
What you don't want to do is place the horizon line smack dab in the middle of your paper.
Many times this decision is made for you depending on the reference photo you're using, but you can also crop a photo to fit the scene that you want to paint. Feel free to make creative decisions like this to suit your artistic vision.
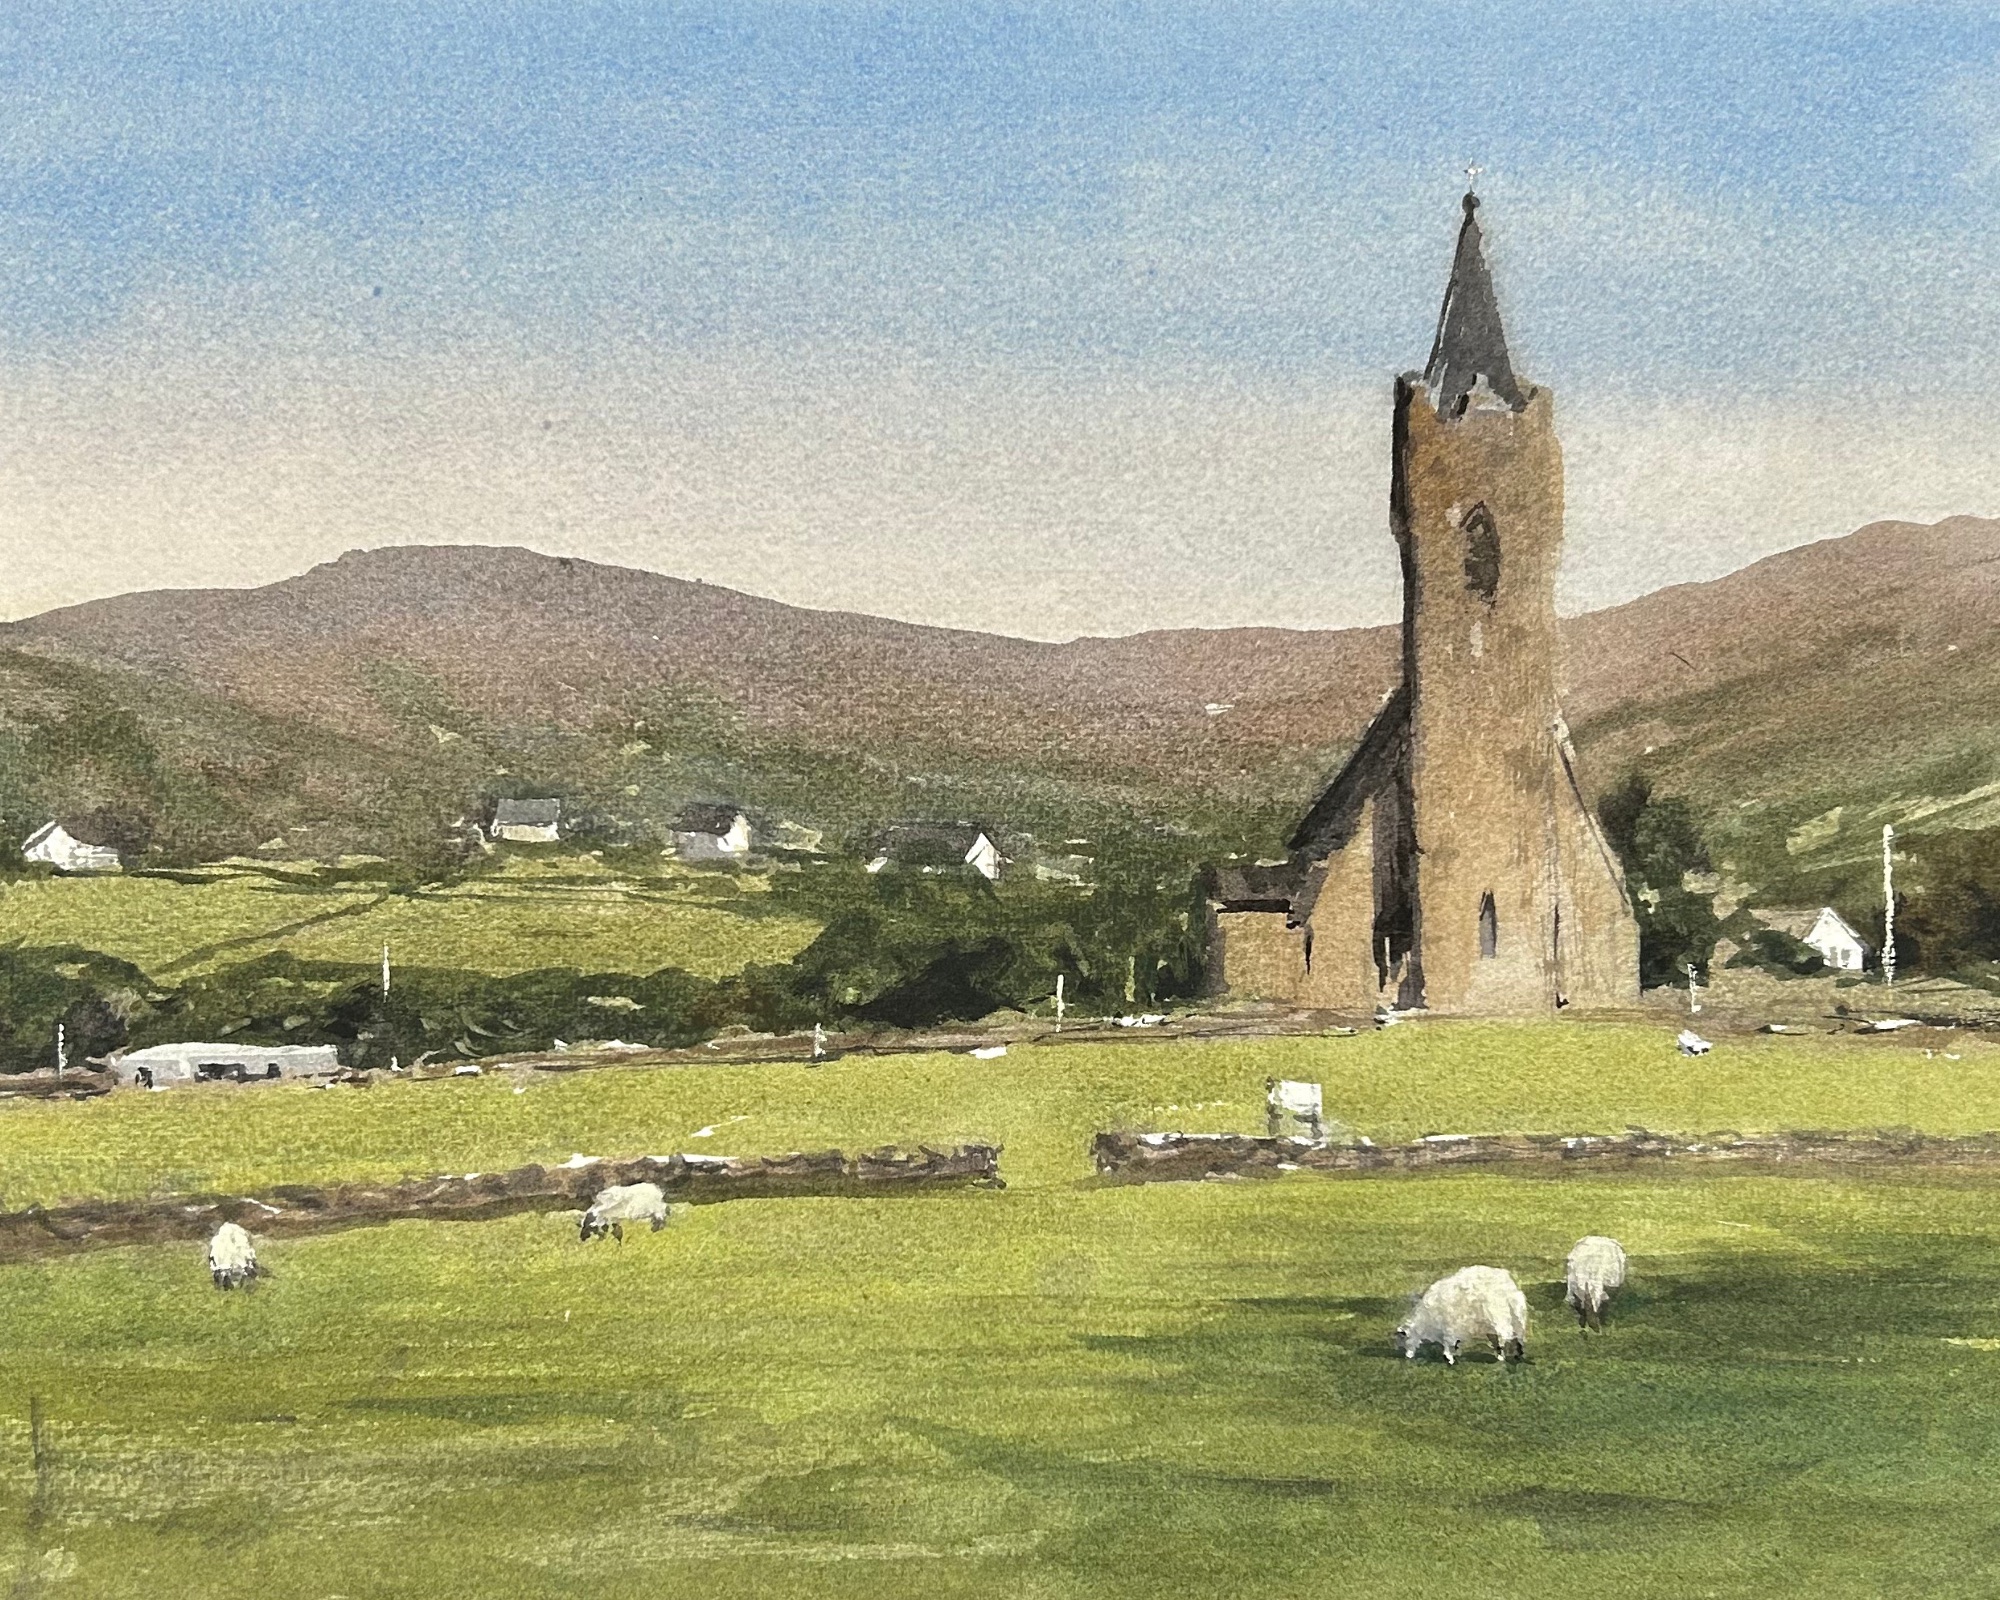
2. Start at the Focal Point of Your Painting.
My starting point for a drawing is typically at the focal point of the scene. In this particular painting, the main point of interest is where the car, buildings, and shadow intersect. So I started with the car and built out everything else from there.
It can be tempting sometimes to skip around the scene and develop different parts of the drawing, but I find that it is easier to keep everything proportional and in the right perspective if I have a main part of the drawing worked out (not completely finished, just outlined). Then I work out from that point and continuously compare my drawing with the reference photo and check proportions with what I already have drawn.
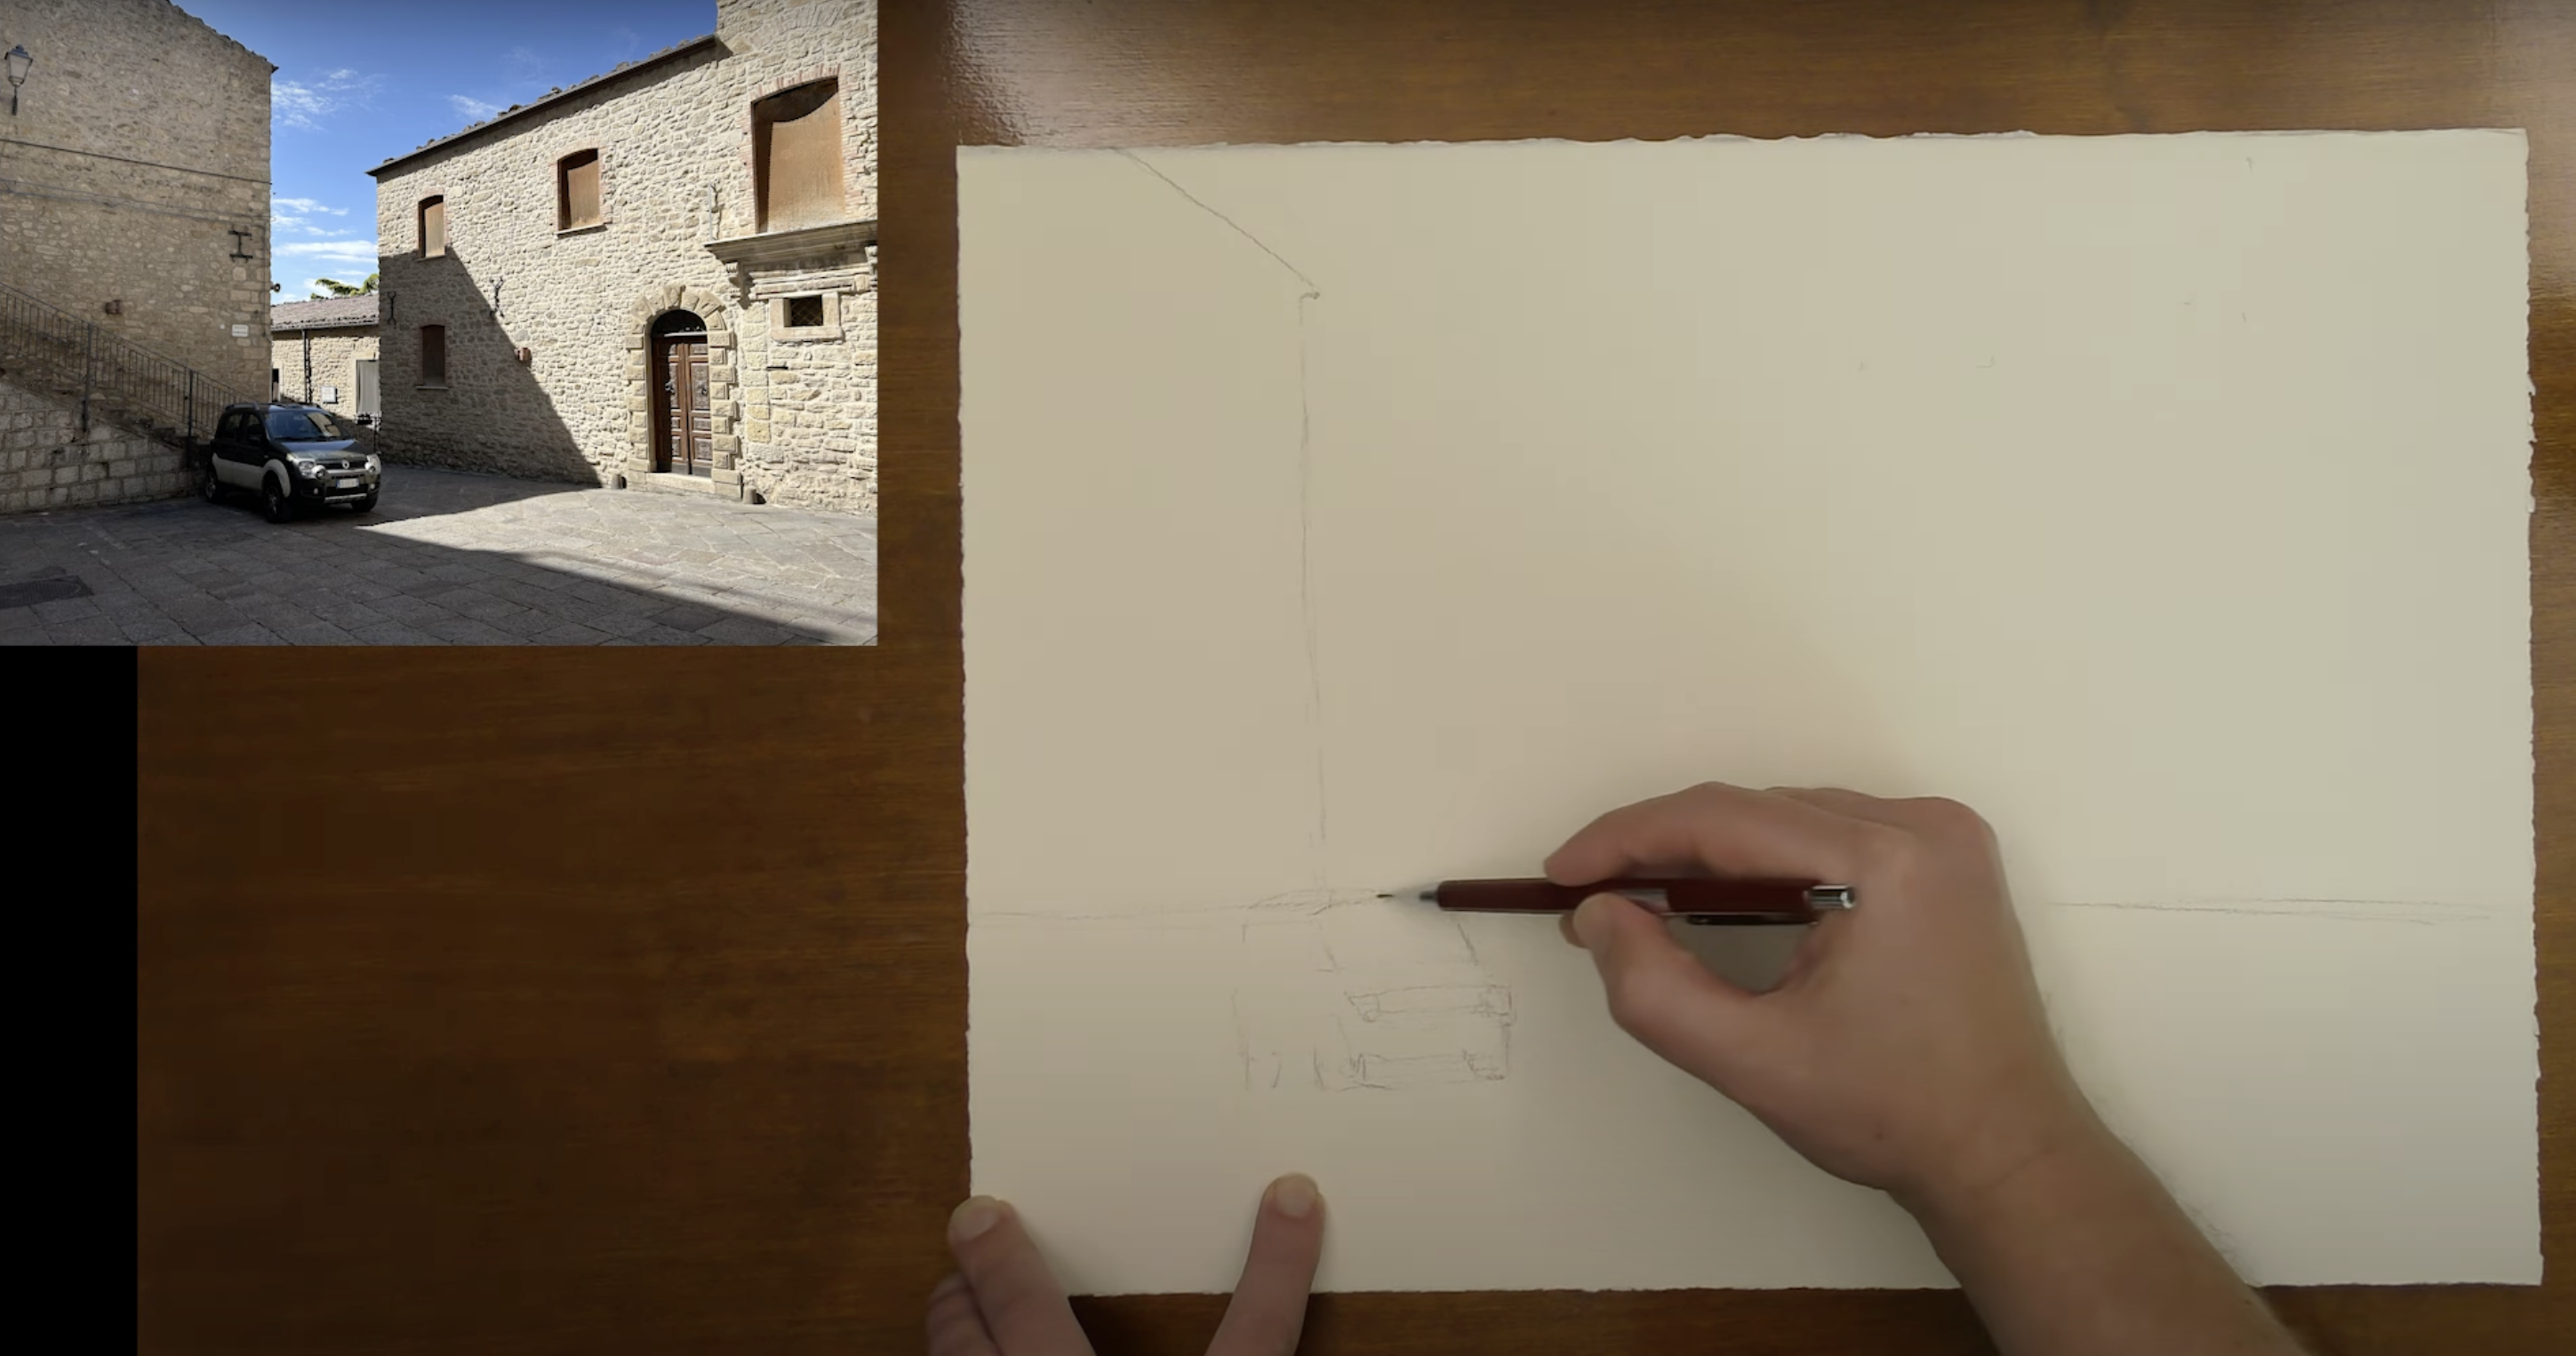
3. Draw a Light Impression of Your Scene.
Your first objective is to outline the scene with a light touch. Make lines that are easy to erase and don't obsess over lots of details here.
Just get the outline of the scene worked out.

4. Darken and Reinforce Lines.
After you have the bare minimum outline, go through and darken some of those lines.
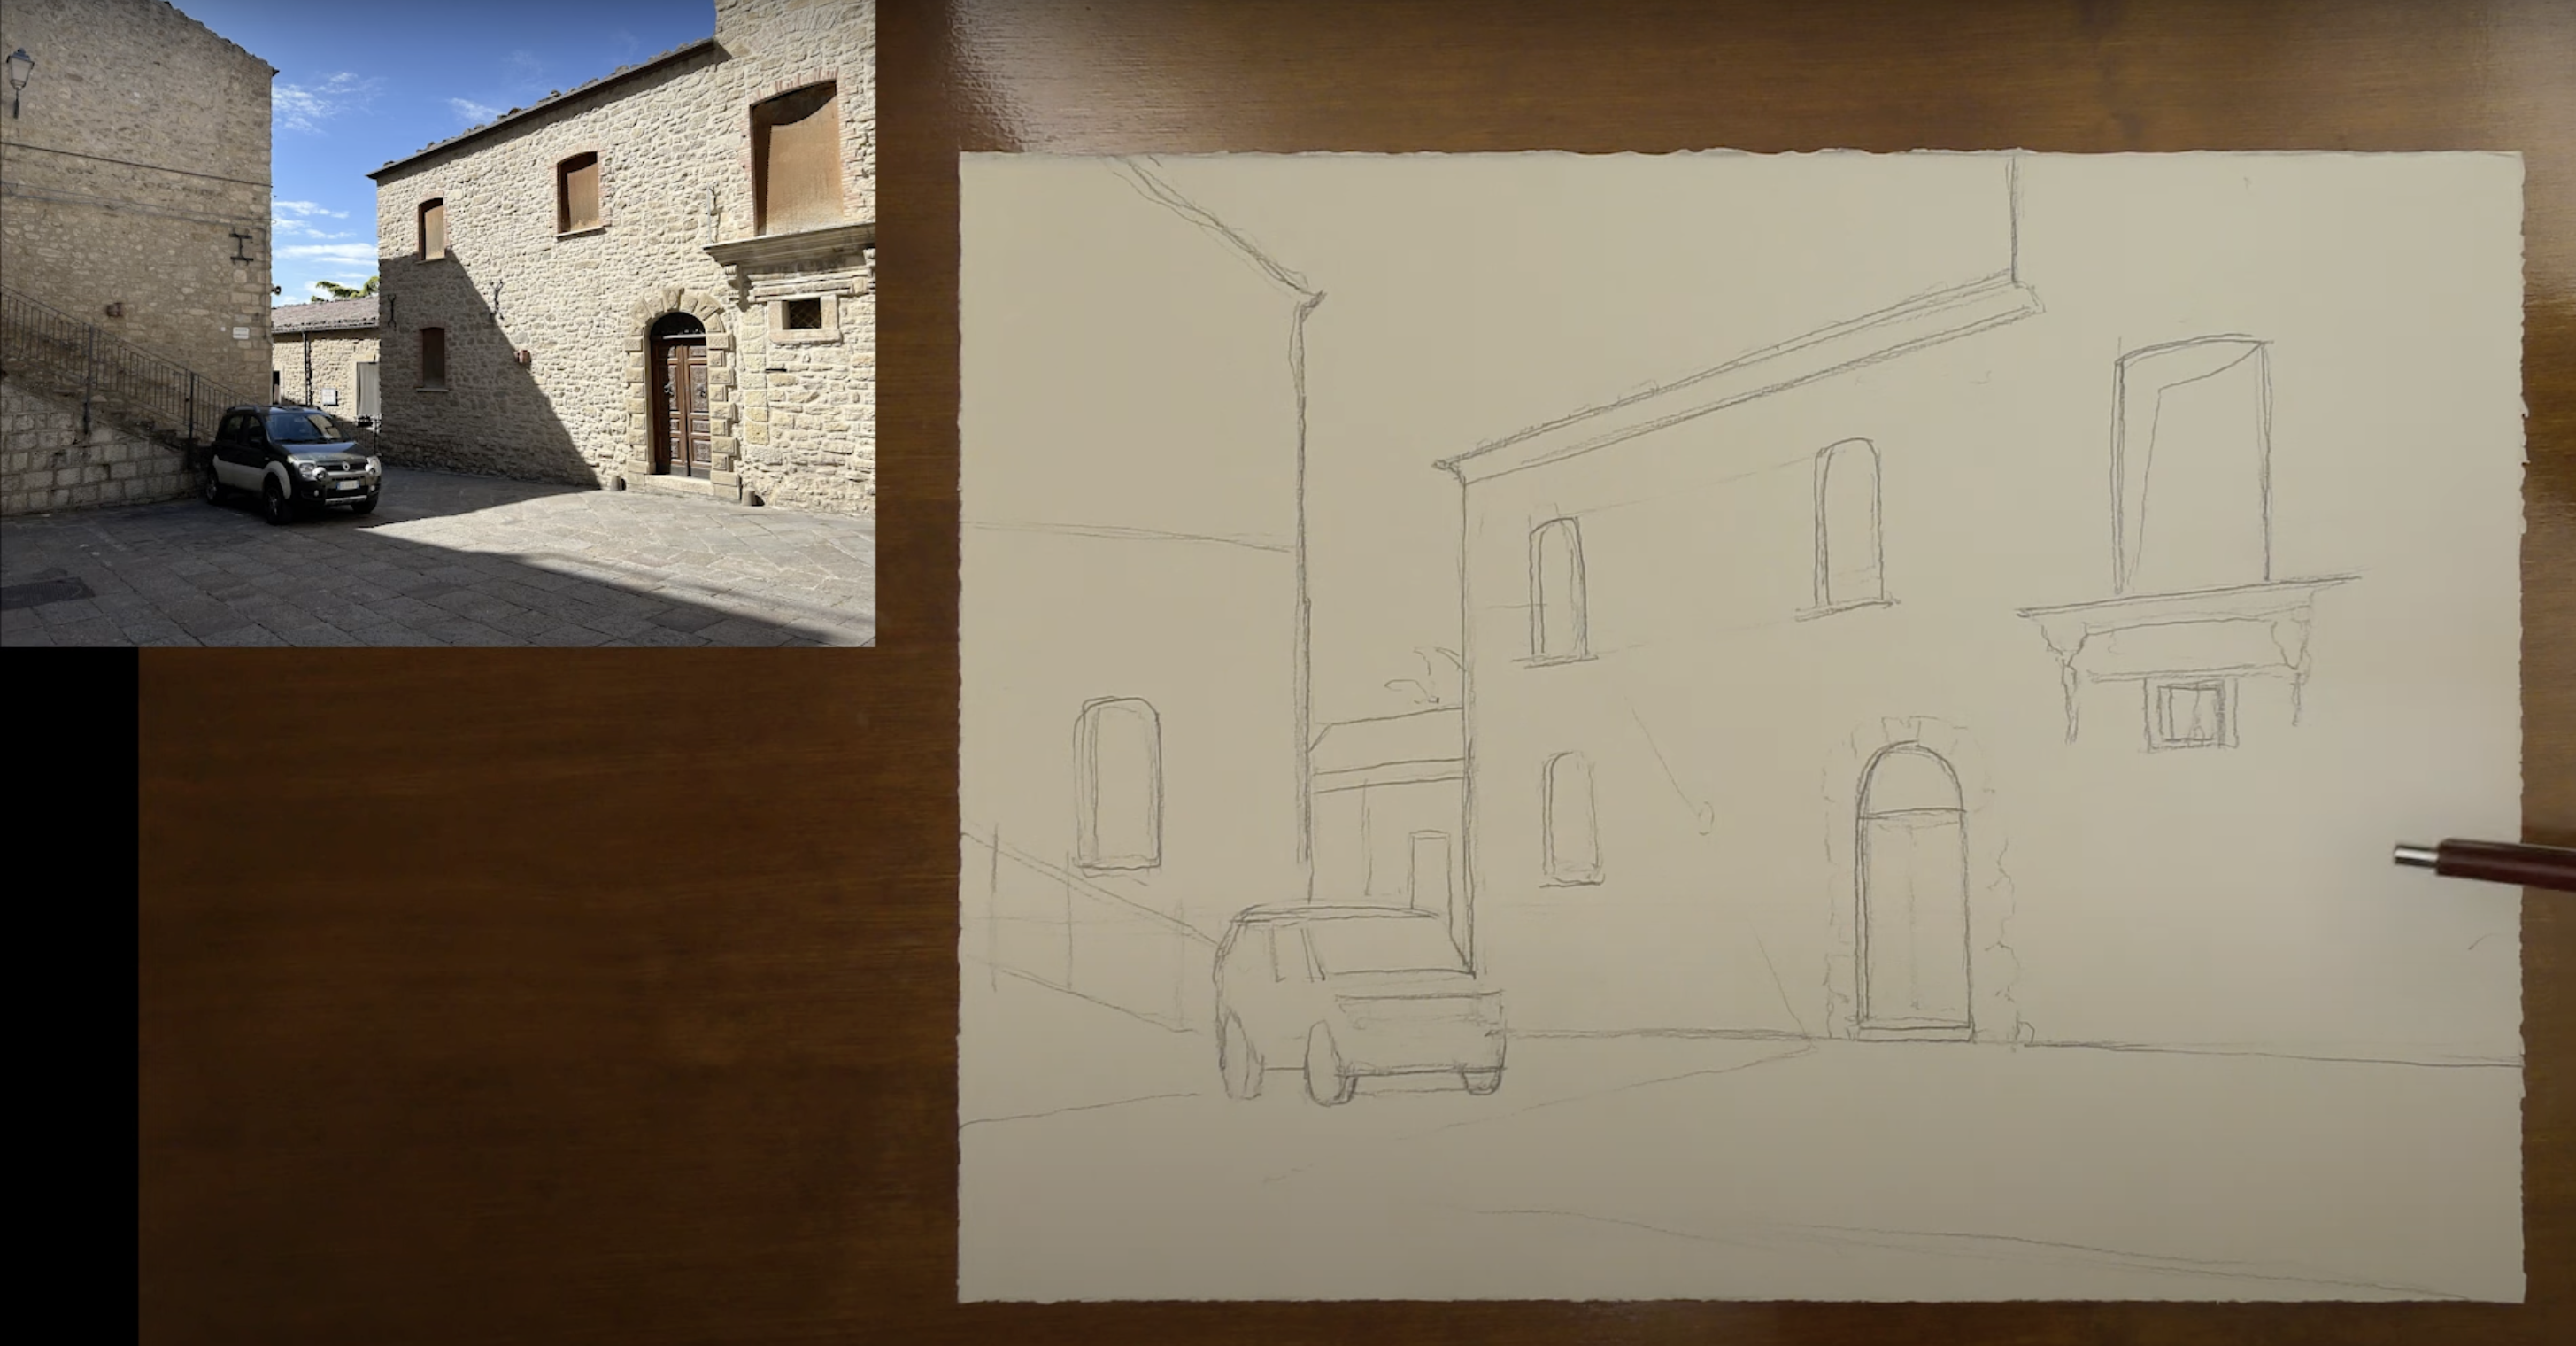
Make sure your lines are dark enough that they'll serve as a guide through the first and second wash. You're going to want to see your drawing as you're painting, so don't be shy about darkening your lines.
5. Don't Add Every Detail.
Notice the difference between the details of this final drawing and this final painting.

A drawing for watercolor should give you all the information you need to guide you during the painting process, but don't overdo it with details. Remember that many of the details will come later and will depend on your brushstrokes, color choices, and values.
Next Week's Video
Next week I'm going to show you step by step how I paint a landscape scene inspired by my recent trip to Sicily. I'm going to talk through my entire process from start to finish, so be sure and hit that subscribe button on YouTube if you haven't already done that. I come out with a new video every Monday.
Related Blog Posts
How to Improve Composition in Watercolor
