How to Elevate Your Watercolor Skies
Mar 02, 2026For landscape painters, creating compelling skies is an invaluable skill. I'm the first to admit that mastering this skill takes some work. But let me give you a leg up!
Keep reading for the 3 most essential tips to improving your watercolor skies.
3 Keys to More Compelling Skies in Watercolor
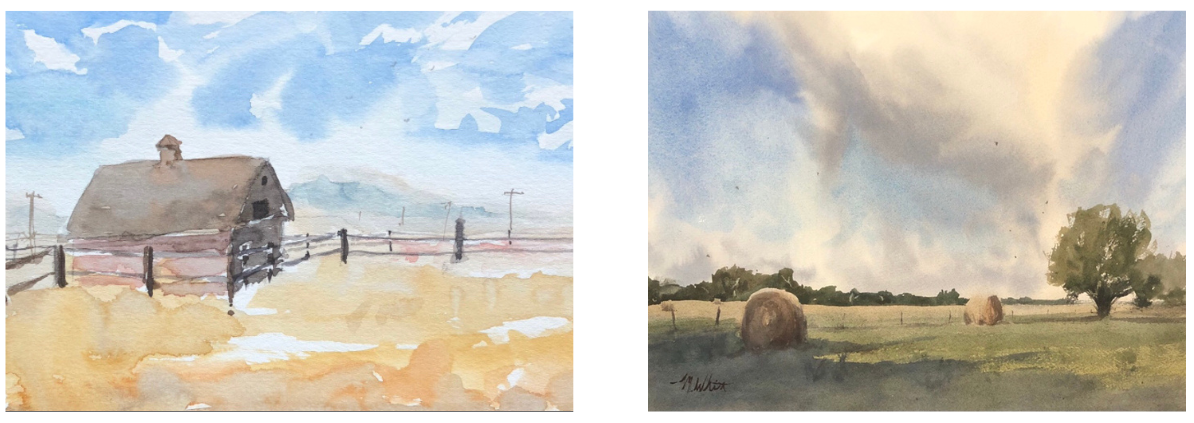
1. Paint Your Skies Wet into Wet.
When I paint a sky, my first step is always to wet down my paper on both the front and back. This technique is how I optimize the time I have to paint wet into wet. I know this makes some people nervous because it prevents them from taping their paper down. So, if you'd rather, just wet down the front and tape your paper as usual.
Wet into wet painting takes full advantage of one of watercolor's best attributes. The way that colors mix on the page, creating beautiful soft edges, is unique to our medium, and offfers such a gorgeous allure to our landscapes.
In your skies, you'll want mostly soft edges, and wet into wet painting will support this end goal. The reason you don't want a lot of hard edges in your sky is because it's a background to the larger painting, and it's best if you allow it to recede. This way, it won't compete with the elements of your painting in the middle and fore ground.
To observe my method of laying in values, watch the video above. This is a lesson best demonstrated than explained.
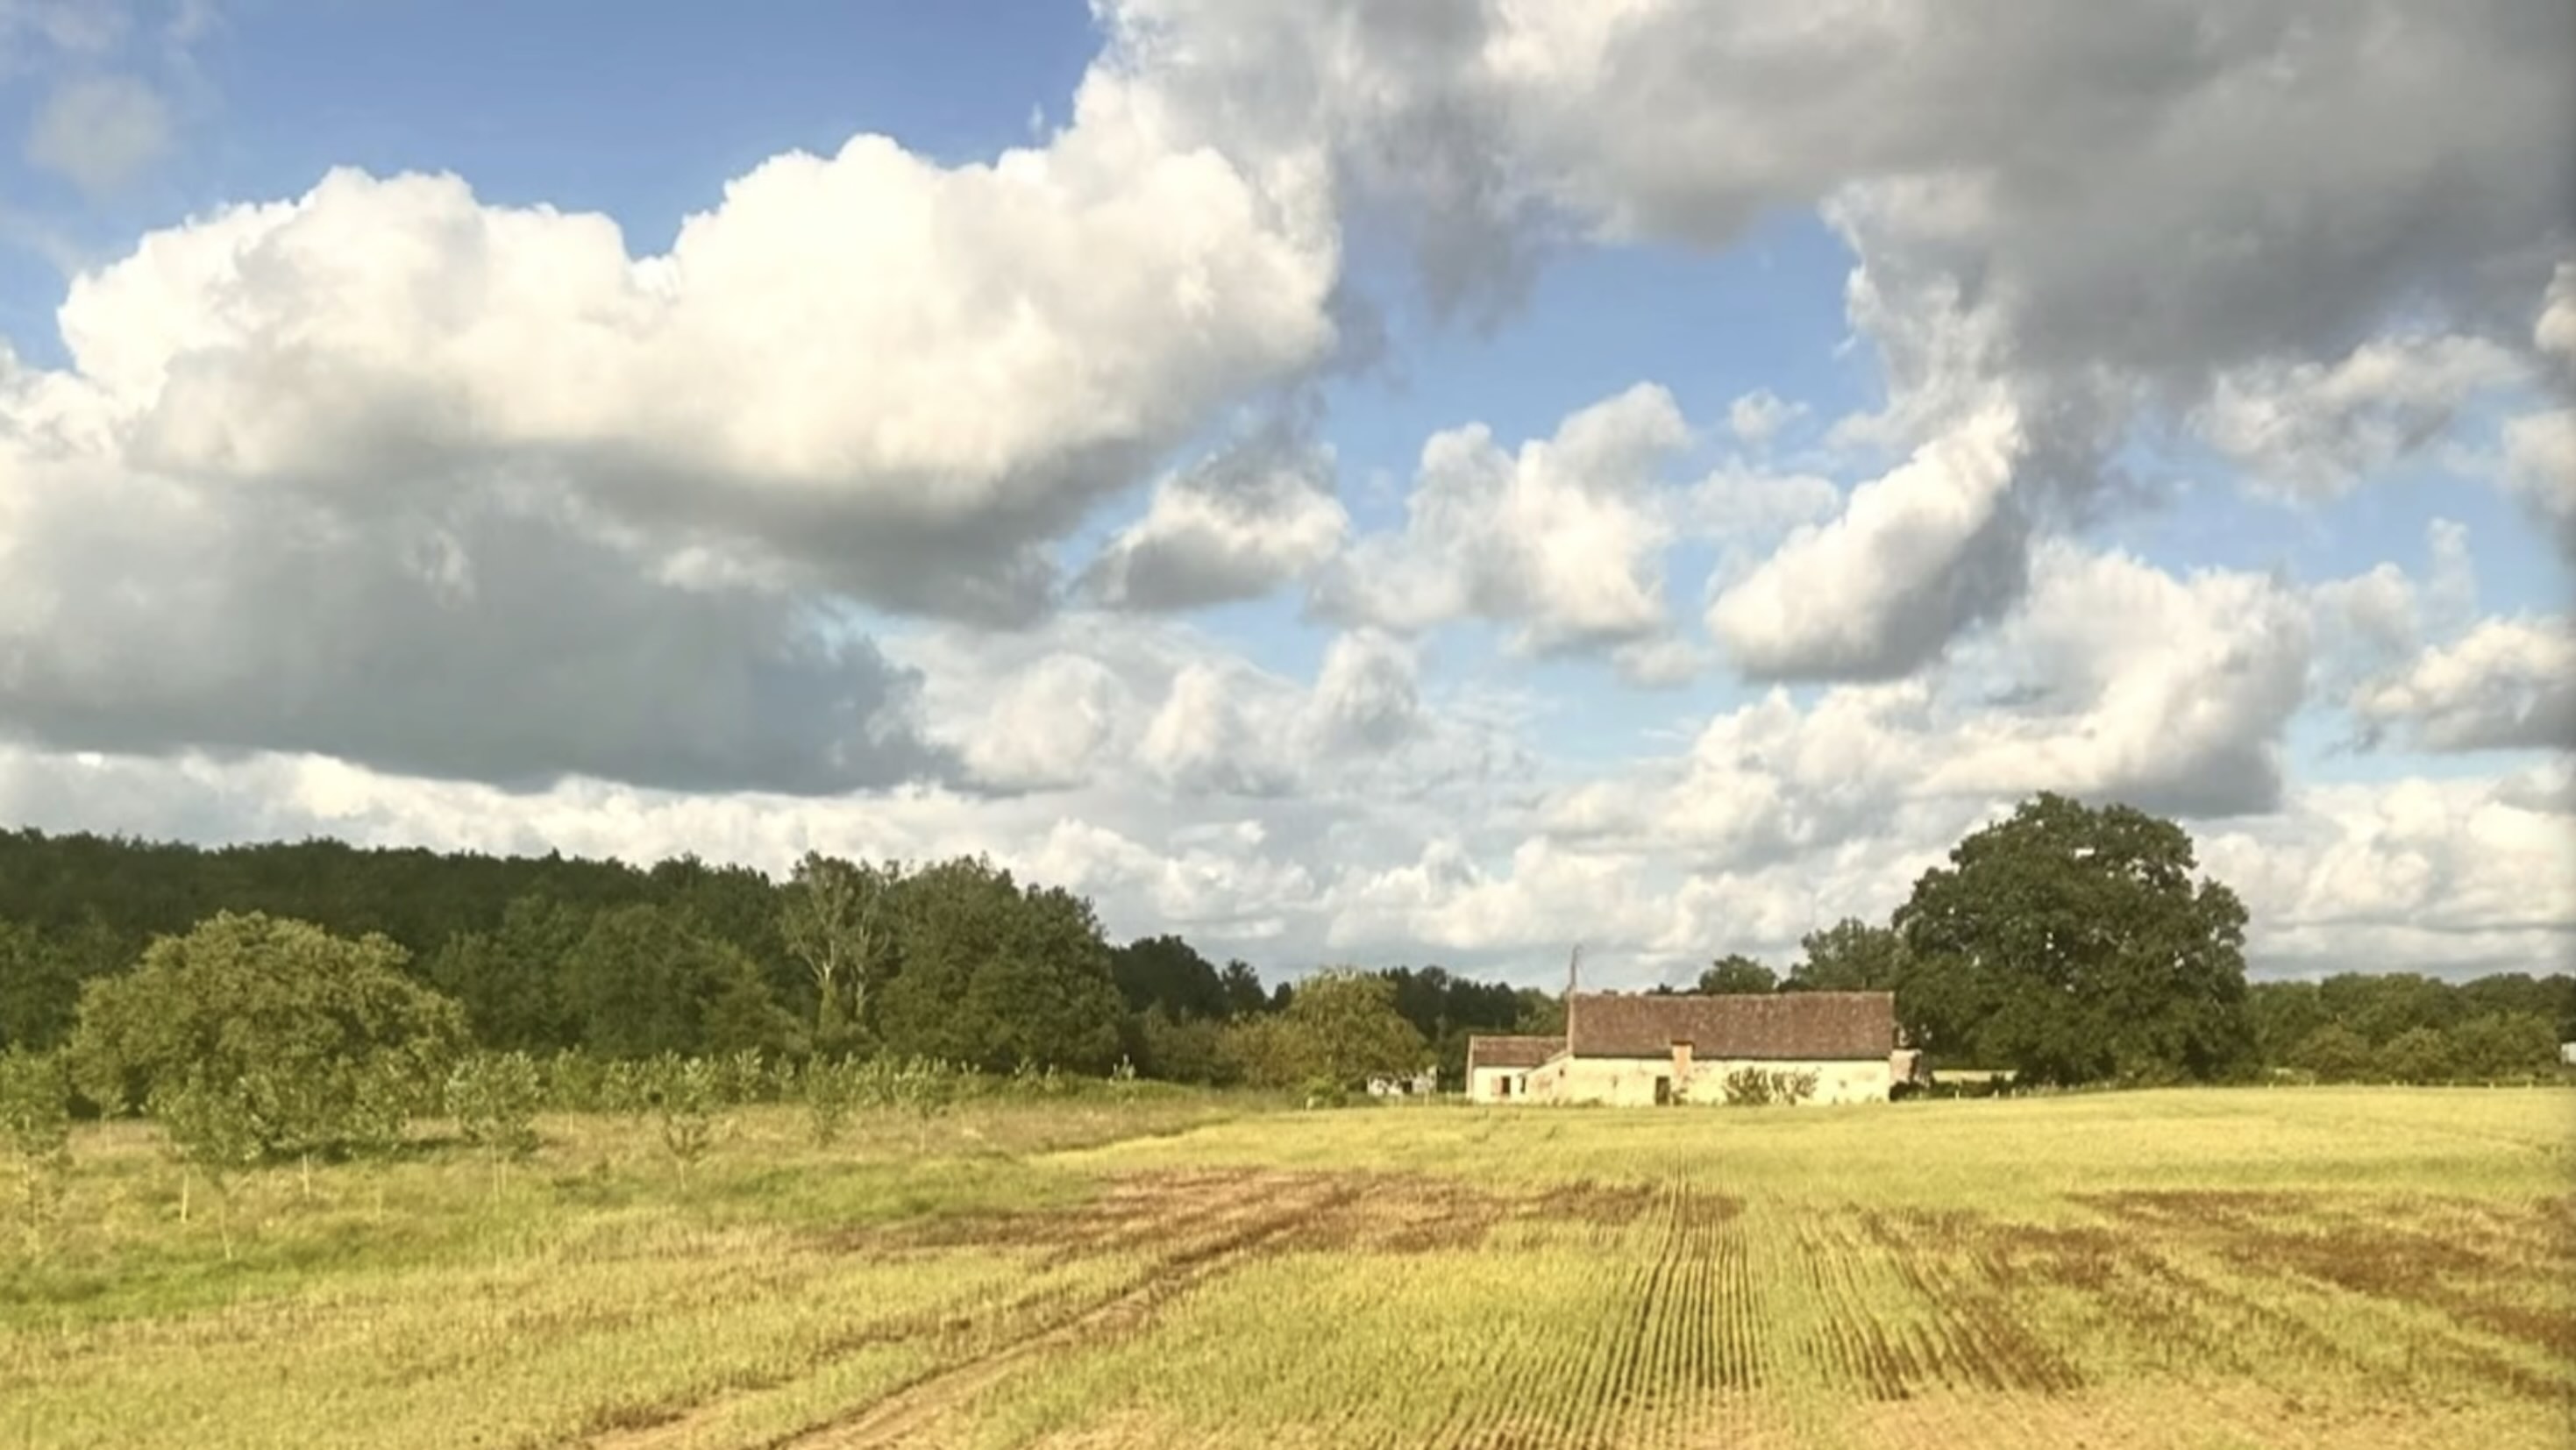
2. Avoid Following Your Reference Too Closely.
Using my reference photo (below), it could be easy to let the sky dominate the painting. It's gorgeous, and in many ways, it steals the show. But you have to be careful not to let the detail take over in a way that messes with the proportions and renders the rest of the landscape irrelevant.
One tip I often give is to squint at your reference. This can help you see the shapes and patterns of the clouds clearly, which will help you to make an impression of the sky instead of a perfectly articulated copy of your reference.
Now just because most of your sky is composed of soft edges, that doesn't mean you can't create intentionally placed hard edges in the sky.
But how do you do that when you're paper is wet? Go to minute 4:50 in my video to watch how I create a hard edge in the clouds with in the upper left third of my composition. It's not a difficult technique, but I want you to see how it works.
3. Practice Skies Apart From Your Complete Paintings.
My final tip for painting skies is to practice this skill apart from the Herculean task of painting an entire scene.
Separate this skill from the rest and focus some practice sessions on painting skies. I used to do this a lot when I was first learning. I just took 20 minutes and focused in on this particular skillset.
You'll be surprised how much these practice sessions will pay off when you're confronted later with a scene with a complicated sky.
Improve Your Watercolor Skies Today
I hope these three tips give you some inspiration to devote time to improving your skies. Skies are some of the most dynamic subjects - think about how varied they can be depending on time of day, weather, and season. There's no end to how many you can paint, and if you're a landscape artist, all this work will pay off.
Related Blogs
One Of The Most Effective Watercolor Practices - Painting Clouds
Watercolor Sky Techniques For Better Results
Painting Watercolor Skies with Confidence
