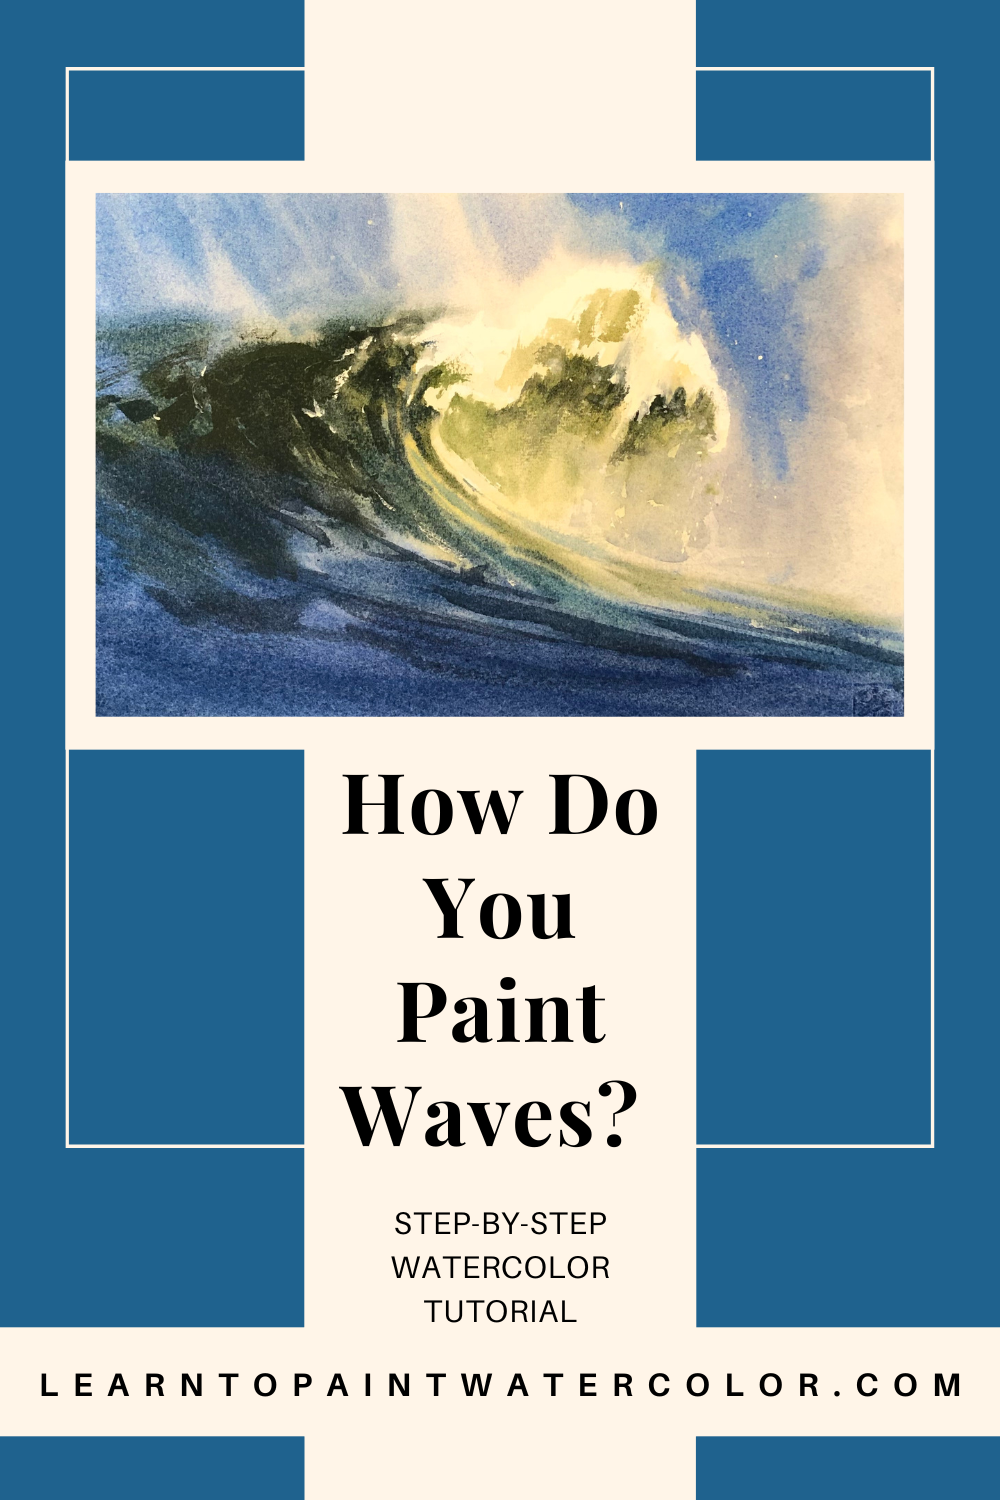
Easy Watercolor Tutorial: Paint Powerful Waves
Sep 11, 2023There's something mesmerizing about the movement in waves - an unfathomable, otherworldly power.
And it is a watercolor subject that is really fun to paint. Let me show you how!
How to Paint Waves in Watercolor
Enjoy this post? Like this Pin!
Paint Along with Me: Steps to Paint a Crashing Wave
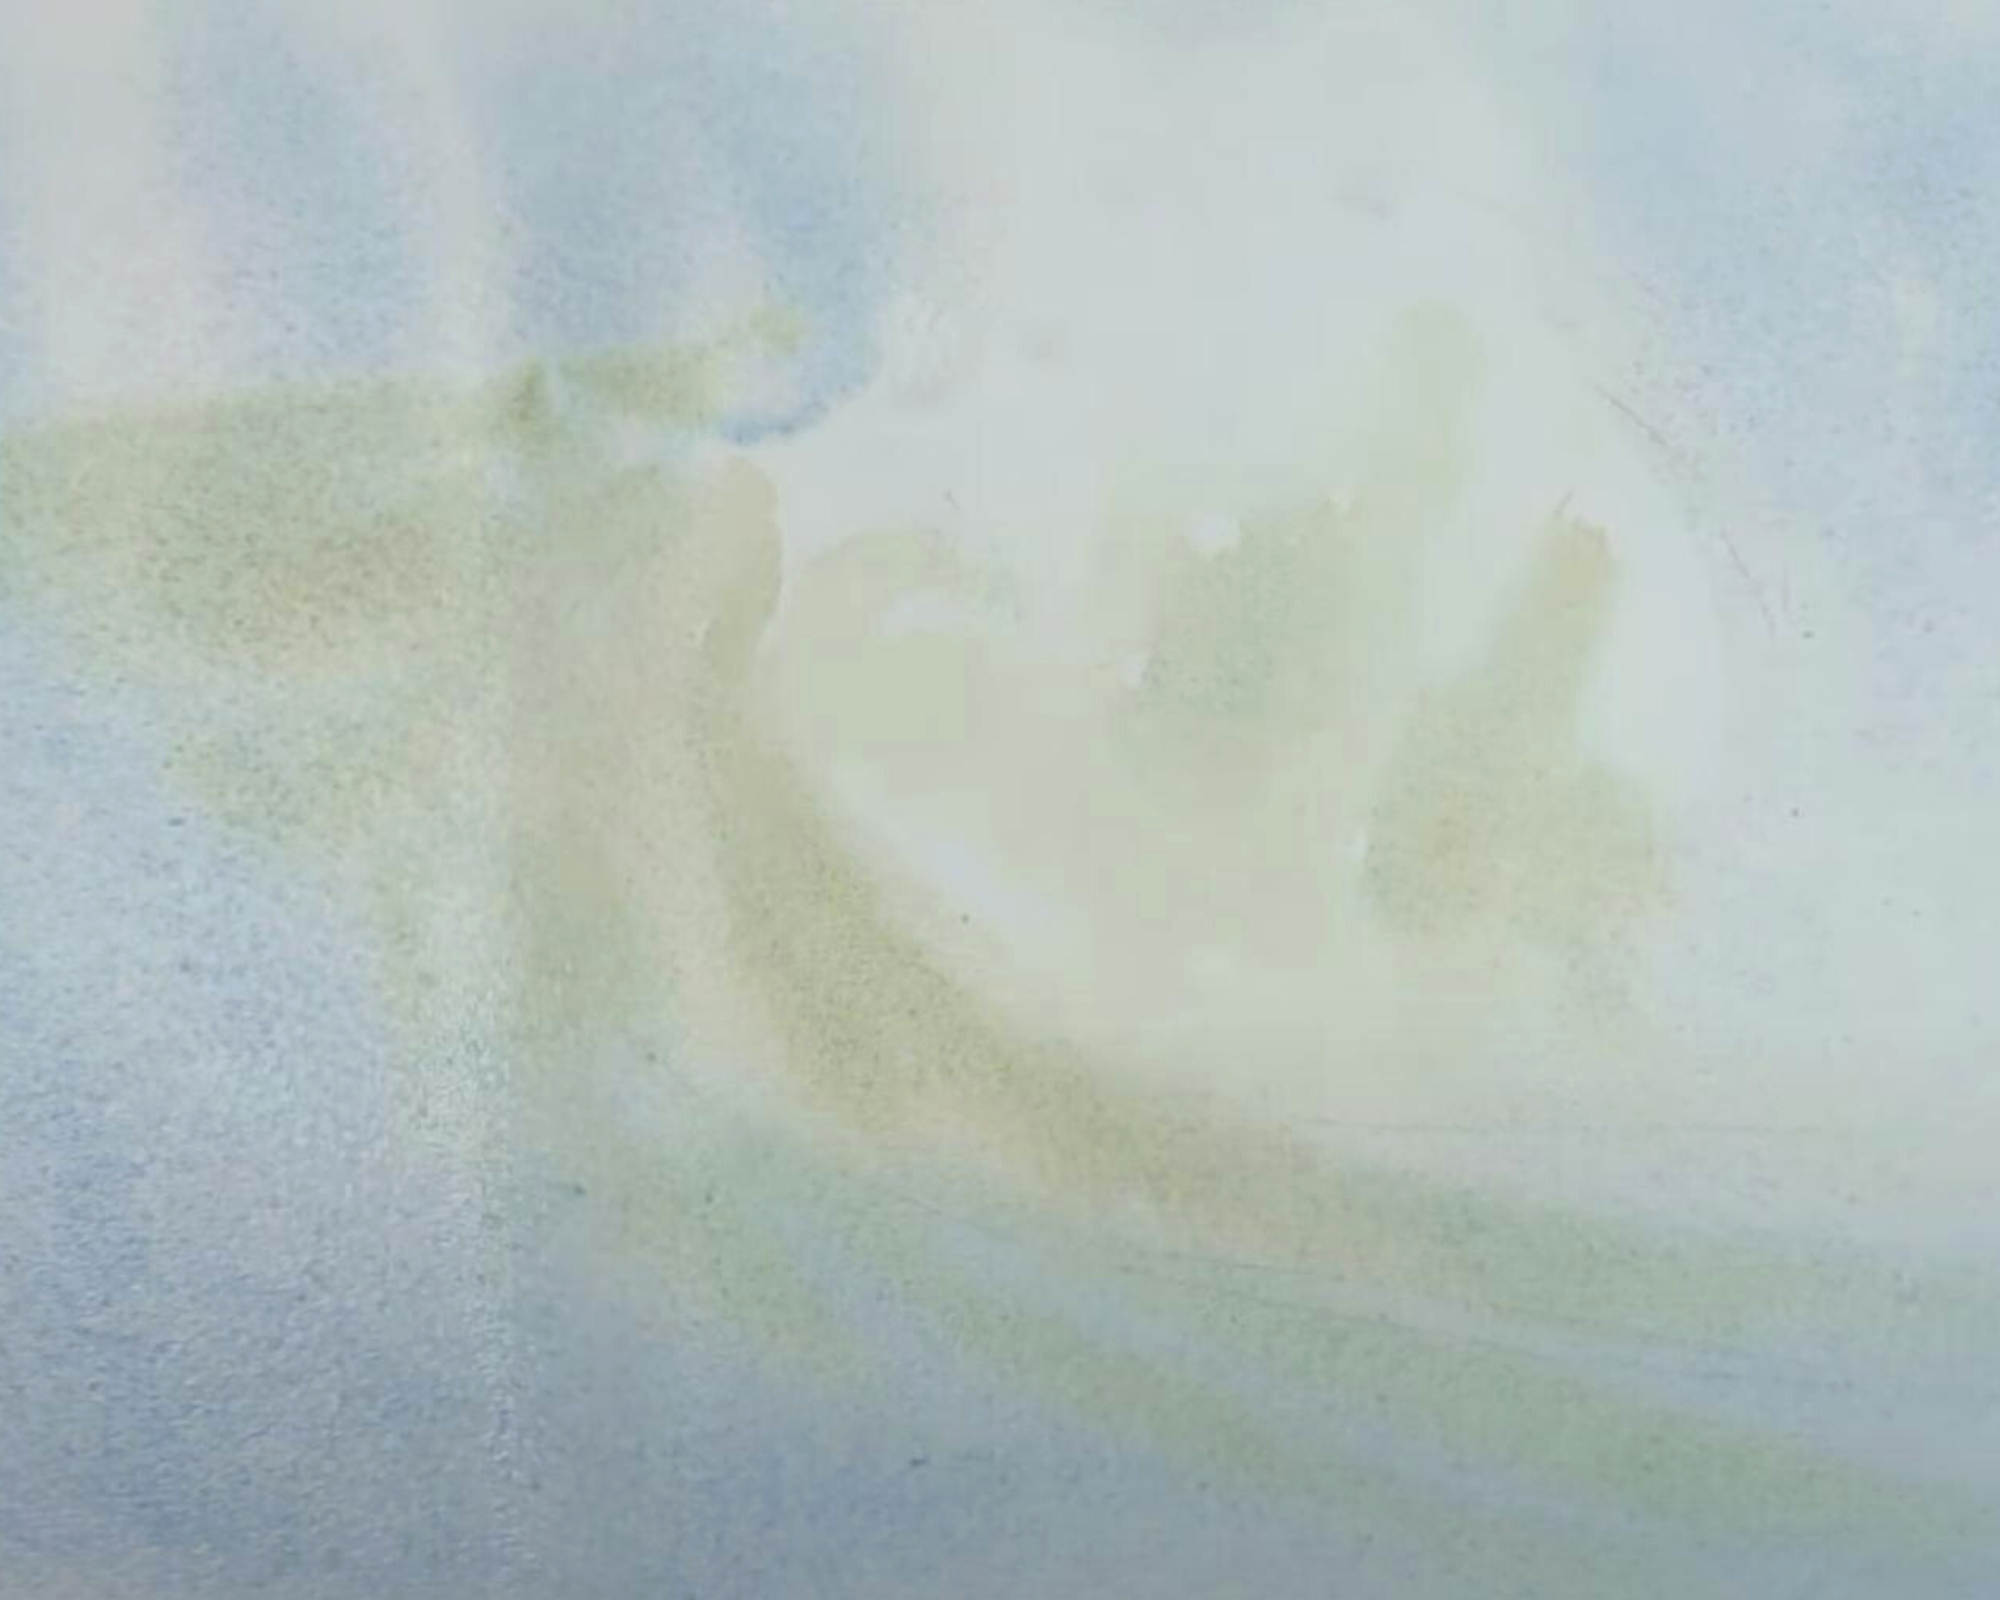
1. The first thing I do is wet down the back of my watercolor paper (Saunders Waterford 140 lb. Cold Press). I wet down the front of my paper, too, but leave the place for the crest of the wave dry.
Then I lay down three layers, building up value as I go:
- a layer of a simple grey made with Lavender and Raw Sienna.
- a layer of blue made with Cerulean and Ultramarine Blue
- a layer of warm light green made with Quinacridone Gold, Cobalt Turquoise, and Cadmium Yellow. This adds texture around the white of the waves and is reflected in the water and on the left side of the wave.
Take care to keep the brightest parts of your wave white. Also you can use a damp, clean brush to soften edges as you go and hold onto a dry paper towel to dry your brush as needed.
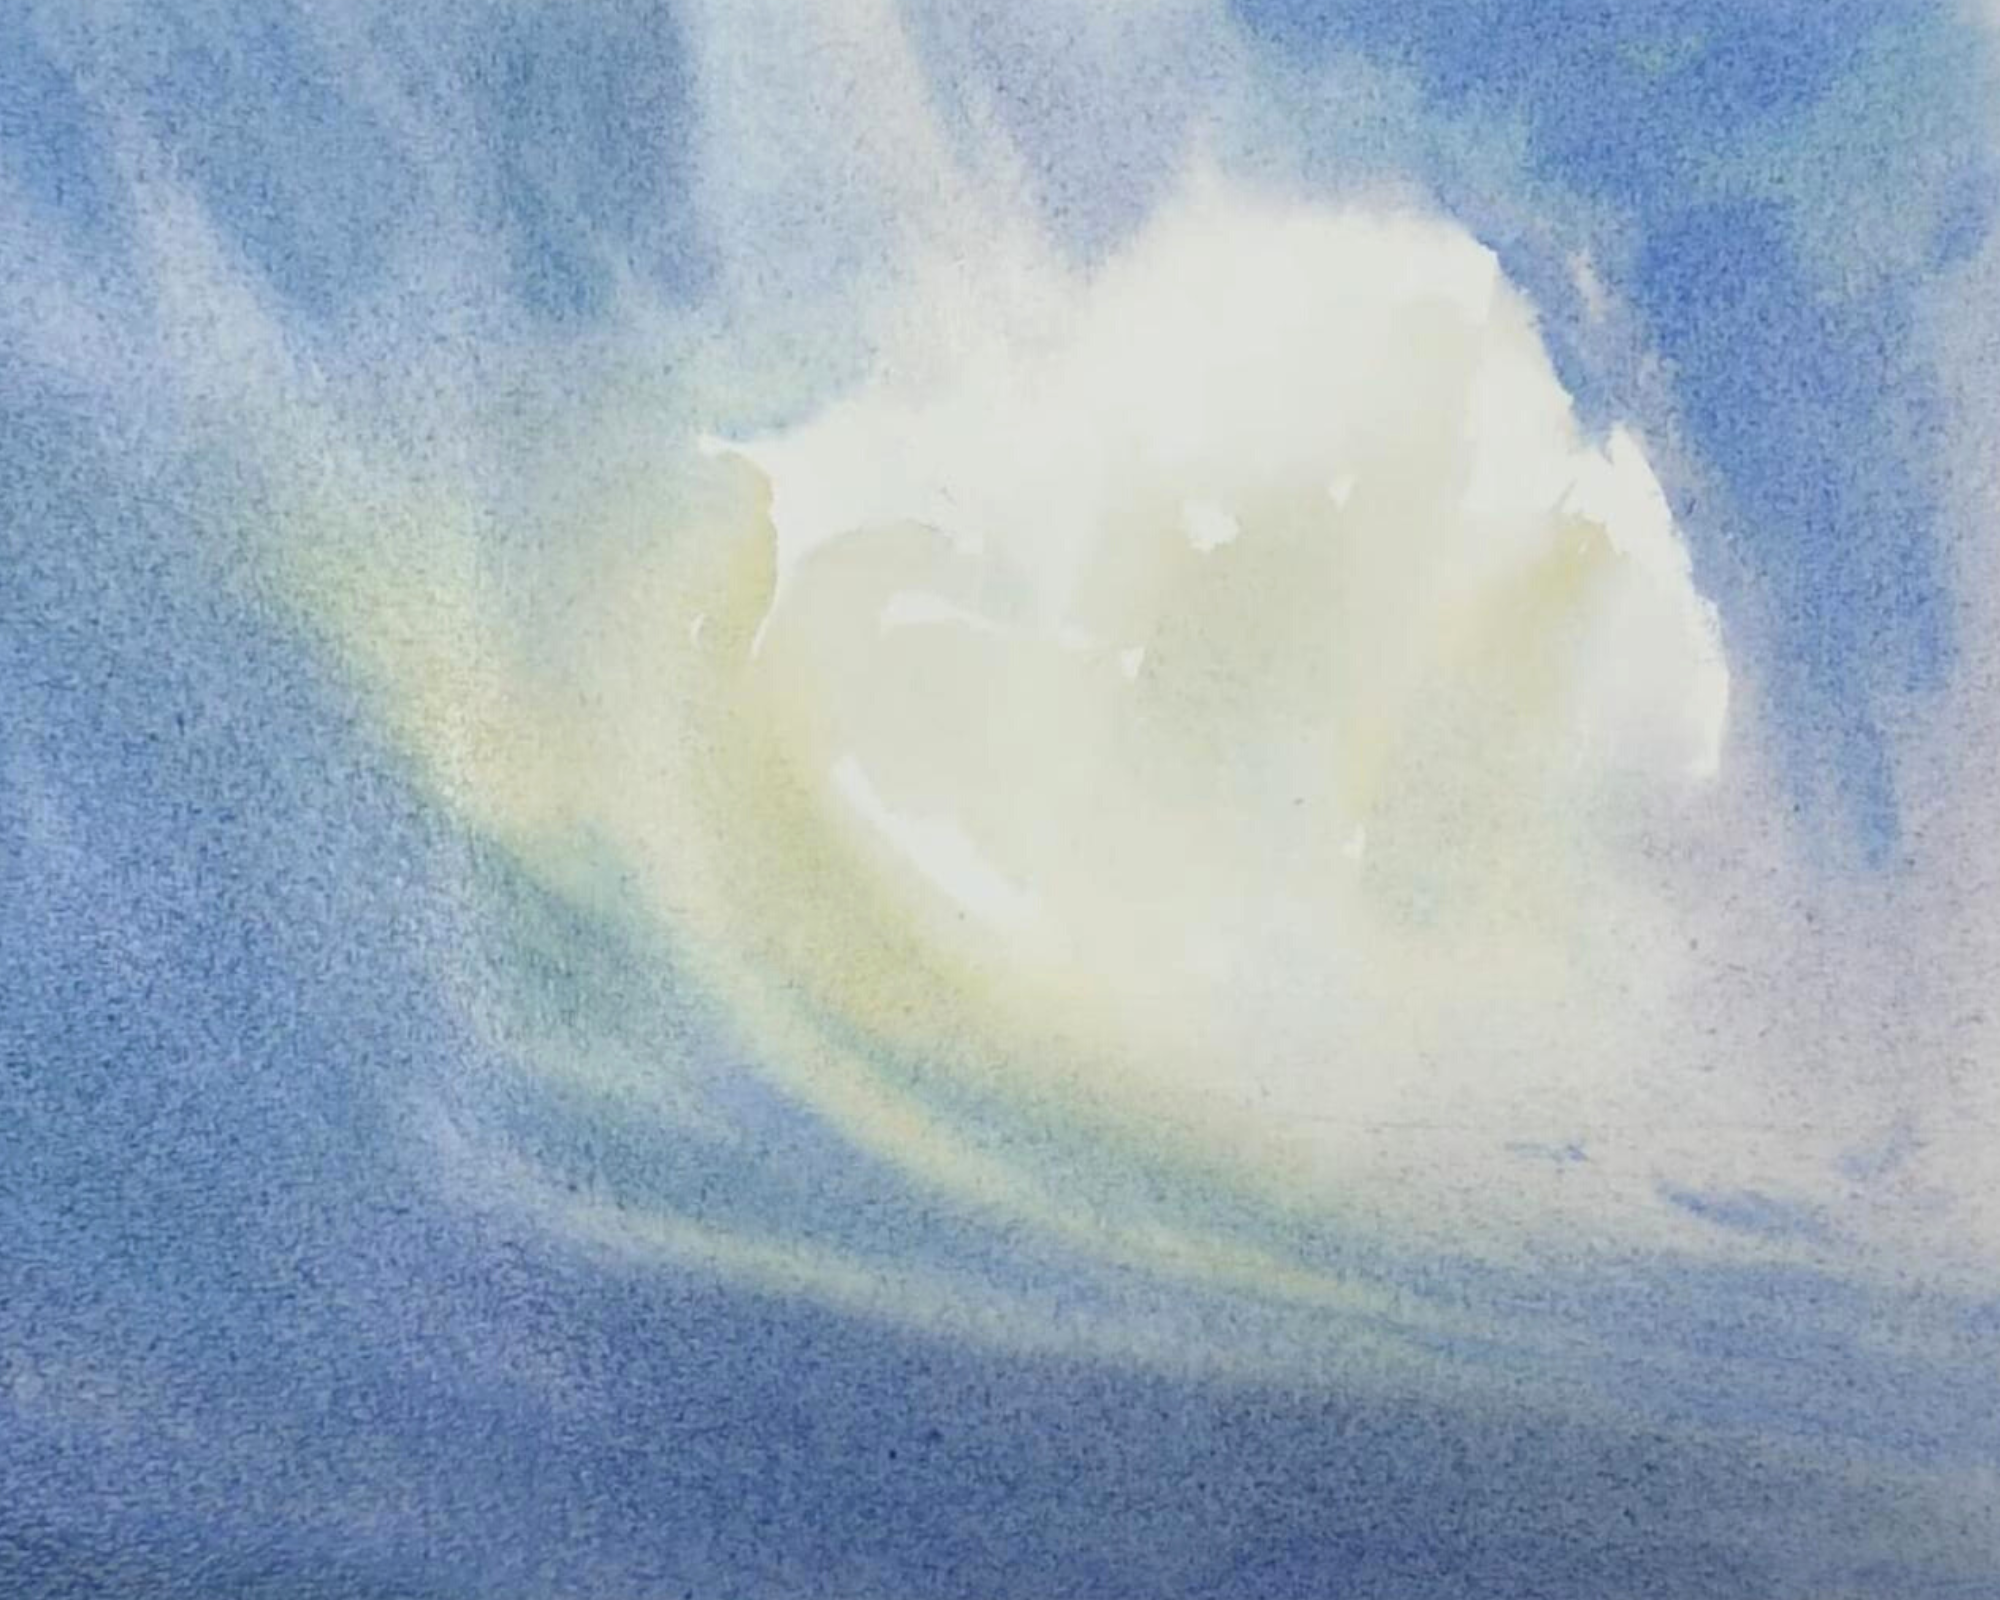
2. The next step is to build up more strength in your colors. As you go along, you want to use less water on your brush and more pigment. Remember that watercolor paints fade about 20% from their initial application. Of course this depends on the original thickness and the pigment, but plan for significant fading, especially at this stage of the watercolor.
The blue I mixed is Cerulean, Lavender, and Neutral Tint. Grey is Lavender and Neutral Tint. I also use Ultramarine Blue and Cobalt Turquoise for some variety and depth.
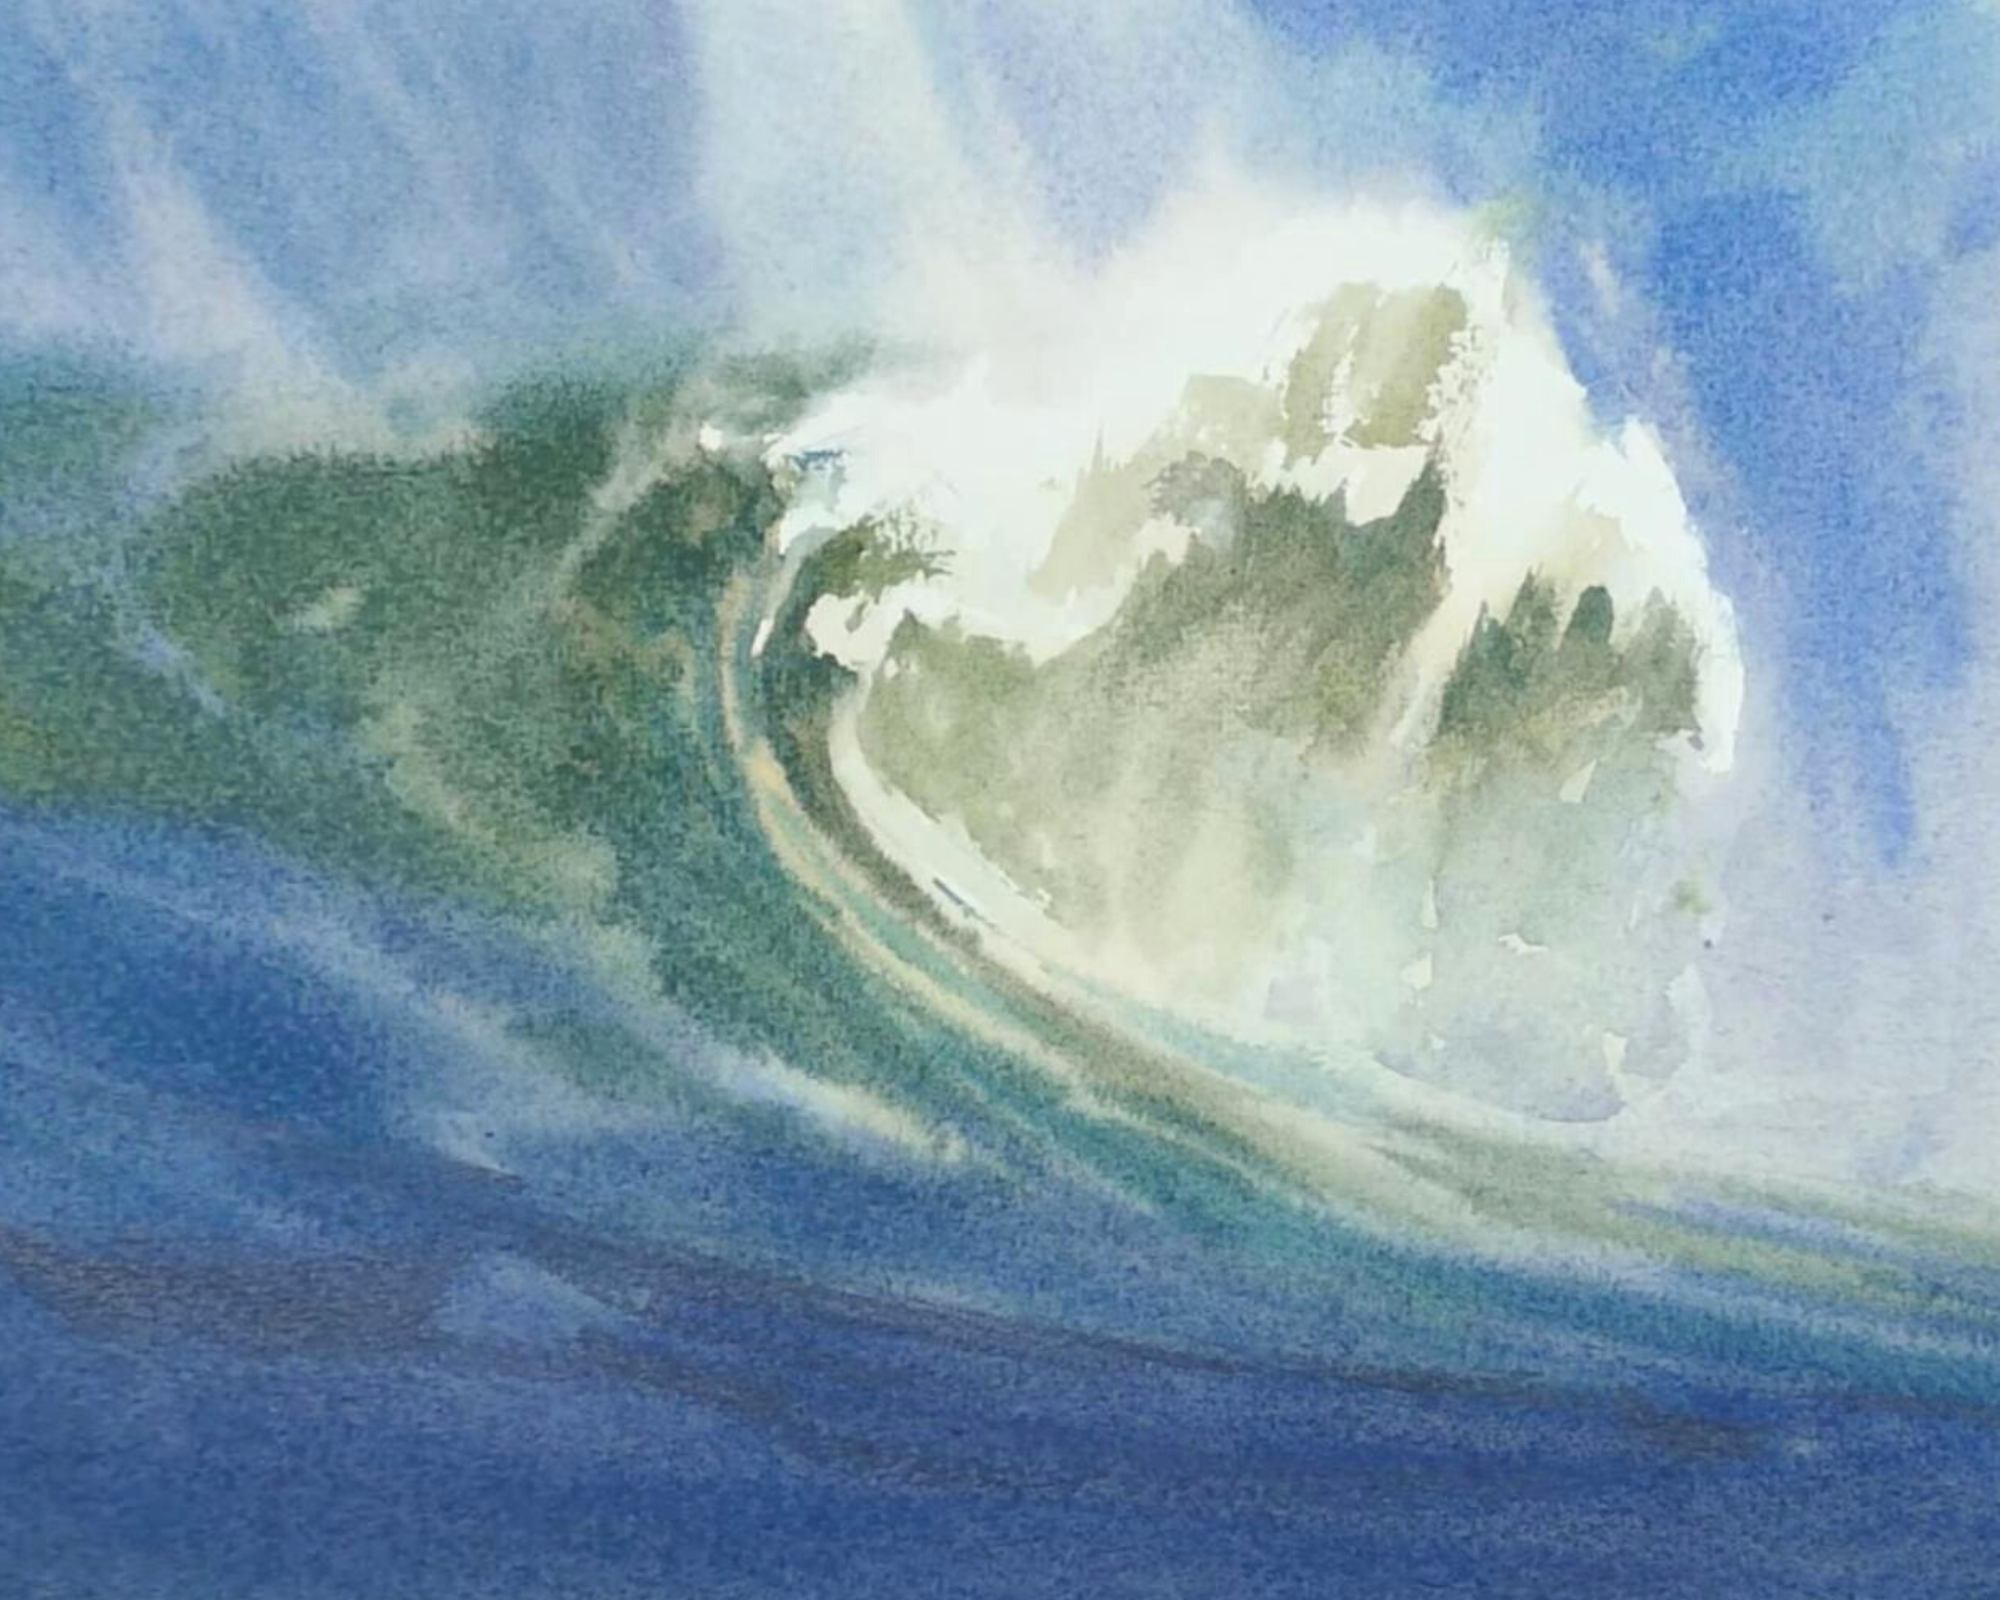
3. Next, we're going to strengthen the interior of the wave. Switch to a smaller, synthetic brush and mix Quinacridone Gold, Raw Sienna, and Cobalt Turquoise. Use the side of your brush to apply this green for some nice broken edges and texture.
Mix a darker green for the left part of the wave. You can mix Neutral Tint, Cobalt Turquoise and Raw Sienna for a darker green, but also use thicker paint on this part. Add some of the blue from your palette under and above the green.
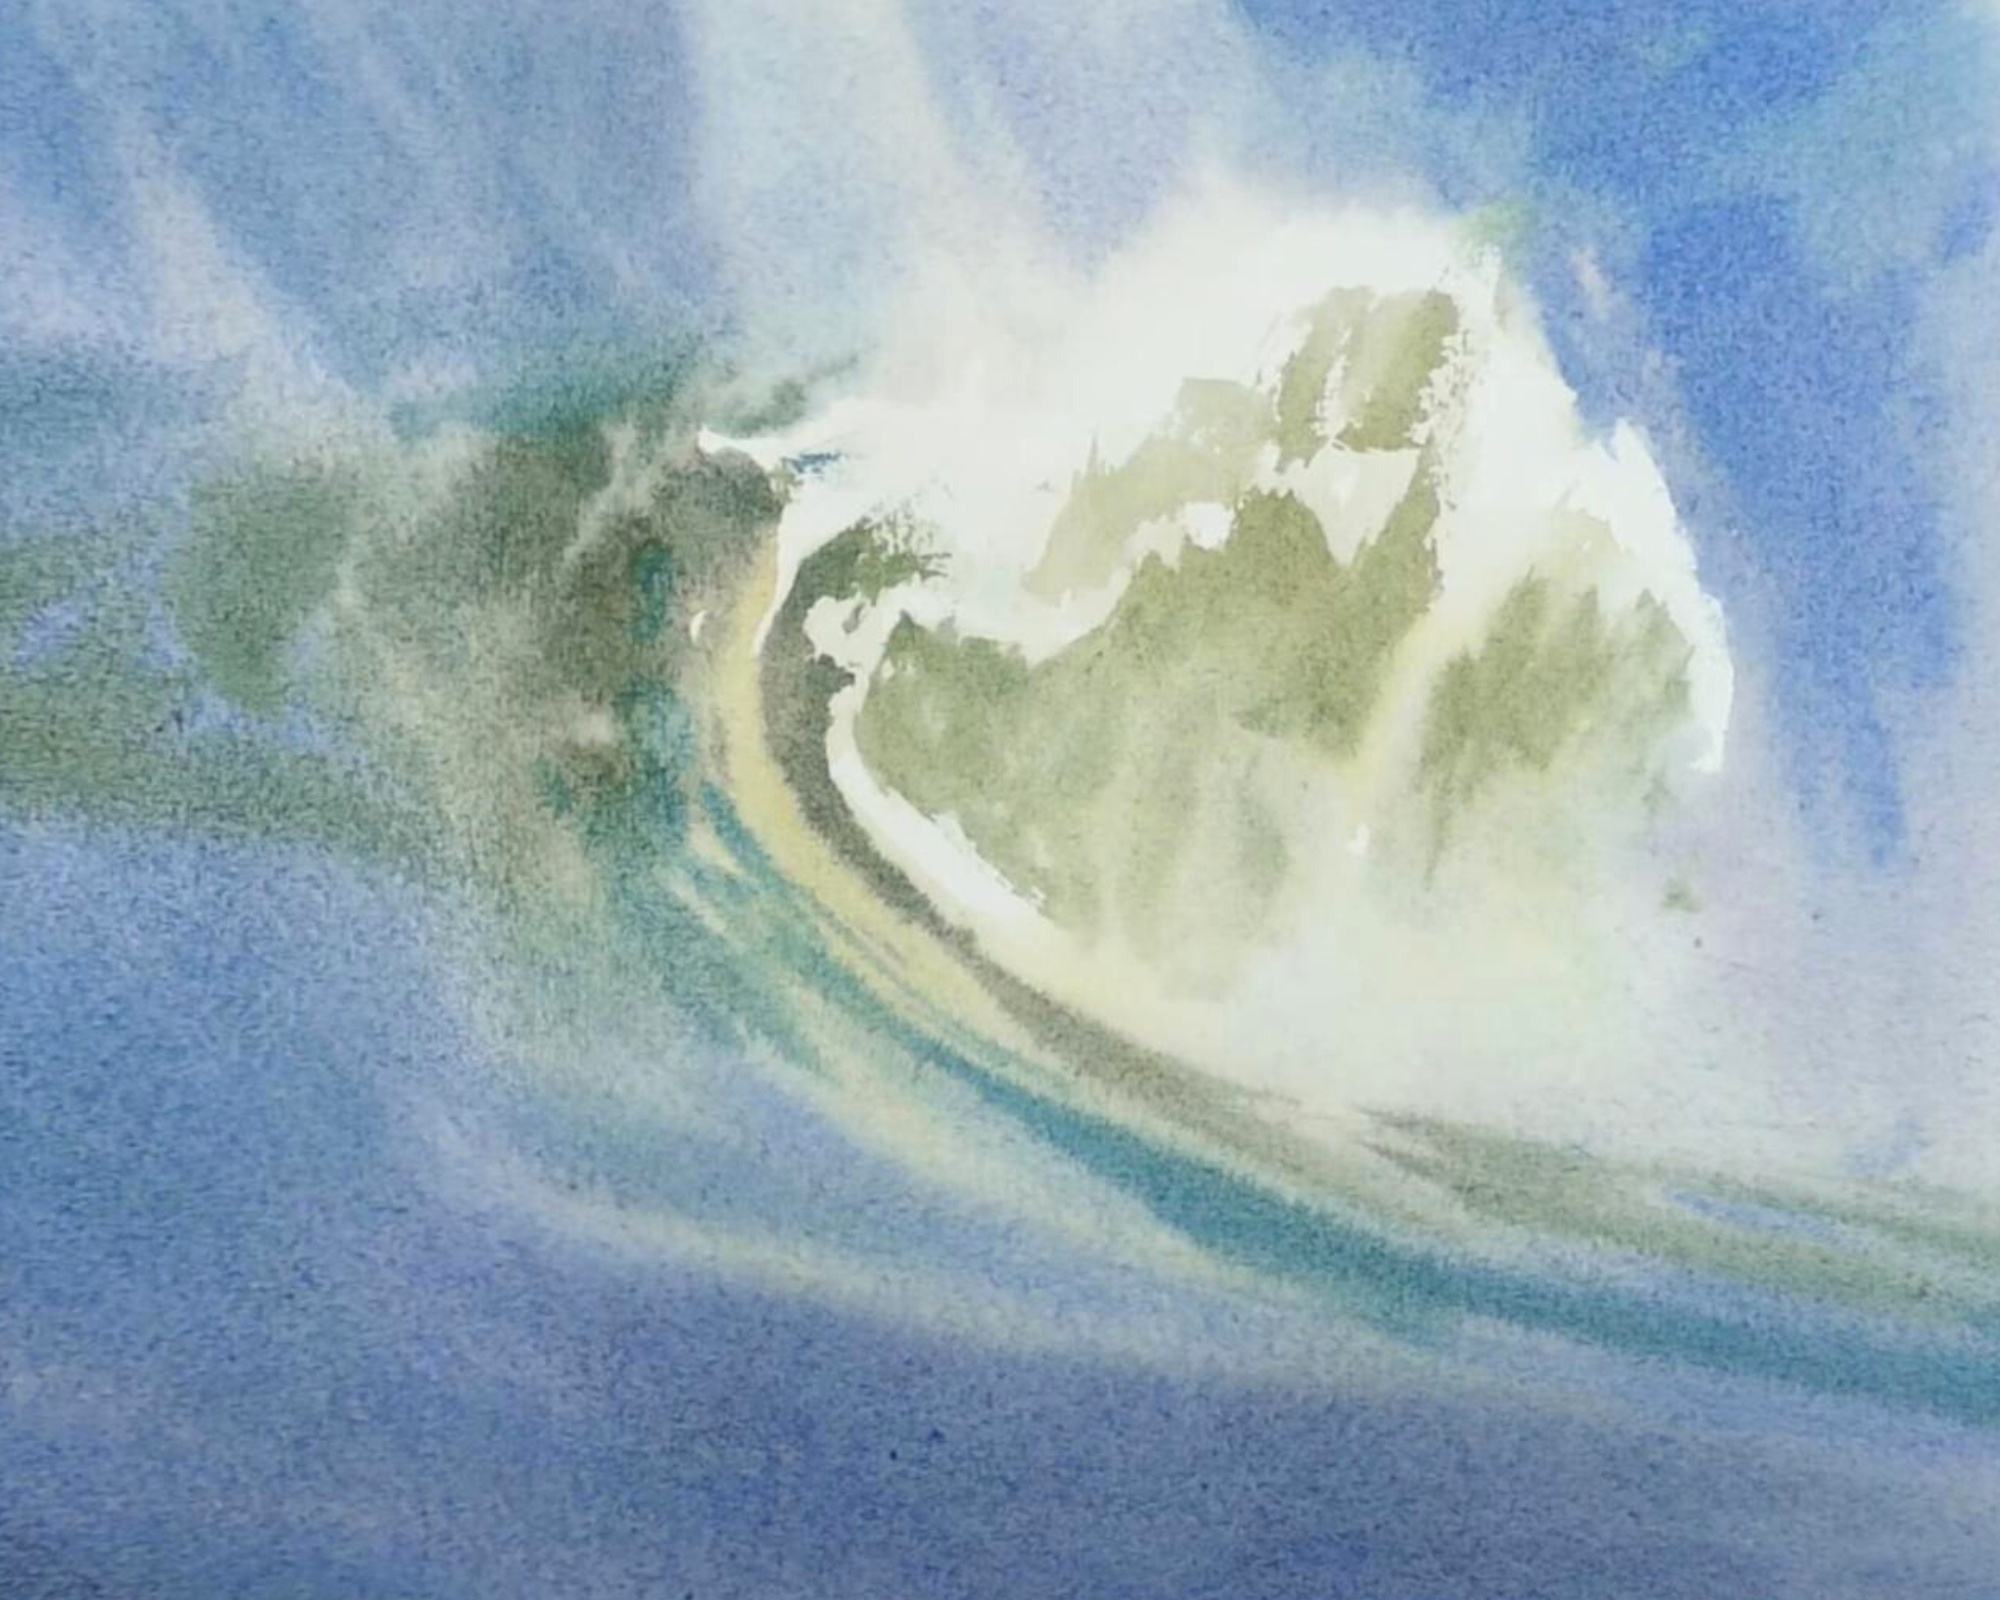
4. At this point in my painting, the paper is about 90% dry. First, I step back, squint at my painting, and assess what it needs. Remember to do this often.
I think at this point, it needs some more definition in the water to show movement and some darker values to make those bright areas really pop.
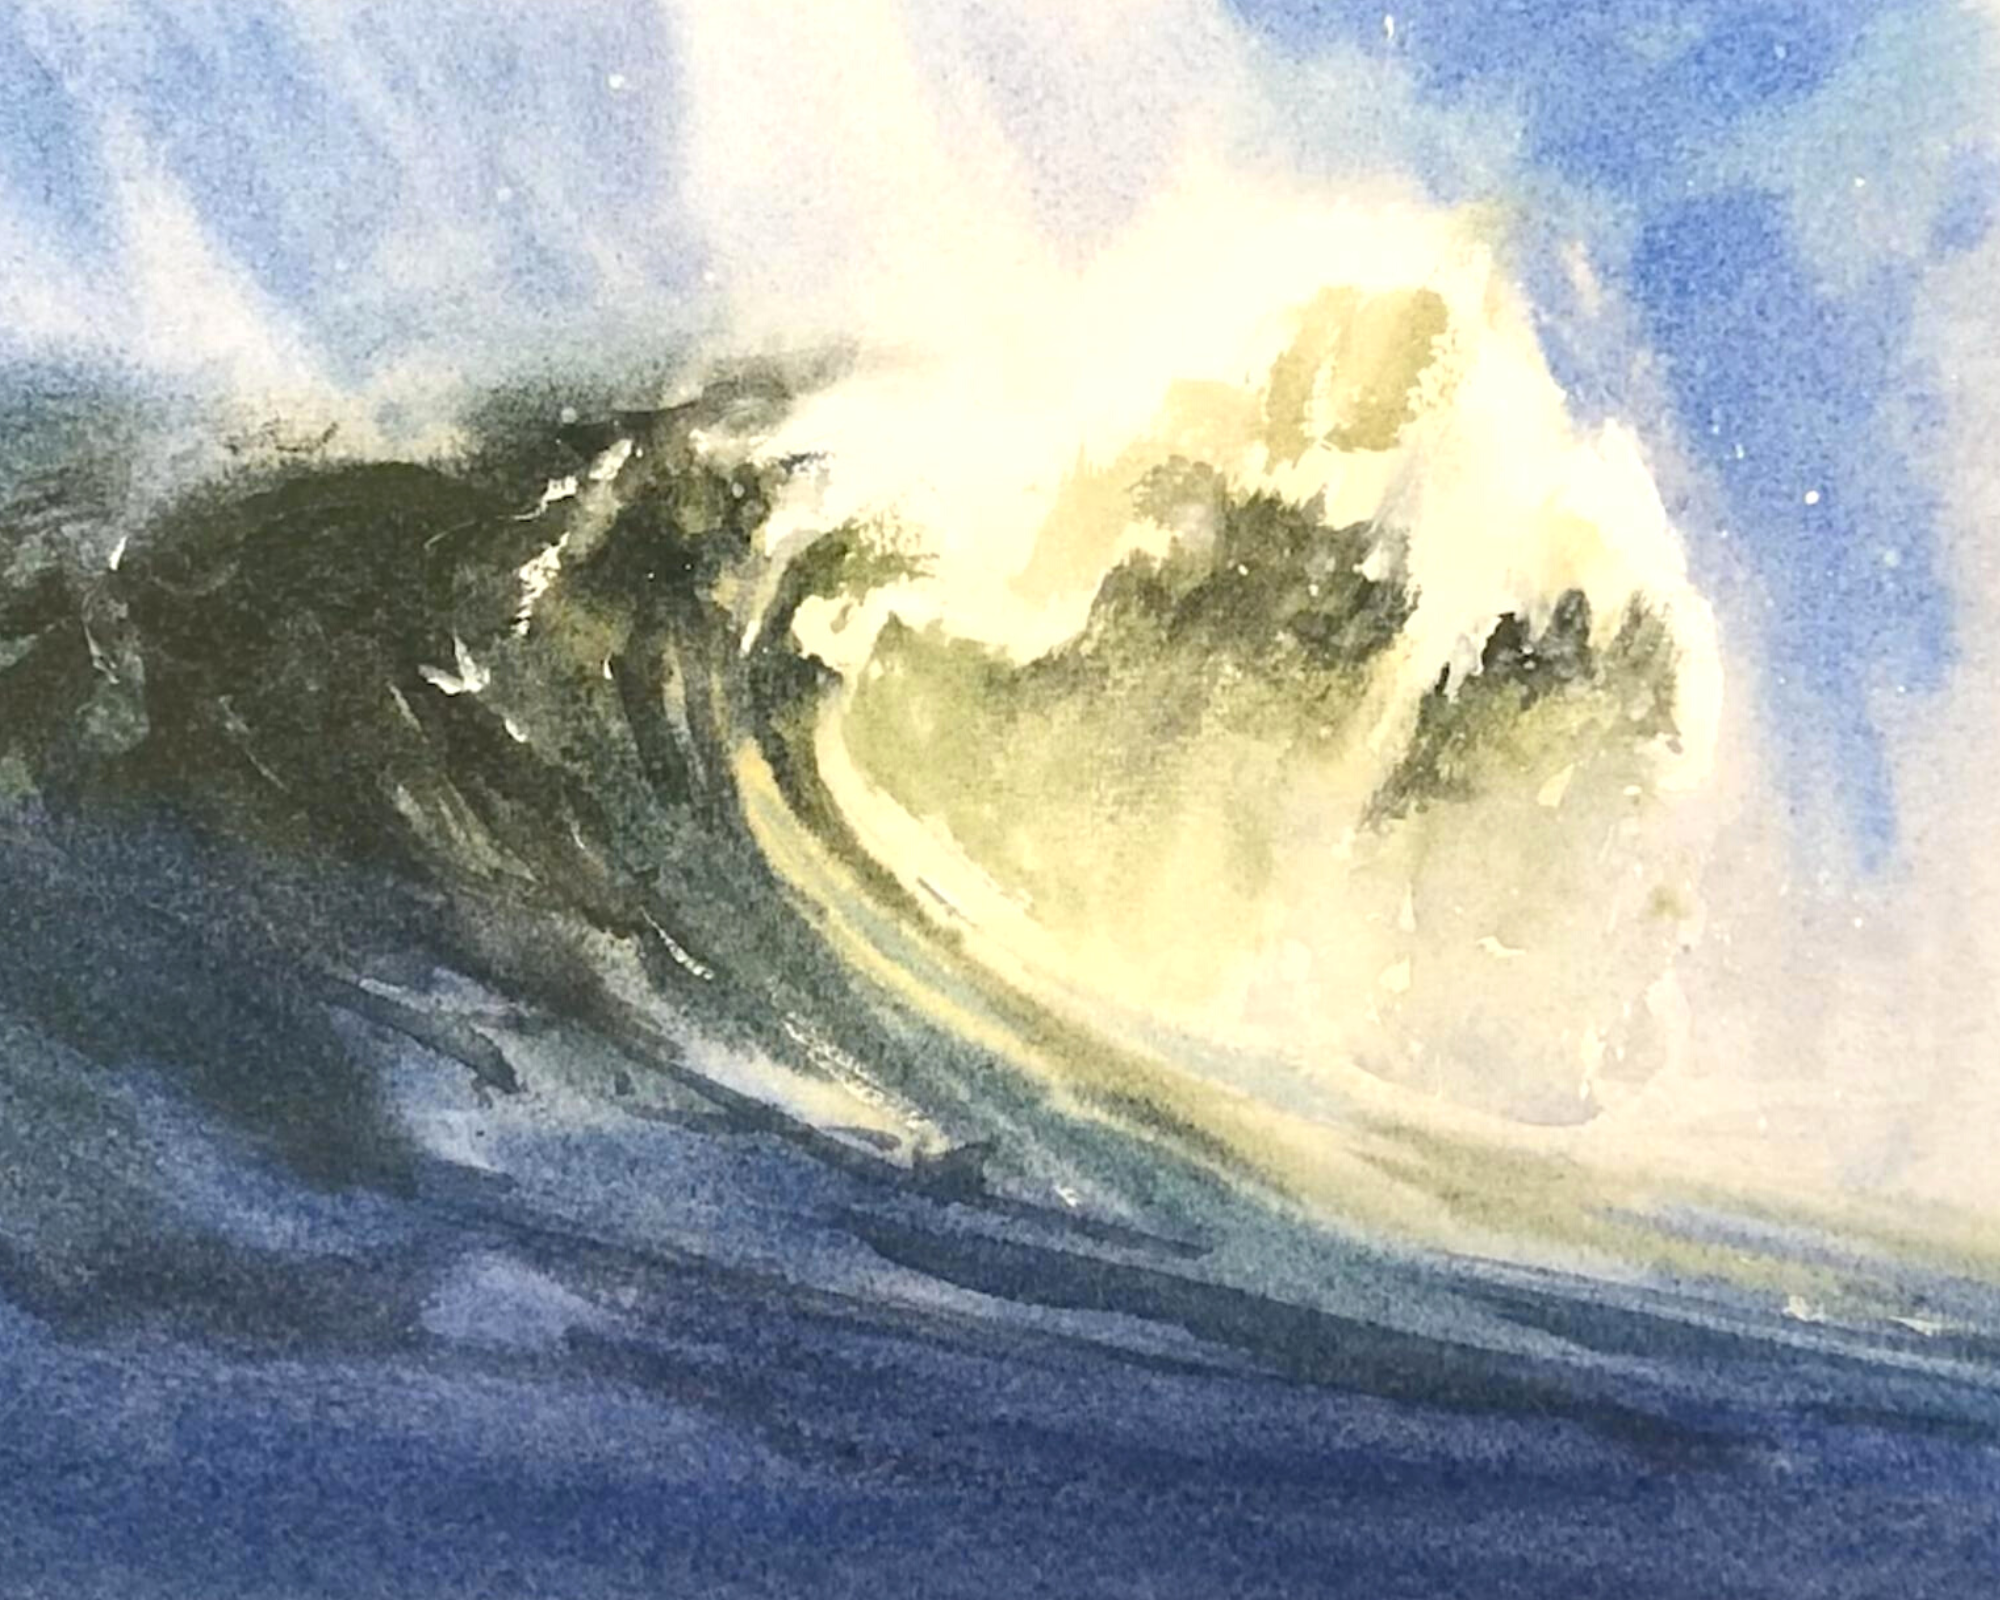
With the side of your brush, apply a deeper green (Raw Sienna and Cobalt Turquoise) to the existing green parts of the waves. Add some grey underneath (Raw Sienna and Lavender) and to the waves below.
5.The final step is to add some highlights with gouache. I used Ivory White Holbein Gouache. First, I placed some paper towels over the area of the painting that I wanted to preserve.

Then I applied gouache to the tip of my brush and splattered it to get the spray effect.
Afterward, I applied some gouache to some key areas on my painting that needed some extra highlight and let the painting dry.
Supplies You Need to Paint a Wave in Watercolor
Watercolor Paper:
I use Saunders Waterford 140lb Cold Press Paper.
Watercolor Paints:
I use Daniel Smith paints. The colors I used (noted above in the steps) are:
- Quinacridone Gold
- Cadmium Yellow
- Raw Sienna
- Cobalt Turquoise
- Lavender
- Ultramarine Blue
- Neutral Tint
Watercolor Brushes:
You'll need a large mop brush for the first part of the painting and a smaller brush toward the end. I used:
- Raphael SoftAqua Synthetic Squirrel Watercolor Brush, Quill, 8, Black
- Escoda Perla Series 1430 Artist Watercolor & Acrylic Short Handle Paint Brush, Synthetic White Filament, Pointed Round, Size 8
