5 Common (But Easy to Fix) Watercolor Problems
Jun 02, 2025In my years of teaching watercolor, there are patterns that emerge. One observation I've made is that there is a lot of similarity in the mistakes that hold students back.
This blog and video, outlines five common mistakes that hold back watercolor students from reaching their potential.
If you can eliminate even one of these, you'll see a big improvement in your paintings.
Frequent Watercolor Mistakes To Avoid
1. Using Too Much of One Color
Variety is the spice of life. And variety is what makes your paintings sing. So if you're mixing up a large puddle of one color and using it all over your painting, that is going to dull your work and you are missing out on some great opportunities for variety.
Even if I'm painting the sky, I try to mix in a little bit different shades of blue. If there's a large area of green grass or hills that have green, I try to use a variety of colors of green.
When I notice students just using one color for a large part of their painting, the painting becomes boring and monotonous.
So when you are mixing your colors, mix up a variety of colors. One of the most beautiful parts about watercolor is the mixing that can happen on the paper. This beautiful transition between colors on the wet surface. It's very unique to this medium. So take advantage of that.
Use a variety of colors and let those colors blend on the paper.
2. Not "Activating" Your Paint
A lot of times I see paintings from students that don't have a full range of values. It's one of the main things I talk about, in fact.
One path to remedying this larger mistake is to make sure that you're creating rich enough mixtures on your palette.

Students are often very good at mixing their light values that require more of a watery consistency. But, commonly, when they get into the middle values and the darks many students fail to mix up a thick, rich enough mixture of paint to create the values the scene needs.
So, here's my tip - spray down the paint on your palette before you need it so that it's "activated" and ready to go when you need it. It's amazing how this small change at the beginning of your process can help down the line.
3. Picking Subjects That Are Too Difficult
Another inadvertent mistake students make is to choose subjects that are simply too difficult for them.
Imagine a pianist that is just starting out who really wants to learn Canon in D. It's not the hardest piece out there, but to someone who's still learning to read music, learning the keys of the piano, and working out how to keep rhythm, it's not an advisable starting point. The instructor will likely say, "We'll get there eventually," and direct them to pieces that will help them build their foundational skills.
The same concept applies to watercolor art. Taking on a subject that is too complex will overwhelm you and make it difficult for you to experience small "wins" that will keep you painting and learning.
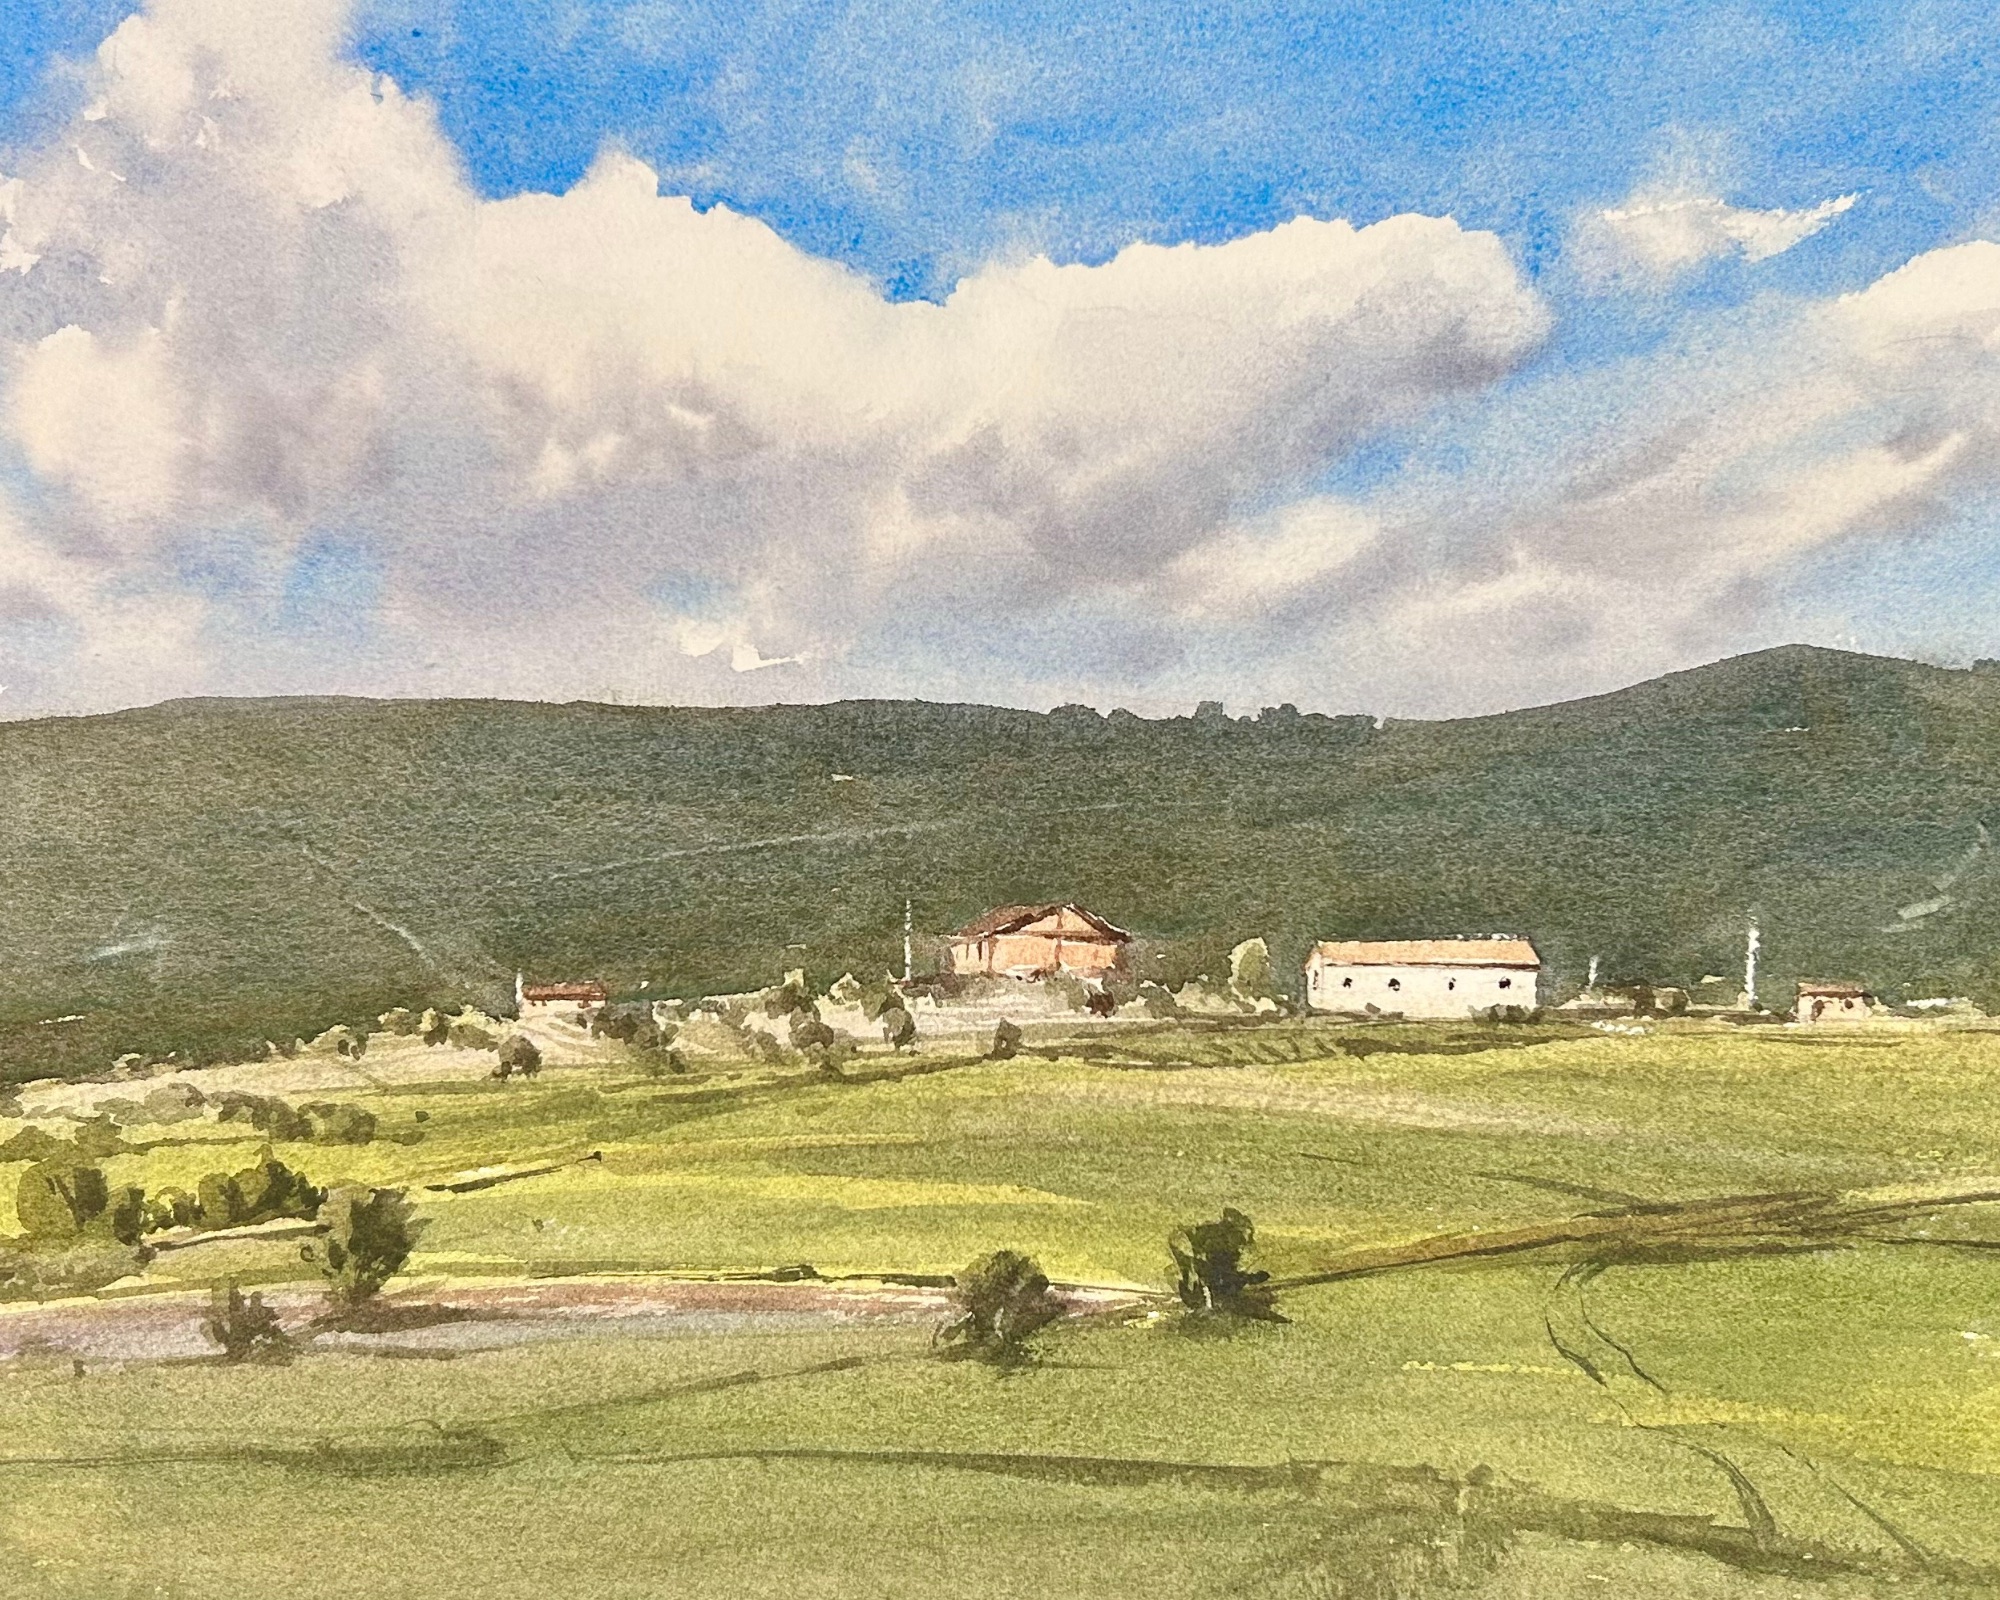
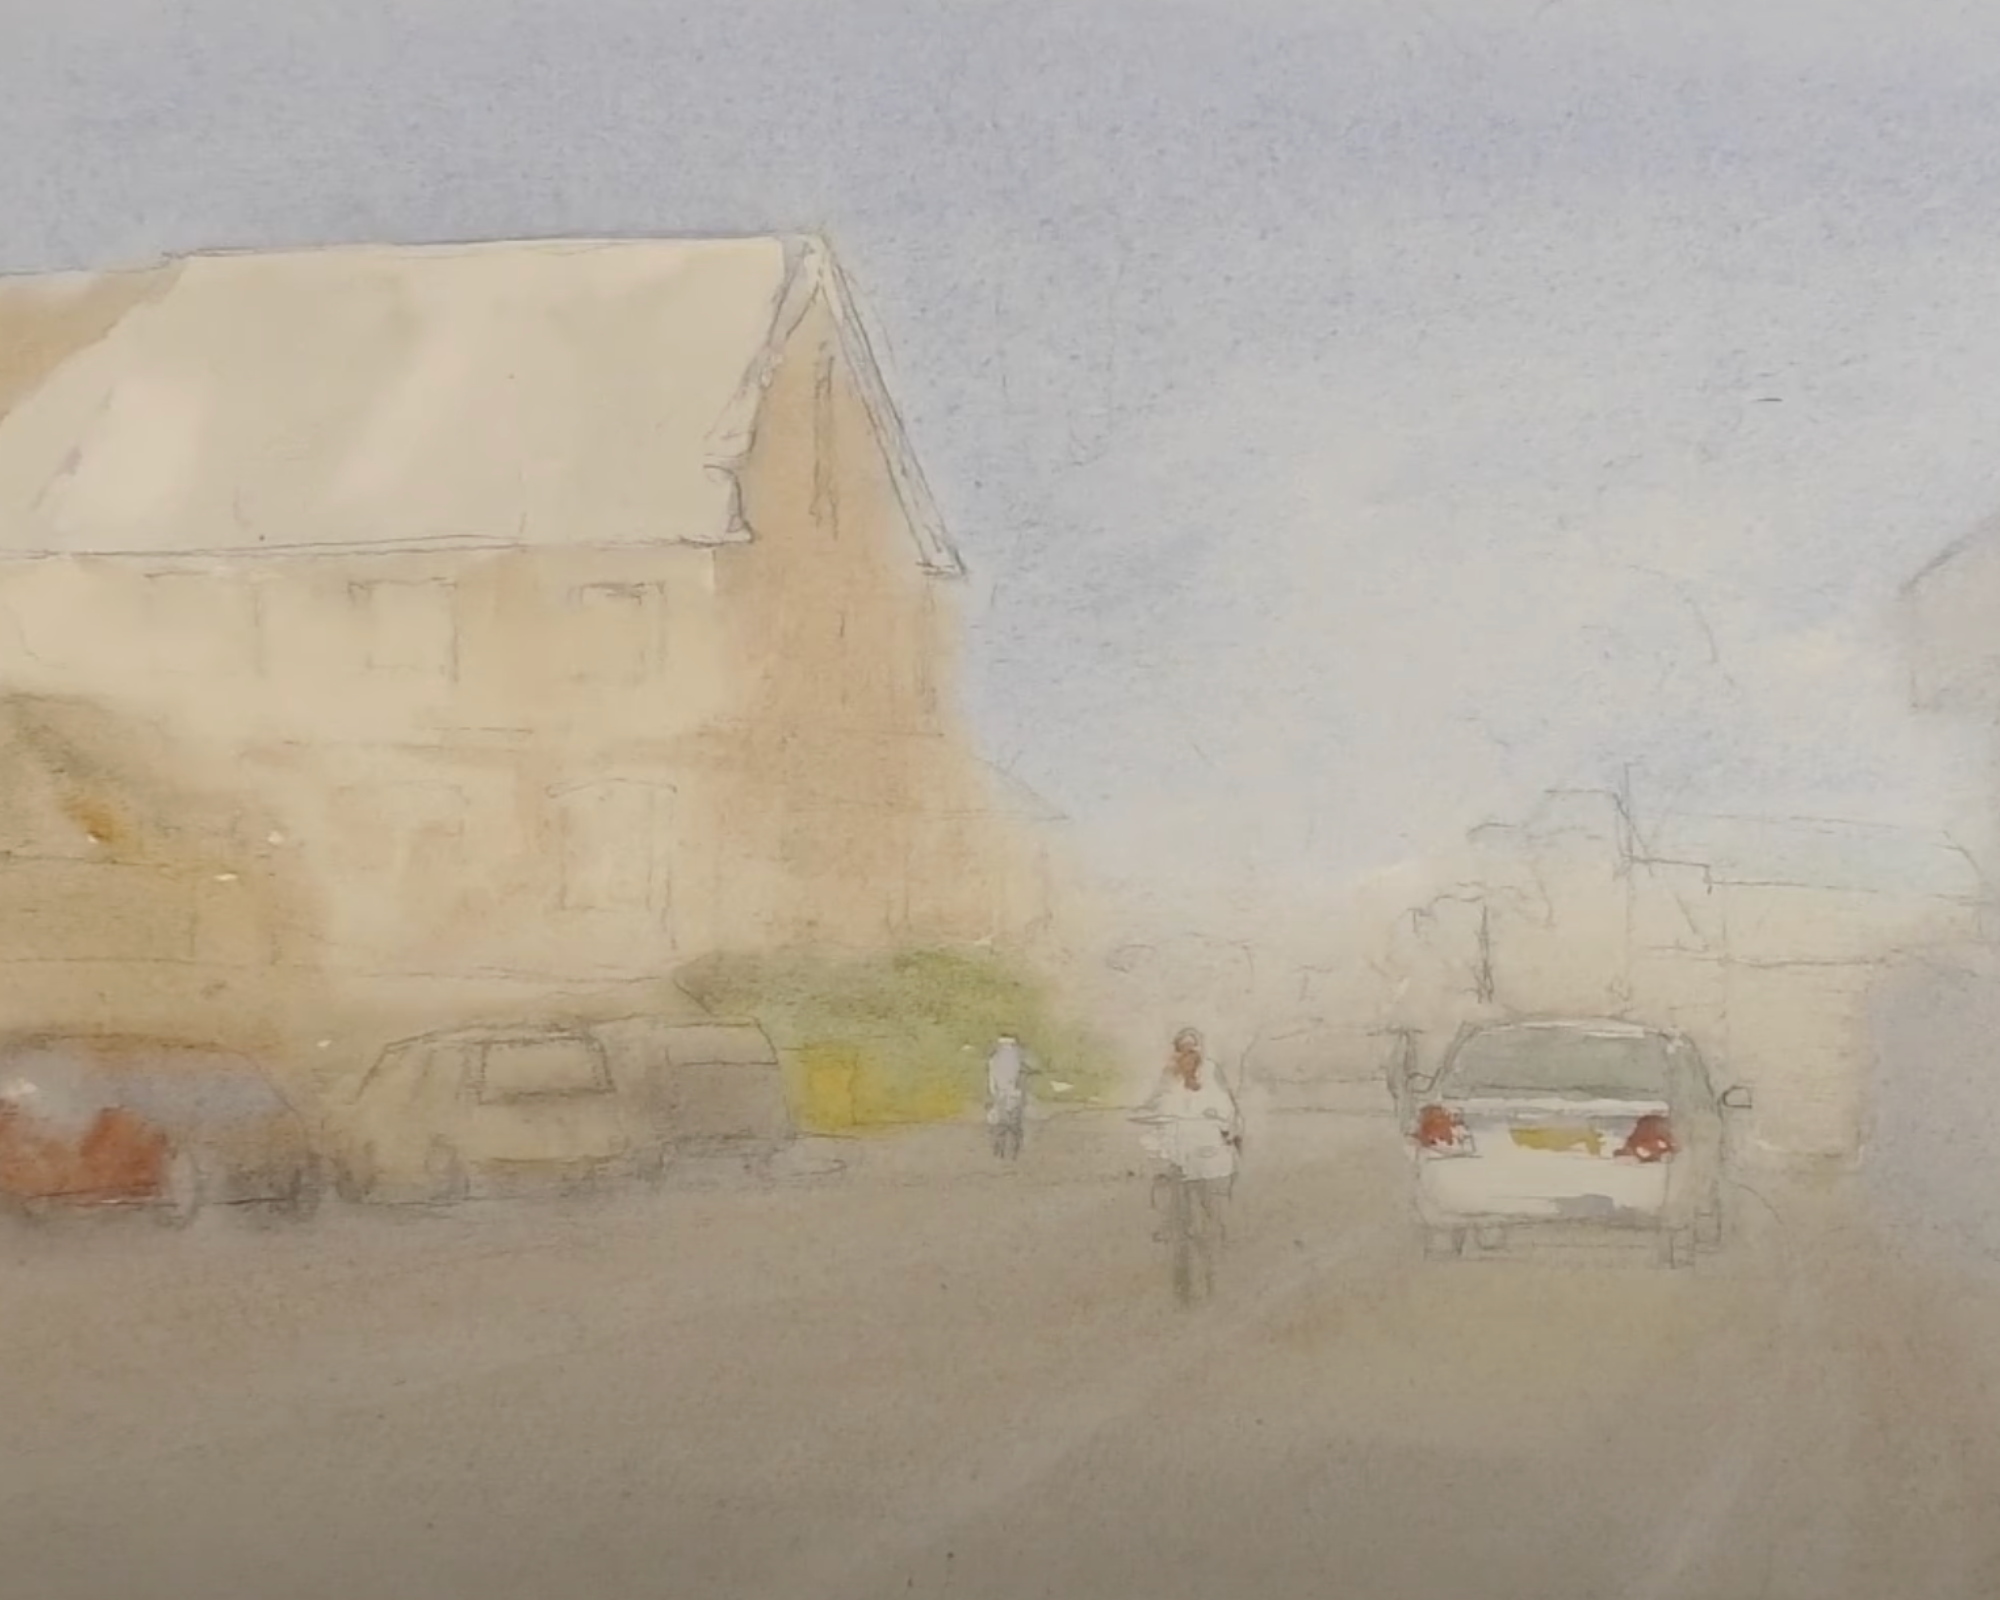
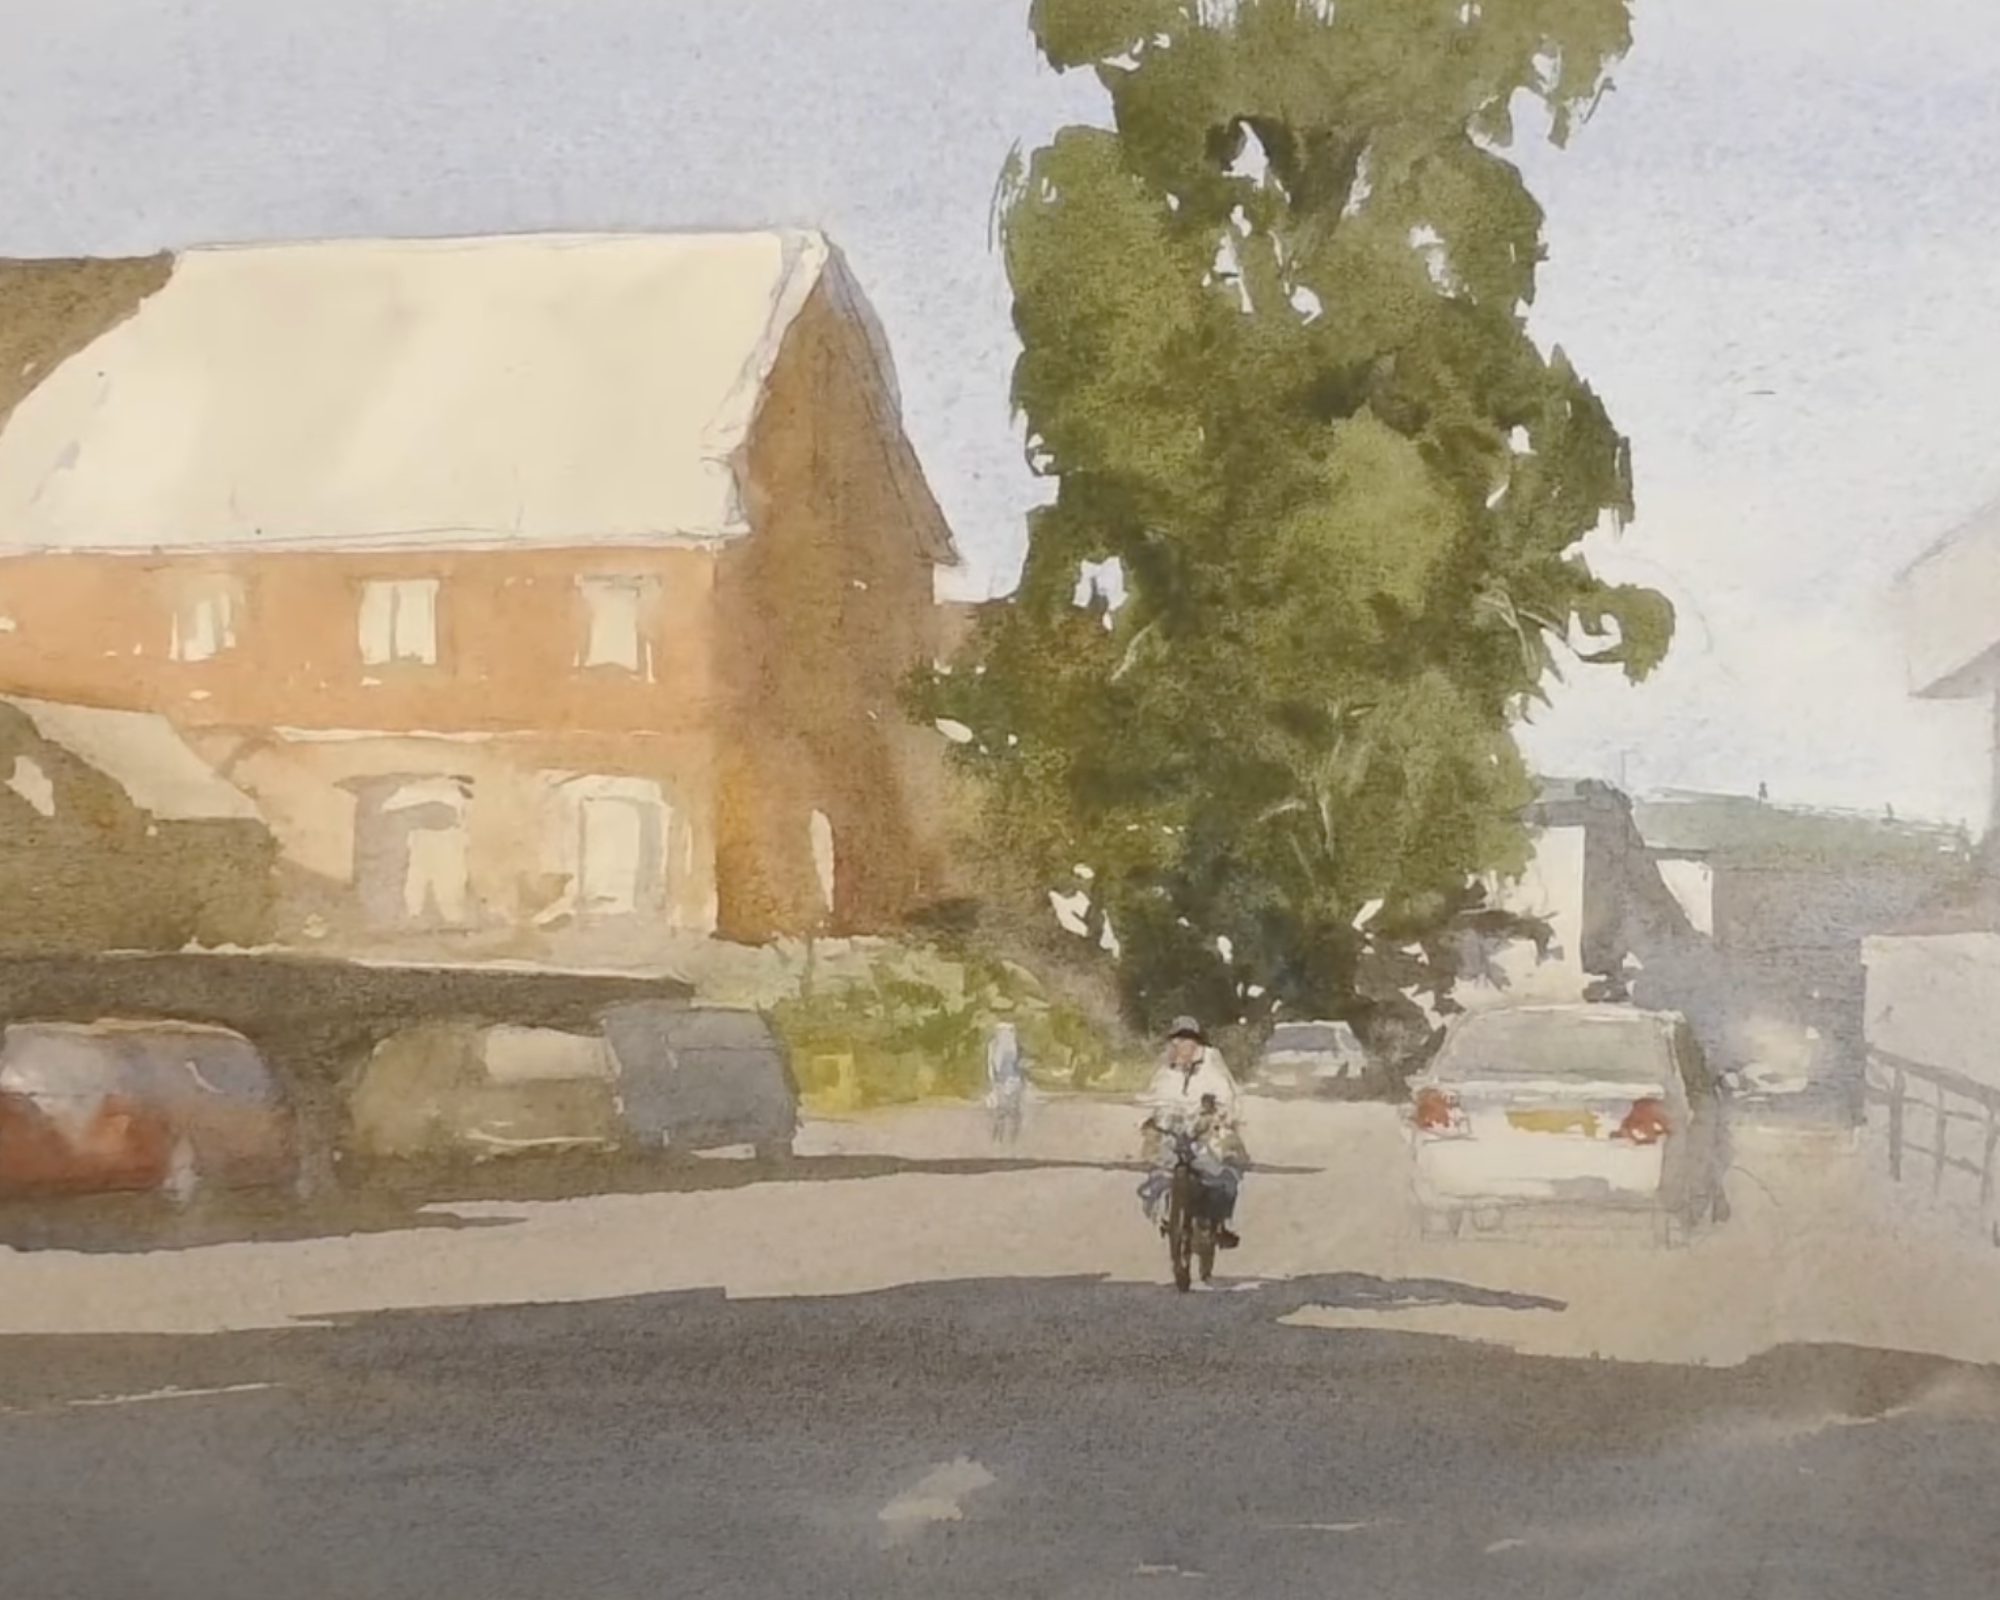
One hallmark of a difficult subject is a scene with a lot of intermingled positive and negative shapes. Here are some examples of this:
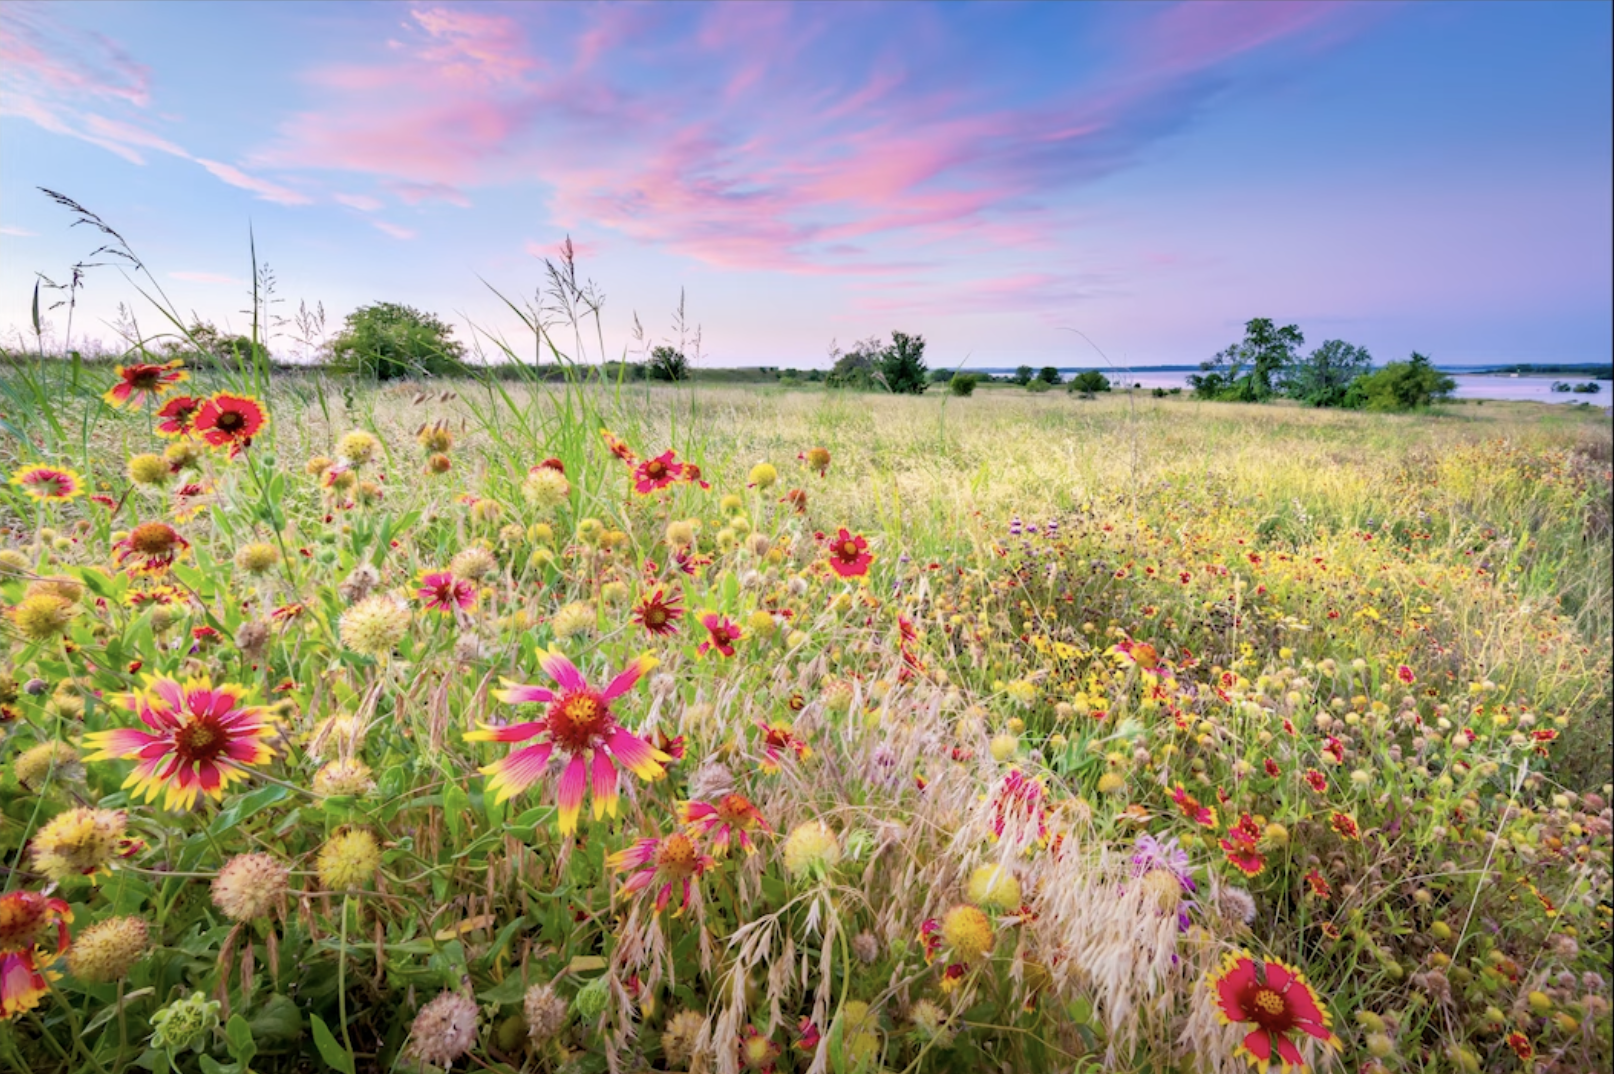

This field of wildflowers is gorgeous, but notice all the spots you'd have to paint around as you work through the scene from light to dark.
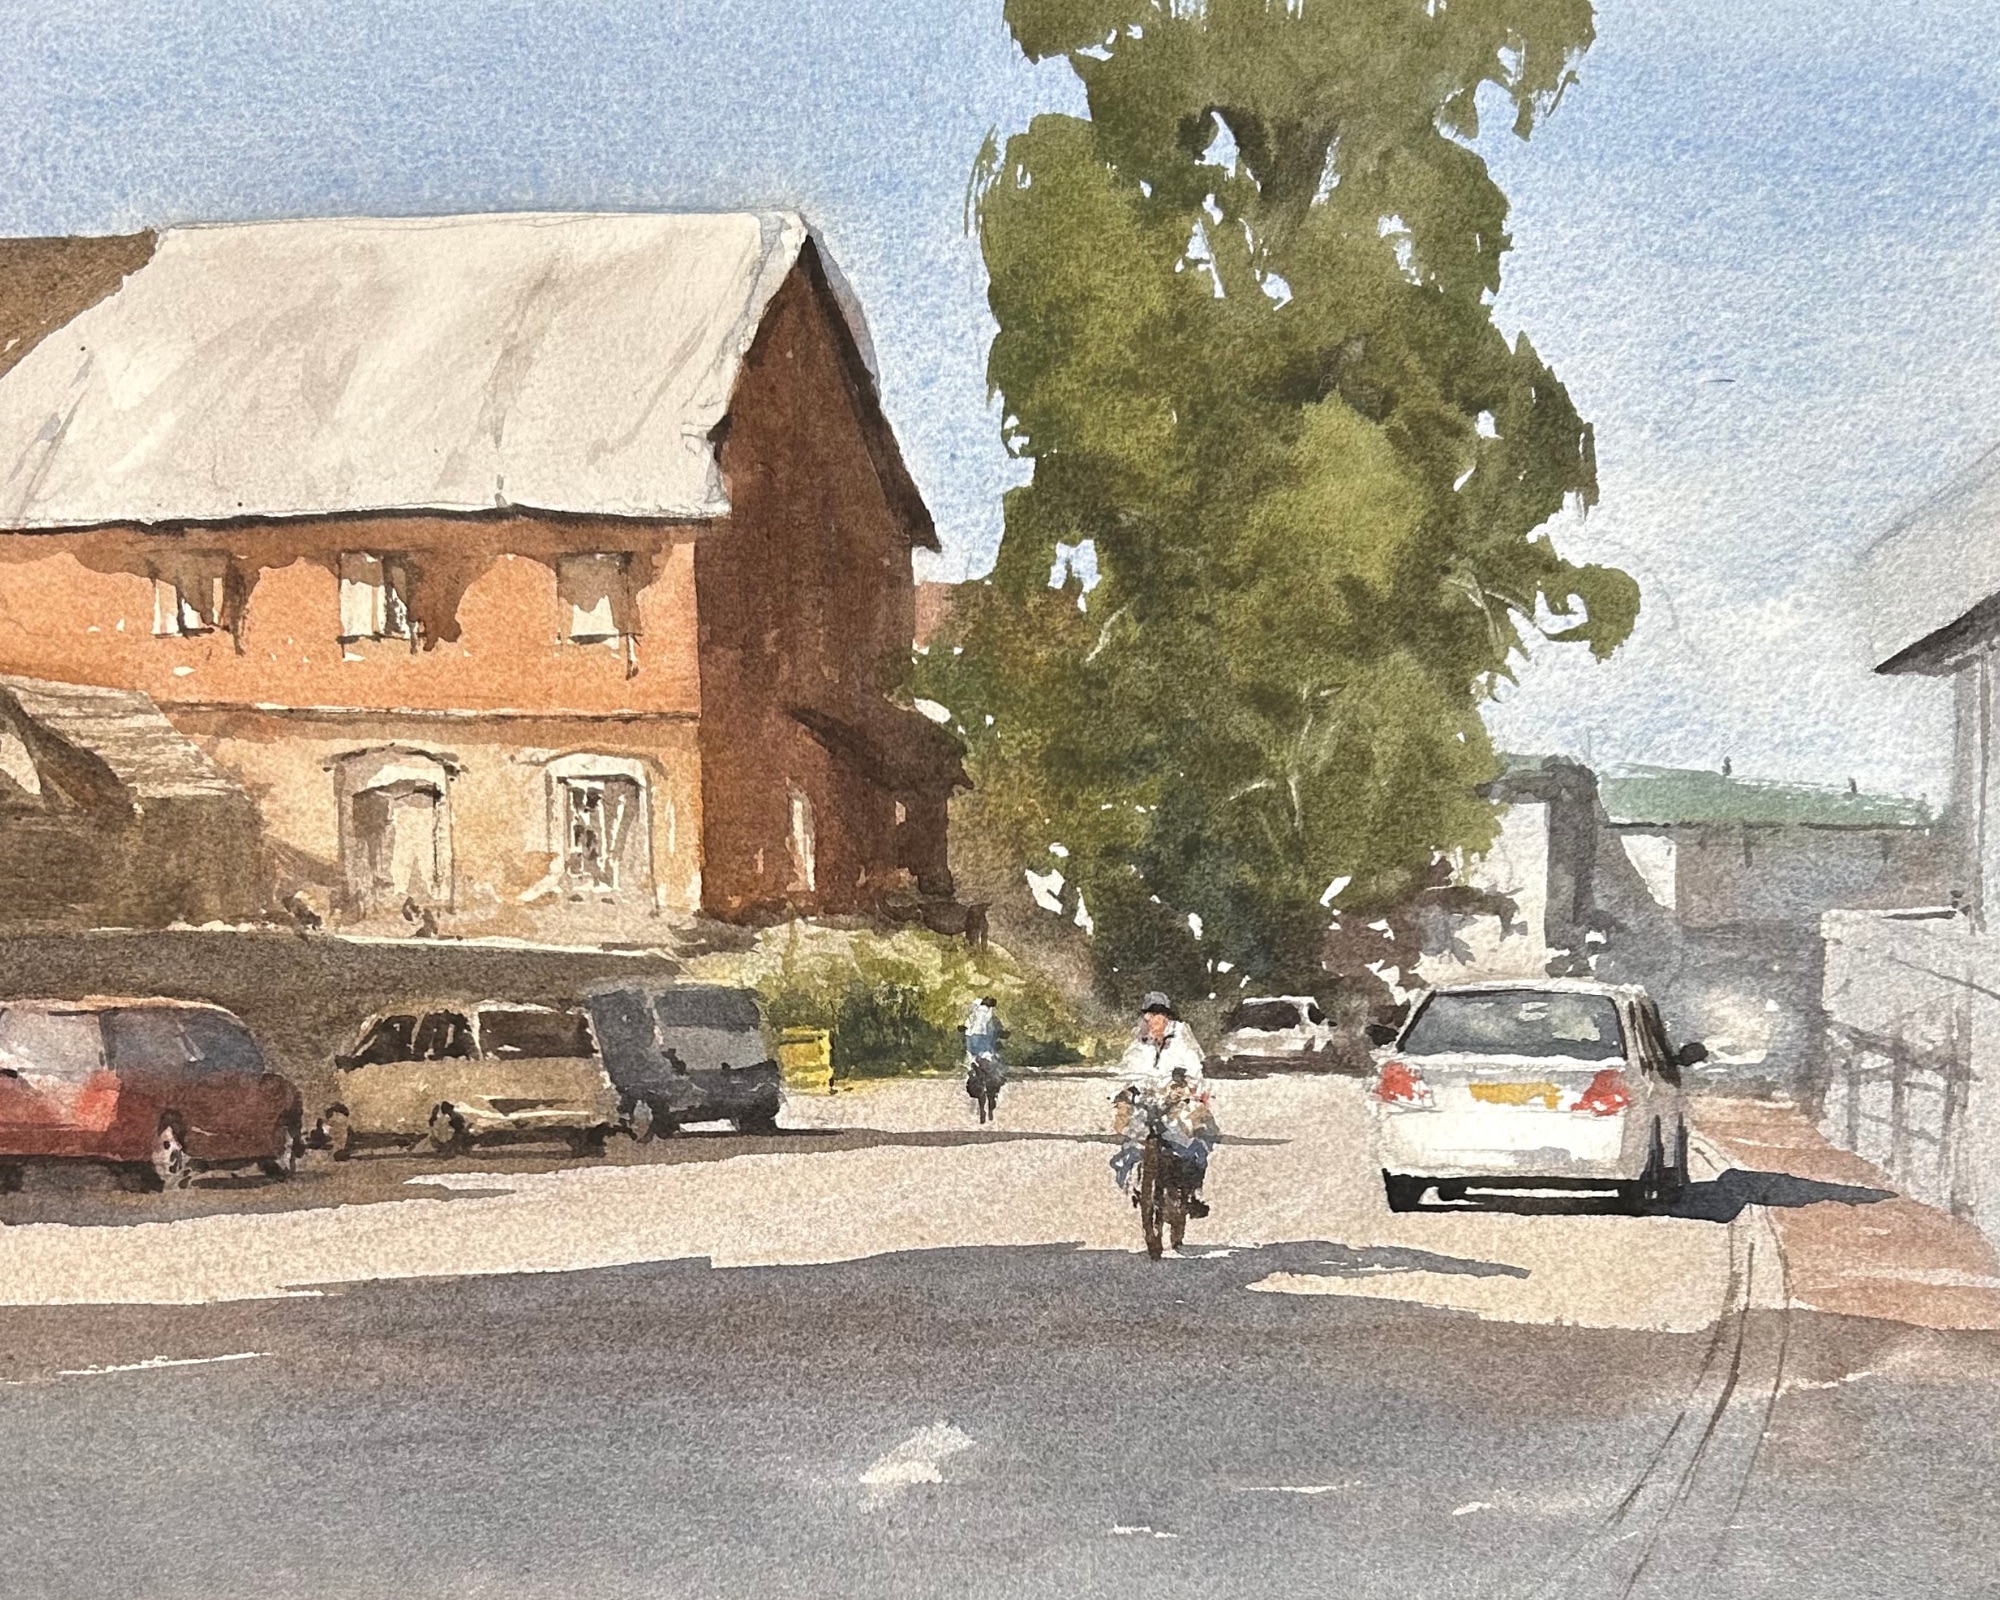
This busy street scene is so interesting, but it's incredibly complicated with a lot of architecture, figures, and cars - not to mention the difficult perspective.
This is not to say that we can't challenge ourselves and take on difficult subjects. However, early on, before you are understand the fundamentals and before you've had the experience with perspective and drawing, choose simple scenes with simple shapes to start with.
If you're picking simpler subjects and you are painting small and painting often, that is where you'll see the most progress.
4. Using Too Many Darks
Another common problem that I see in students paintings is they use too many darks.
If you think about a painting as a song, the darks of the painting are the crescendo - the most important part of the song, the climax of the music. In your paintings, the darks should bring that extra bit of focus and attention to the subject without overwhelming the scene. If we use our darkest darks all over the scene - in the background, the middle ground, and the foreground, we end up emphasizing every part of the painting rather than where we want to keep the viewer's attention.
I suggest that when you are painting your scenes following my 3-step light to dark process, save those darks and details for that main area of interest in your scene. When you start that third wash, go to your focal area first and get that part of the painting how you want it to look. Then drop some darks and details around the rest of the scene, but show some restraint so that you don't distract from your focal area.
5. Rushing Through the Process
A typical problem that I see with students is they are rushing the watercolor process.
What I see a lot of students do (and what I did early on when I was learning) is to attempt to make the scene look as complete as possible as soon as possible. Instead of trusting the process and being content with the blur of color in the first wash, they hone in on details of a particular area of the scene and try to make it "look like something."
When you paint, don't be in a rush to make your painting look complete. Sure, the darks and details often get all the credit, but the real heavy lifting in your scene is done by building up your values and finding that large connected shape. So get in tune with those values and the large shapes of the scene. Work methodically through the process and don't rush. If you can stay true to that approach, you'll be much happier with your finished paintings.
Next Week's Topic
Next week, I'm going to be talking about my drawing process.
I will be breaking things down in a very fundamental way and talk to you about my process of creating the drawings for my paintings. So be sure and visit the site next week too!
Related Blogs
Common Watercolor Mistake You Can Fix Today
