Questions to Ask Before You Complete Your Watercolor
Jun 28, 2023The last 10 or 15 minutes of your watercolor painting process are the most important. What you do at this stage can make or break your painting - especially in watercolor.
When you're adding your final bits of detail, when you're adding your darks, when you're trying to bring the whole thing together in watercolor, there's not a lot of ways to correct your mistakes. So if you put in some darks where they don't belong, it doesn't really work out. We want to keep our painting as fresh as we possibly can. We don't want to compromise our painting's clarity right at the end.
Enjoy this post? Like this Pin!

3 keys to Completing a Watercolor Painting
Today, I'm going to give you my three keys to finishing your painting strong - and the three reflection questions to remember at the end of your process.
1. Am I fatigued or in need of a break?
When you get to the point where you're ready to add darks and details to your painting - when you're about 90% done with your painting, my advice is to stop. Take a step away from your watercolor for a bit.
Here's the thing - you've spent hours at this point choosing your subject, drawing your scene, mixing colors, painting wash after wash, and there are so many decisions involved in this. Your brain has been actively making choices for a while. And if you're anything like me, you're probably feeling some decision fatigue.

The American Medical Association defines decision fatigue as a "state of mental overload that can impede a person's ability to continue making decisions." Along with this, you might also need a break from looking at your painting altogether. Chances are, you're not seeing it as it is at this point. You might be hyper-focused on a certain area of the painting and need some space from it.
I can't tell you how many times I have made a hasty decision at this point in my painting process and regretted it later.

You know, I'm getting tired and I'm losing my ability to make those sharp, good decisions. I just try to do the best that I can do in the moment. And sometimes, unfortunately, I have messed up a painting or I've been very disappointed by those decisions.
The right approach is check in with yourself. If you're feeling mentally fatigued, give yourself a little bit of a break before you finish your painting.
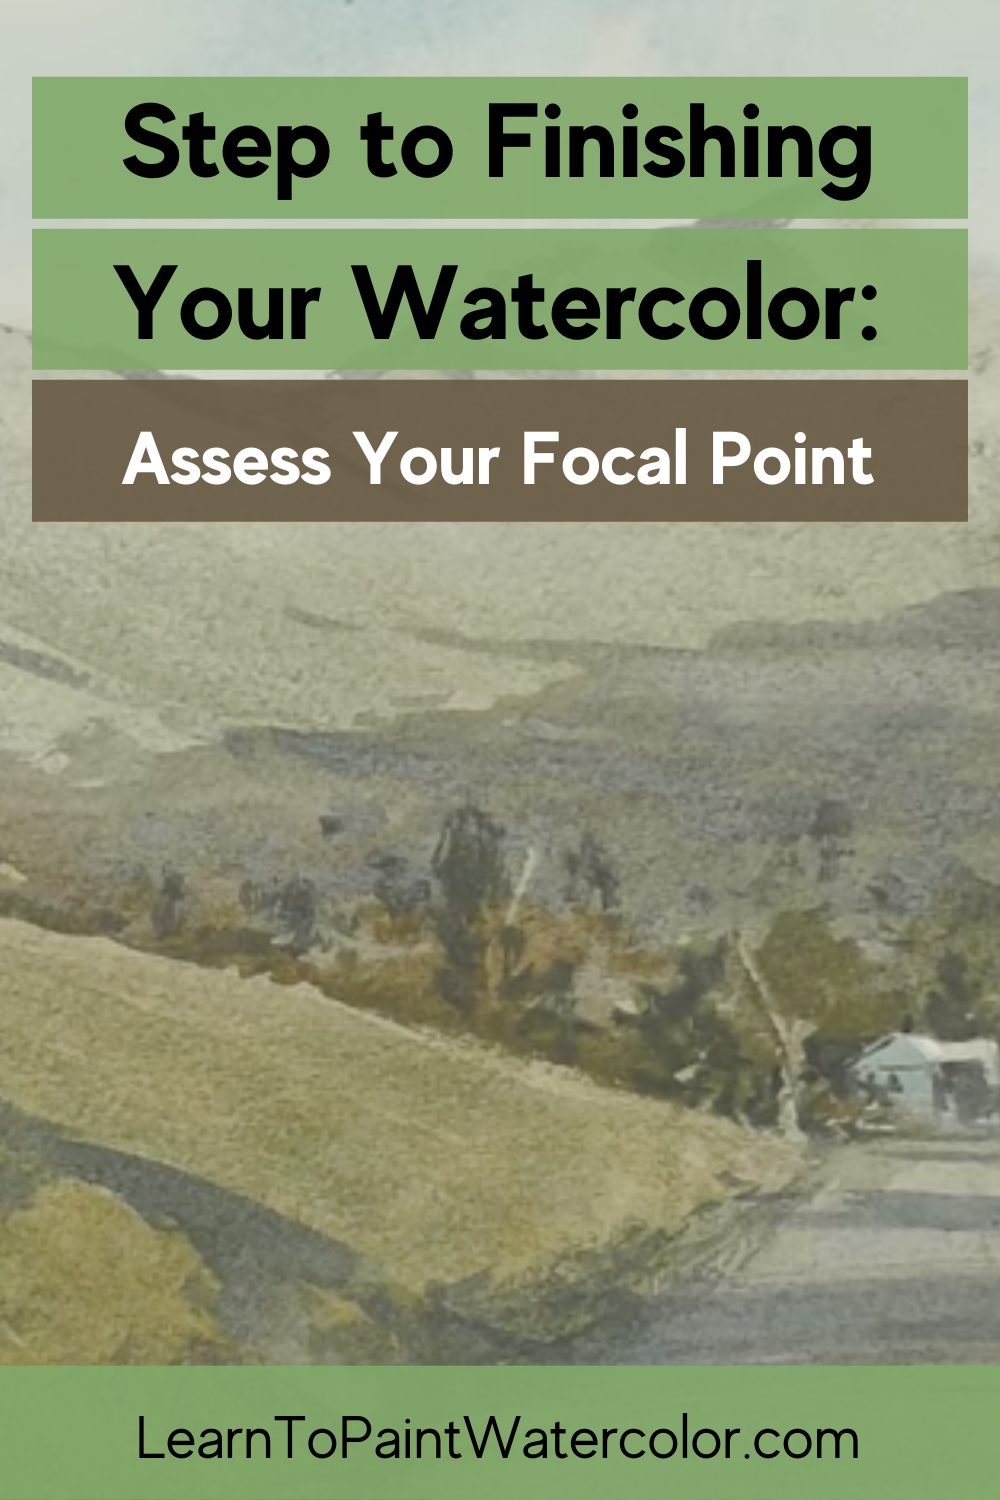
2. Is my focal point properly highlighted or emphasized?
Remember that if you emphasize everything, you emphasize nothing.
So my next point is ask yourself, did I emphasize the main point of the painting and design the rest of the painting to support your main point?
For a moment, let's talk about why you select scene. While we're talking about finishing the painting, this is something that you should keep in mind throughout the whole painting process. And the end is no exception.
So a lot of times when we get to the end of the painting process, we need a few little touches to finish the painting to really bring it all together. When I do this, I like to step back from my painting and see how the whole painting is reading together, how it's all working together. And I like to keep my eye on the focal area.
Ask yourself, for this particular painting, what's most important to you? Is it a bit of light on a car? The light side of a building? A figure? A sense of distance? Whatever it is that attracted you to this scene, make sure that you're reinforcing it in the finishing touches of your painting.

Also remember, that you want to include a defining characteristic in your focal area. Whatever that area is, make sure that it's highlighted properly and that the other parts of the painting work to accent the area that you've designated as your focal point.
For more tips on focal areas of a painting, check out my video on composition.
3. Are there any parts of my painting that are "boring?"
So once you've had a mental break, once you reinforce the focal area, take another step back from your painting. Ask yourself - are there any areas of my painting that just don't hold my interest? Maybe there is wide open area with one color that you weren't able to switch up. Is there any little area that could use a mark to break up a boring area of the painting? Is there a big area of dark value in your scene that could use a little bit of highlight?
This is when you can scratch in a little highlight, you can add a little dash of gouache, a little bit of light to break up a dark area.
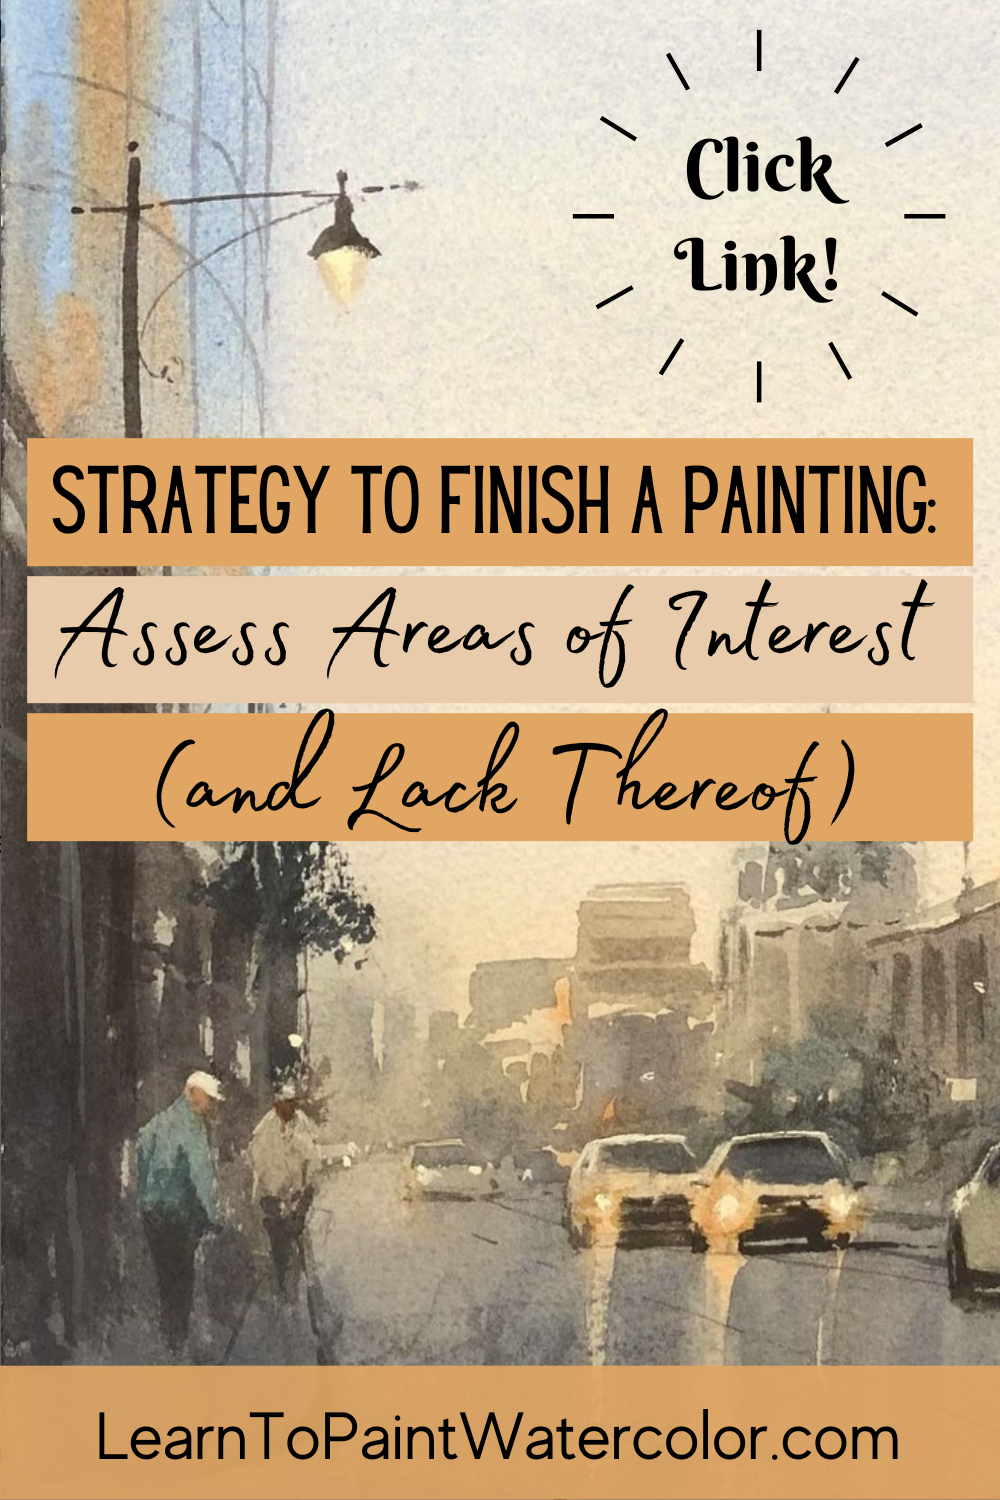
The same thing goes for a big light area of your painting. Assess your whole scene and look for any areas of the scene that just need to be broken up with shade. And when you are doing this, you can also think about, did I get the light right in the scene?
We can't go lighter, but we can go darker. Sometimes I might notice a wash that has dried to light and I might do a little bit of a glaze over it to darken up that area and make sure that my lightest area of light is where I want it to be. Or I might darken the foreground a bit. In this way, you can direct the viewer's attention into your scene.
Now you need to be careful because one of the quickest ways to overwork your painting is to add little additions around your scene without understanding how they're connected to your focal area and the rest of the painting.
Two Crucial Points in the Painting Process: Beginning and End
Have you ever been really excited about a painting, you get all set up, you find that right reference photo or scene you want to paint, but when it's time to go, you feel lost?
Well, I have a free resource that I want to give to you today that helps with these exact problems: the 5 steps to Plan a Successful Watercolor Painting Printable. In this pre-painting checklist, I walk you through the crucial planning phase of your painting that will help you understand what you're going to paint first, second and third.
Just as the end of your painting process is crucial, so is your planning stage at the very beginning. Watercolor is harder to correct. It's so immediate. So having that plan is very important.
Click here to download the PDF. You can have it on your phone or print it out, and reference these crucial planning steps before you start each painting. This will ensure that you're thinking through the most important aspects of painting as you get started.