Take Advantage of Watercolor's Best Attribute - Lost and Soft Edges
May 04, 2026Watercolor as a medium is obviously different than acrylics or oils. There are things that make it more difficult to work with, and there are ways it behaves that are incredibly beautiful and advantageous.
I talk a decent amount about the struggles that come with watercolor painting. Today, let's look at one of the advantages of watercolor paint: the ease with which we can create soft and lost edges.
Don't Overlook This Beautiful Part of Watercolor Painting
The way that watercolor paint mixes on the page and the way you can manipulate it with water is one of my favorite things about the medium. You can create these soft, gentle transitions in your paintings that encourage a connected, fluent painting rather than divisions that can lead to a choppy scene.
But in order to really take advantage of this attribute, you've got to start from the beginning.
First Wash
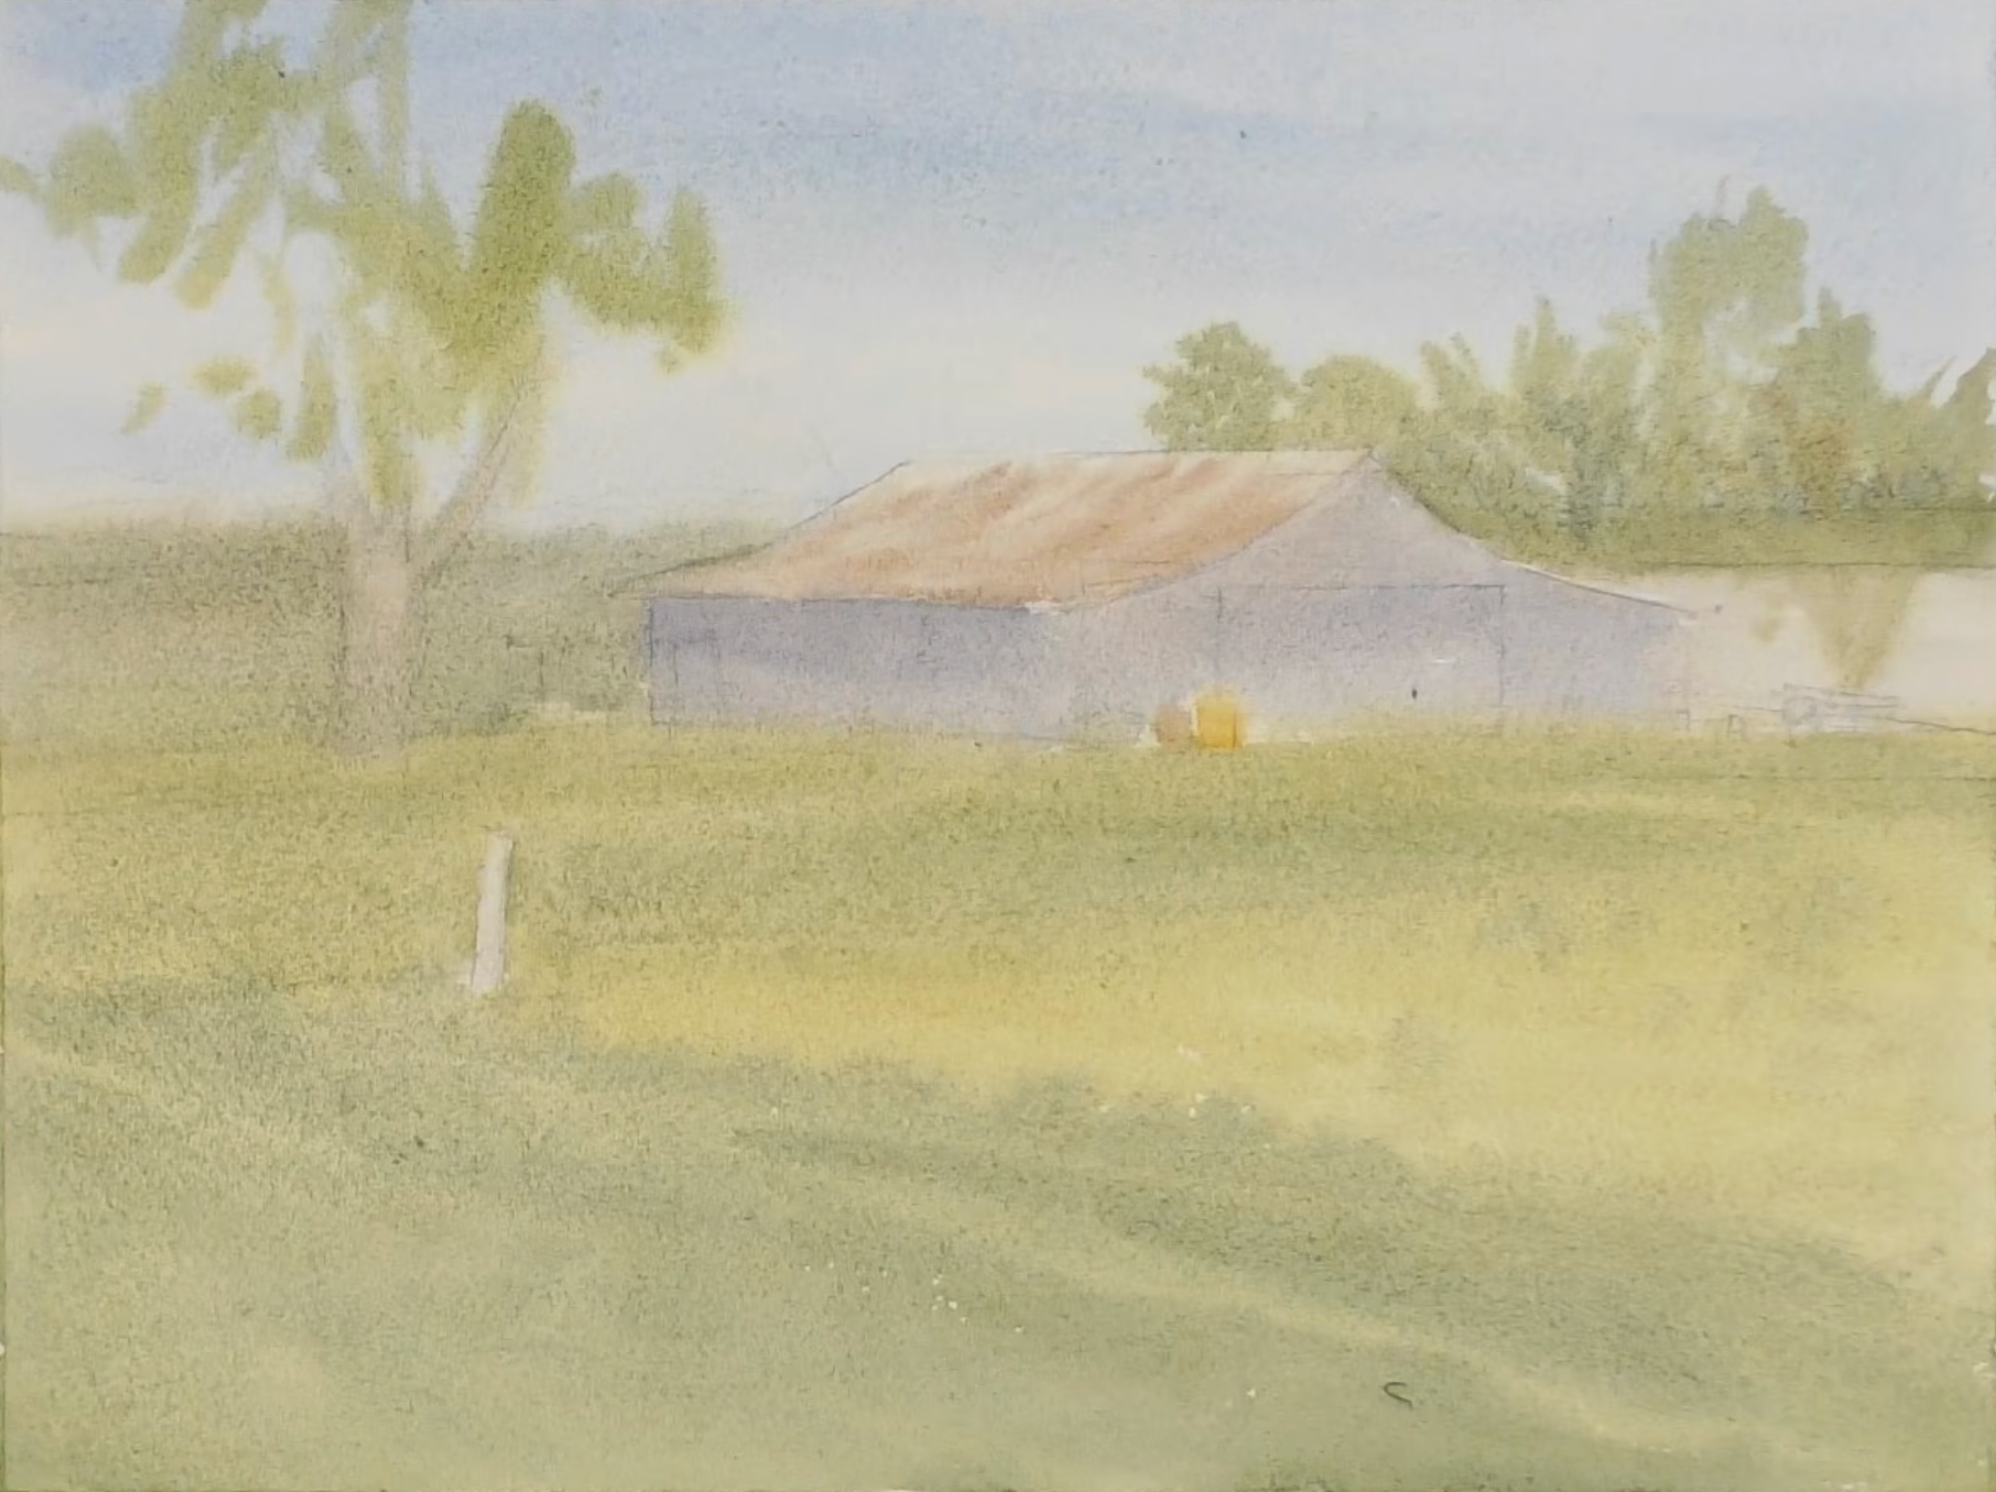
The first wash is where you can get the softest mix because you can completely wet the front and back of your paper to begin.
My next step with this painting (after wetting the paper) was to lay in the sky, which in this case is just a simple, faded blue. I used a mixture of Cobalt Blue and Cerulean here. Then I moved to the roof of the barn and lay in a thicker mixture of Raw Sienna with a smaller brush.
Then I moved to the foliage of the trees and used Cobalt Turquoise and Raw Sienna. I put in more of this soft green than I needed. Some of it will be covered later on with darker green hues, but I want to give myself the option of letting the soft, light green color shine through and give depth. After this, I used Neutral Tint and Cobalt Blue for the shadow side of the barn, Raw Sienna, Cadmium Yellow, and Cobalt Blue for the green in the foreground.
Second Wash
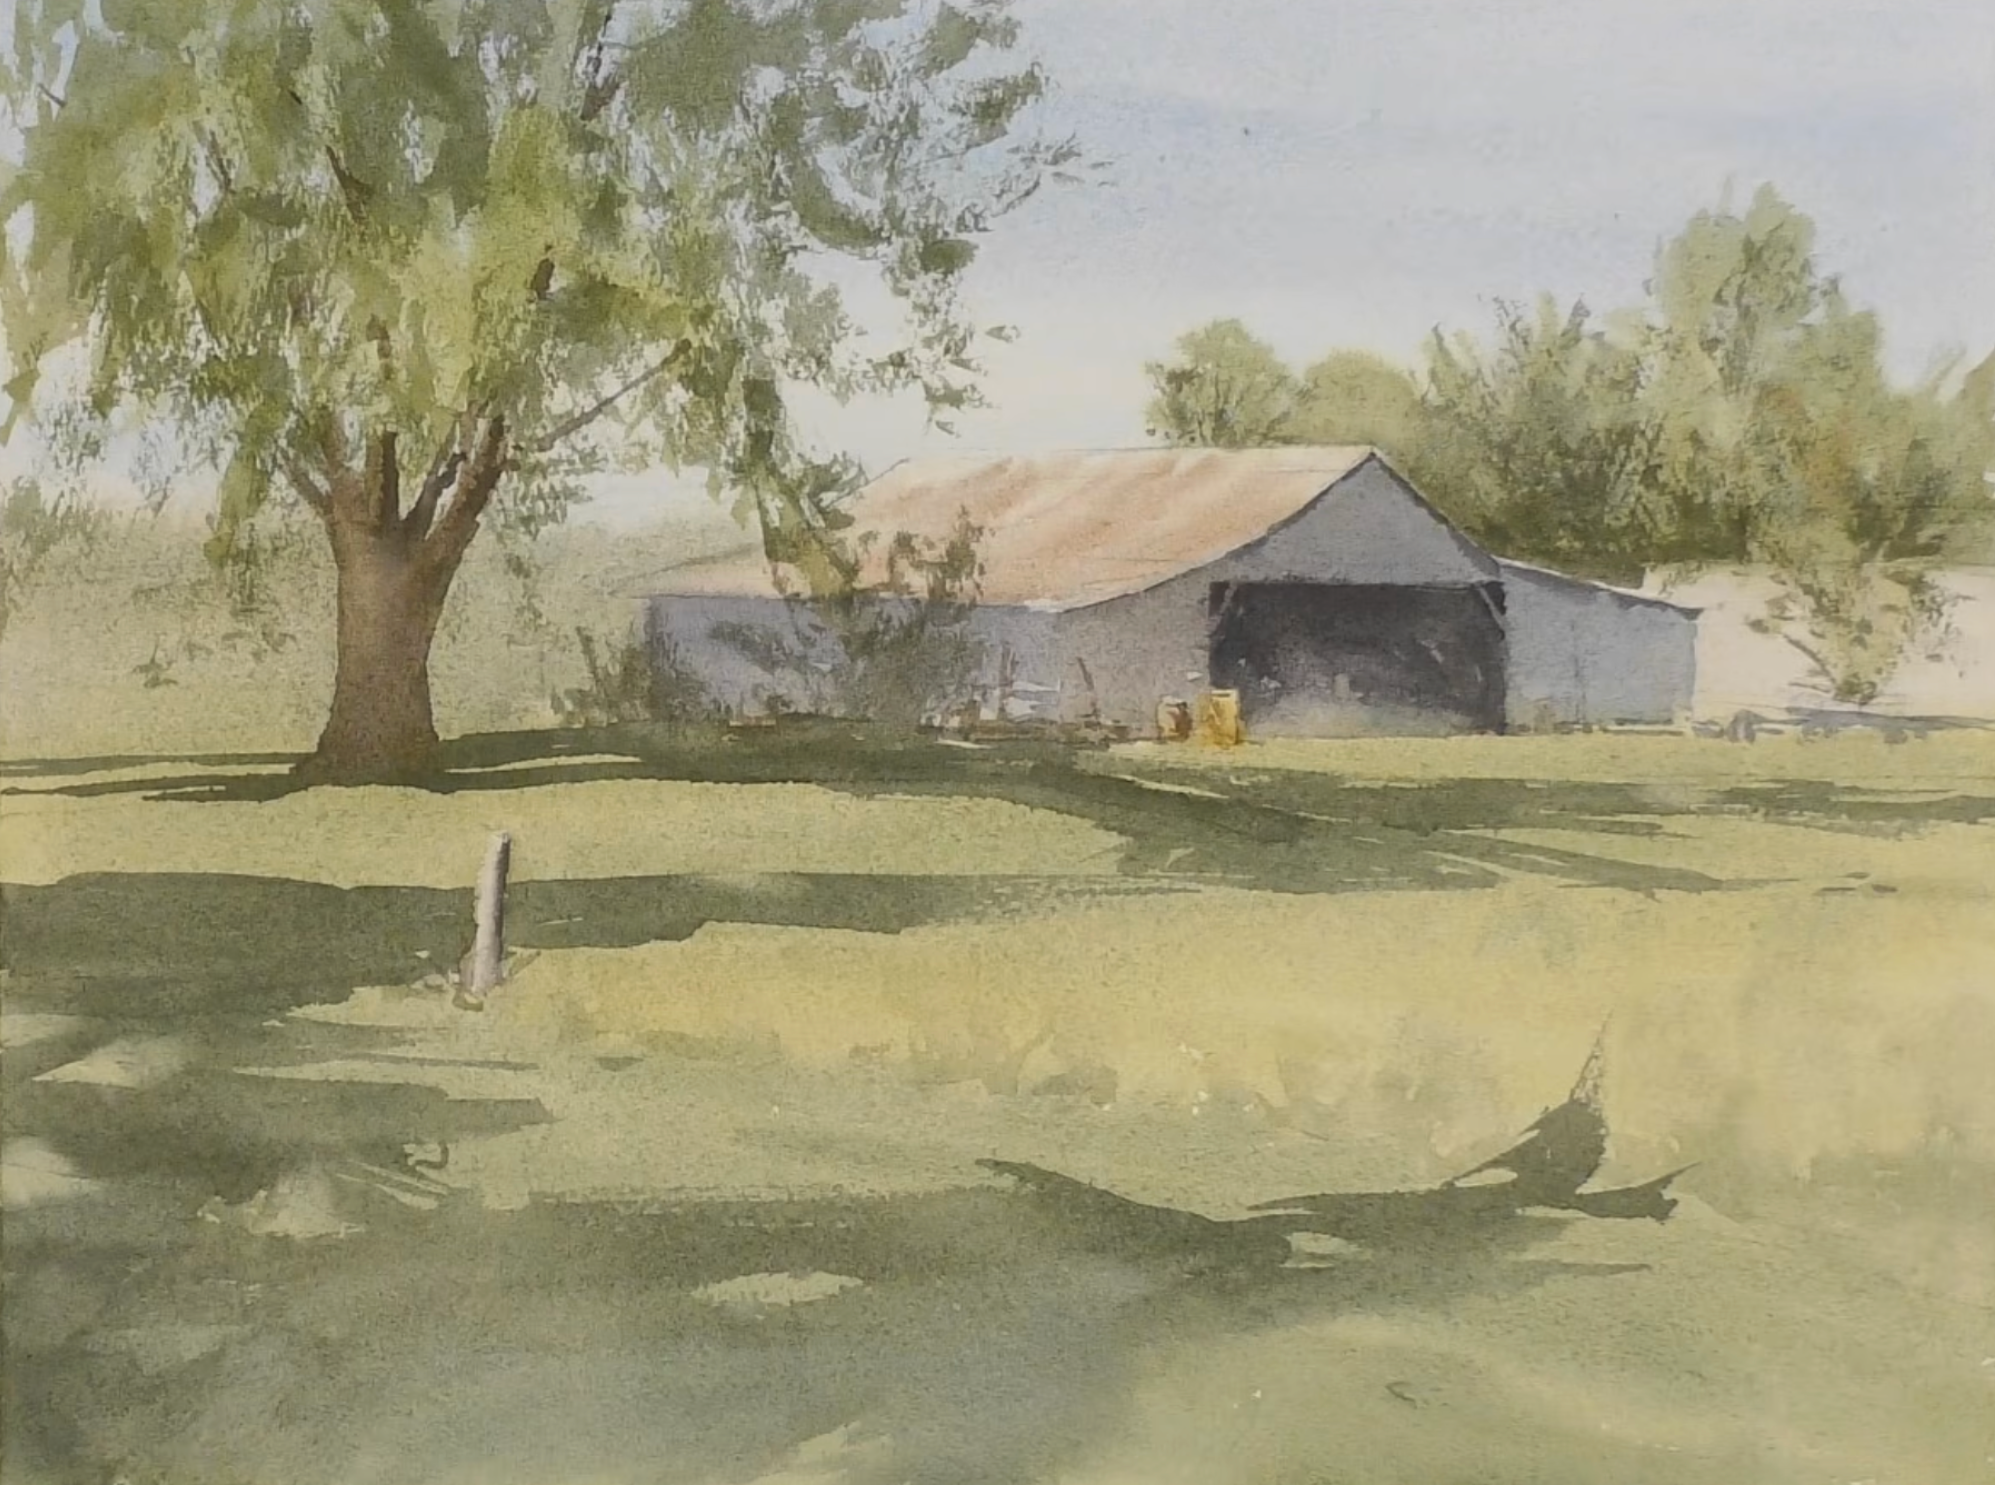
The first wash is all about the soft edges and light values.
The the second wash, however, is about defining shapes. While we can still create soft edges, there will be many more hard edges in this phase. This contrast is what is really important. The hard edges emphasize the soft ones, and make our work in that first wash shine.
I started with the shadow side of the barn and then went to the foliage of the trees, covering some of that work we did in the first wash, but preserving the lighter colors enough for a nice light effect. In this second wash, I am concentrated on creating a large, connected shape.
What if you want soft or lost edges in your second wash? Even without a wet surface, you can achieve soft edges by applying a damp brush to areas or smudging a brush mark with a paper towel.
Third Wash
The third wash is all about darks and details.
After placing some darker values on the barn with Neutral Tint and Cobalt Blue, I stepped back a bit from this painting. I always advise students to do this. When you're about 80% done with a painting, pause and take a break. Maybe go for a walk or get a snack. Just take your eyes off your painting for a bit so that when you come back you're clear about what the painting is missing. I'm always thankful when I do this. It often prevents me from overworking a scene.
Following my break, I added branches to the tree, details on the trailer to the side of the barn, added some texture onto the background behind the main tree, added a final wash to the foreground, and then added a few highlights around the scene with gouache.
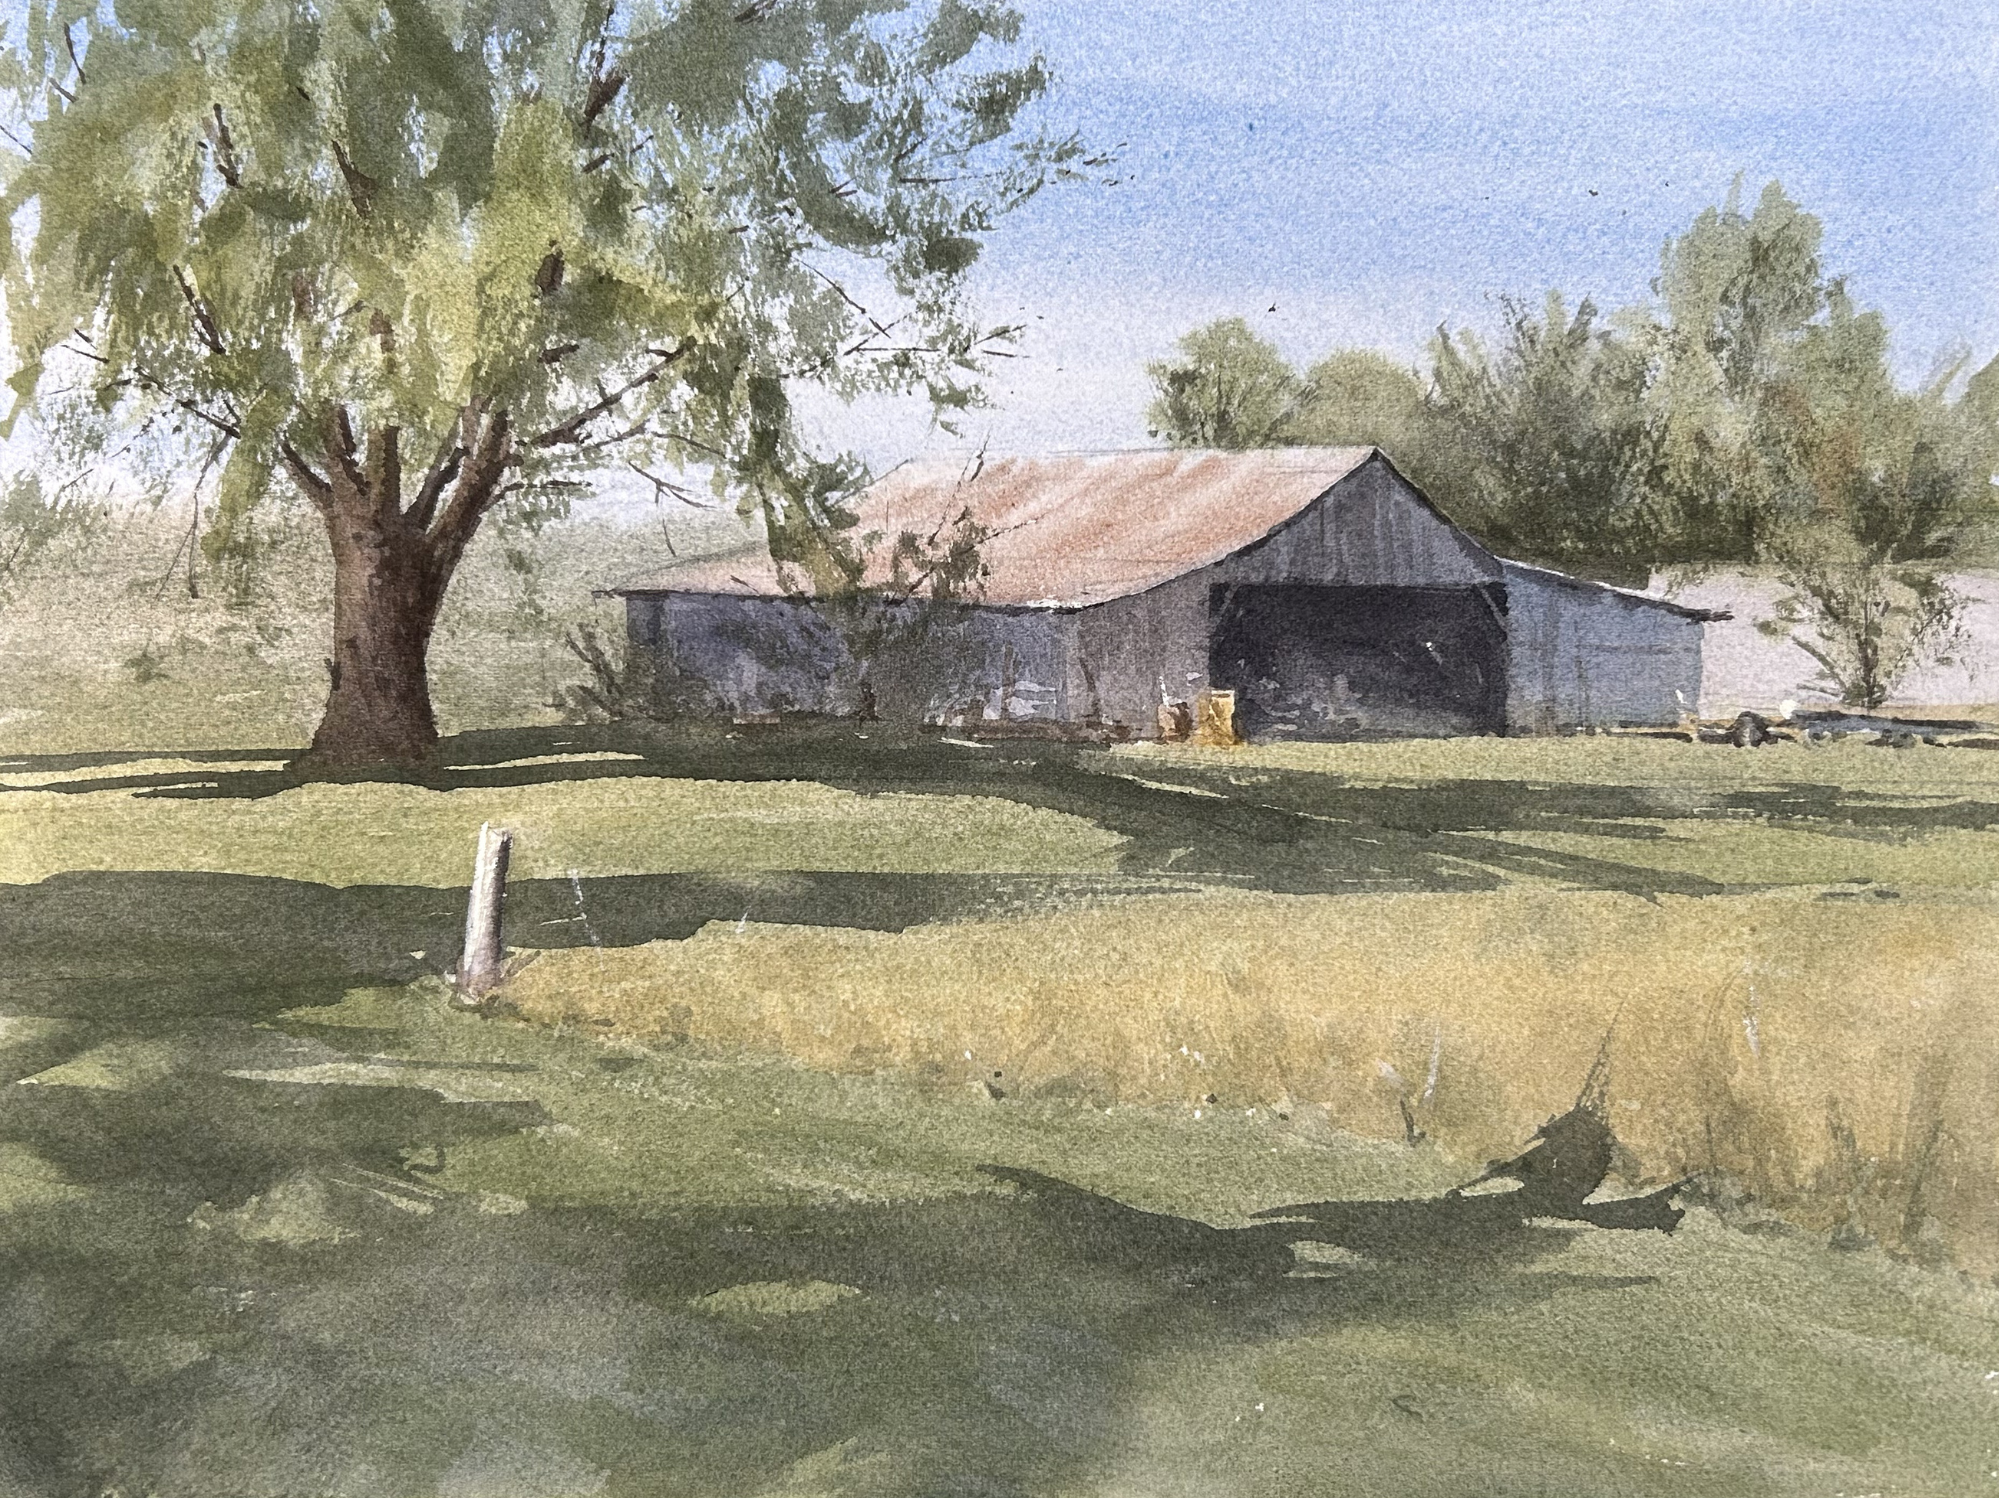
Now that you've seen the full painting process, observe how beautiful those soft edges are. They don't look like much at first, but when juxtaposed with the hard edges and details that come later, they really stand out.
I hope this gives you a new appreciation for this aspect of our medium. And if you want to, watch the full video again and try your hand at this scene!
Related Blogs
Why Most Watercolor Beginners Fail at Step One
How To Depict Sweeping Distances With Watercolor - 3 Concrete Tips
Learn These Steps to the Watercolor Painting Process
