Why Most Watercolor Beginners Fail at Step One
Feb 16, 2026Have you ever been stopped in your tracks as you set up to paint a scene when you realize you just don't know where to start? This can be paralyzing and frustrating.
This is what I am going to address today - those first brushstrokes that set you up to paint a successful watercolor.
Mastering Your First Wash
In other mediums, you can paint your light values on top of the dark, but with watercolors, this is not possible. So we have to almost think in reverse.
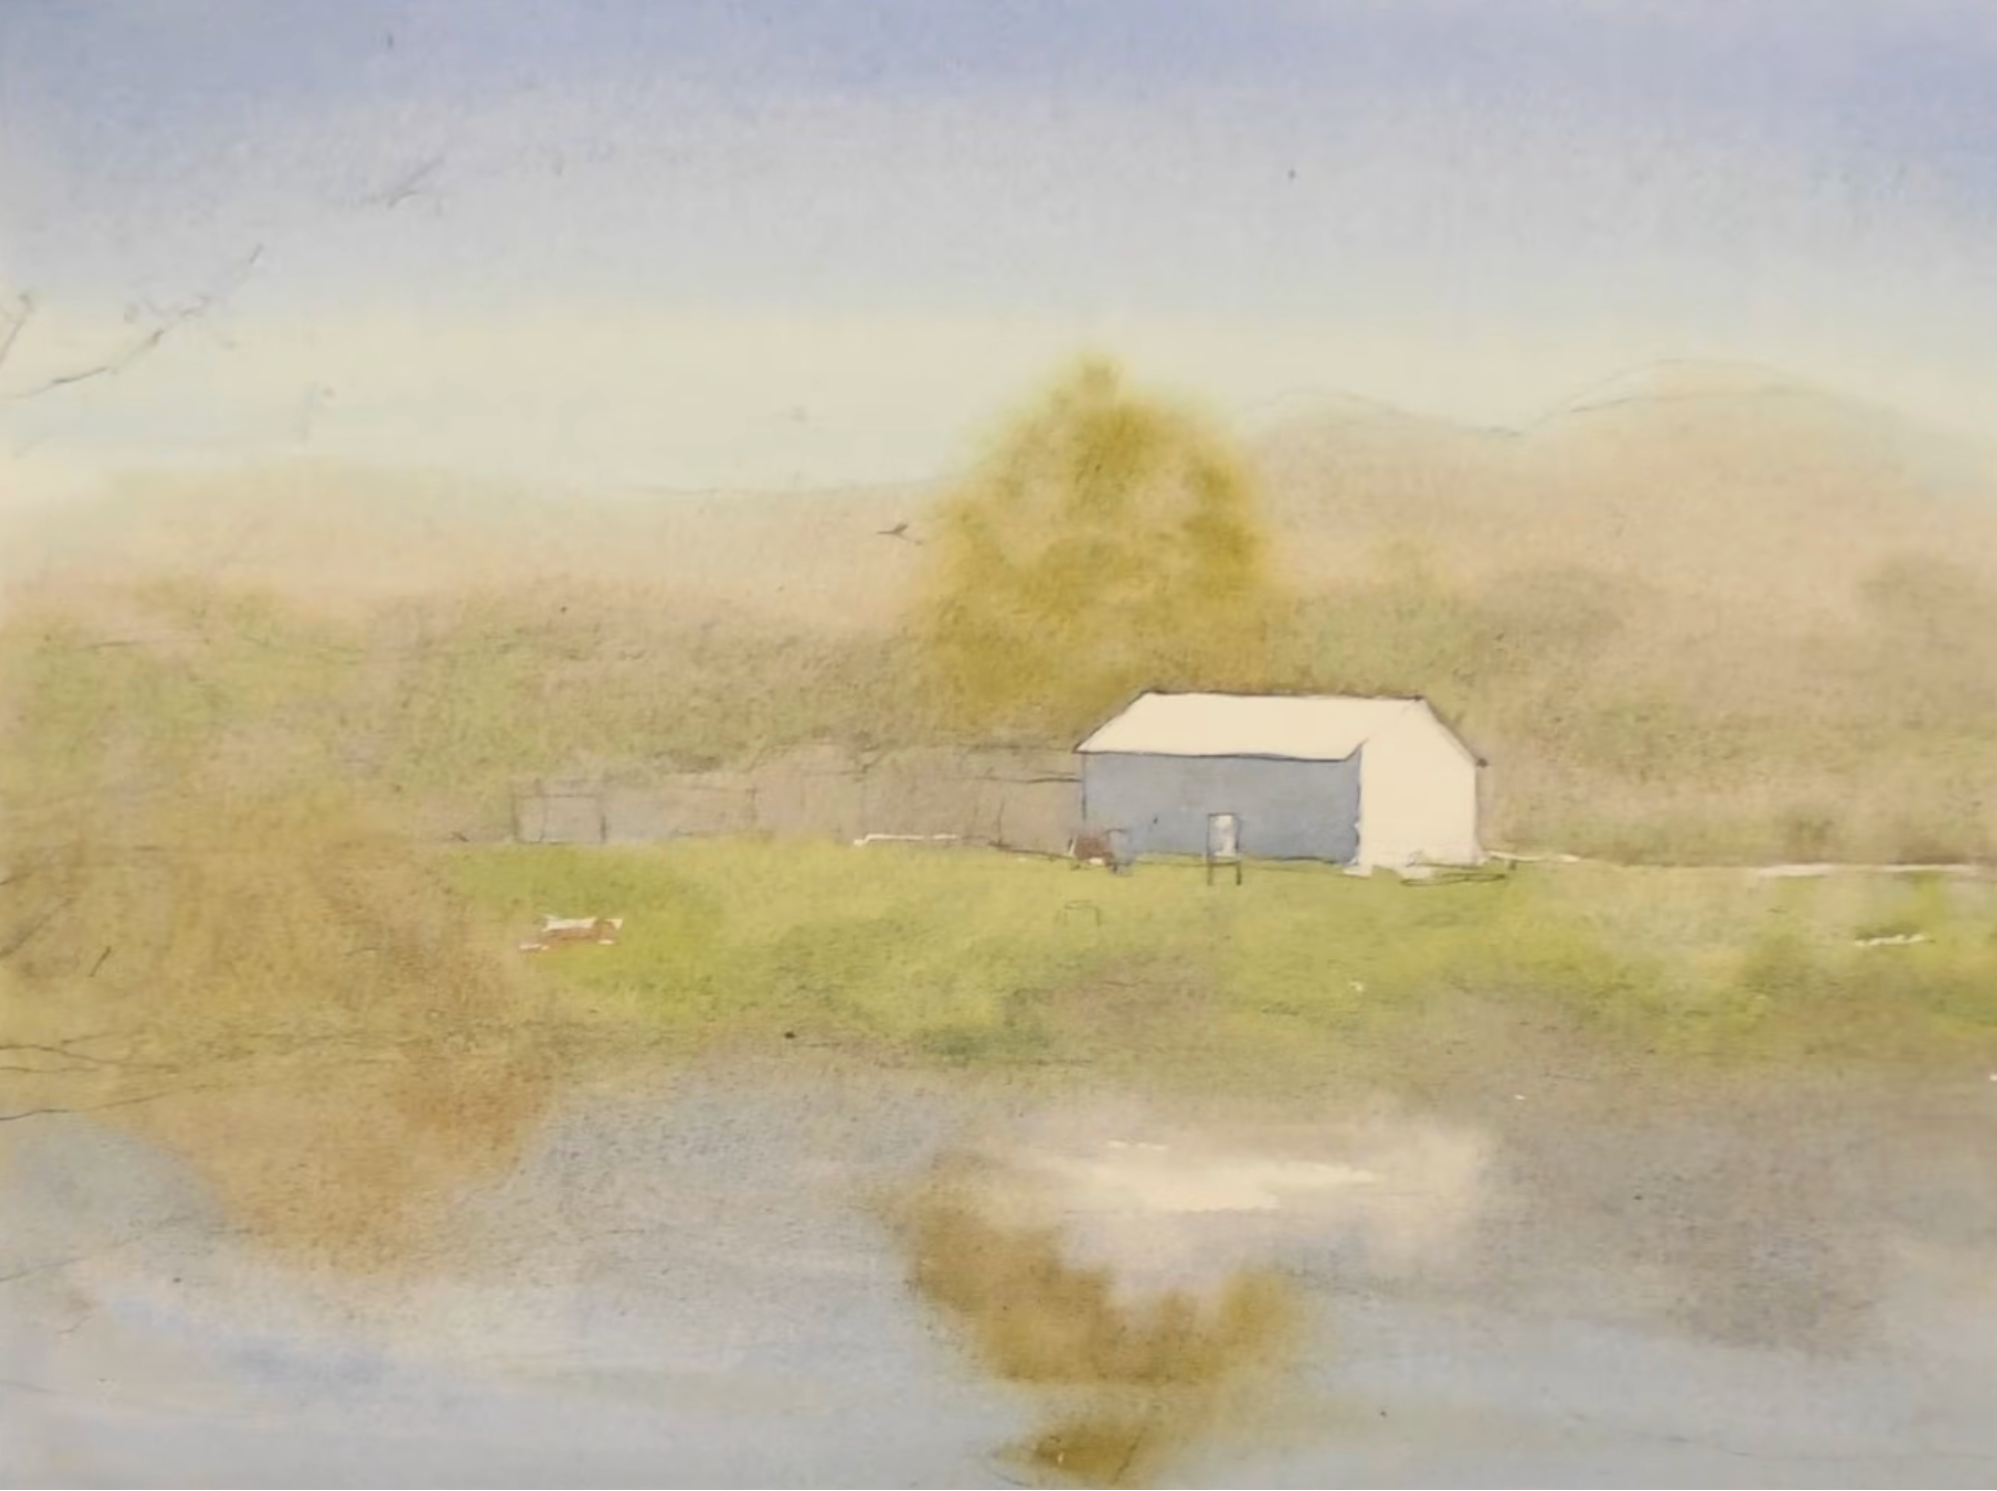
The first wash is essential to the success of your painting. Without it, your painting will turn out flat and lacking that spectrum of values that is the key to depicting light, depth, and dimension.

So after I've worked out my composition and finished my drawing, here's what I do:
- Wet my paper down on both sides.
- I know that some people are not comfortable not taping their paper down. No worries. Just tape your paper like you always do, but first take a sponge and pre-wet the paper. This gives you ample time to work wet-into-wet and allow colors to merge and blend, which is unique to watercolor.
- Identify the lightest part of the scene.
- In the painting above, there were a few places that I wanted to preserve the white of the paper: on the side and roof of the barn, and then a reflection in the water. Remember to identify these sections before you wet down your paper because you'll want to avoid these areas with your sponge on the front of the page.
- Paint your sky.
- Start at the top of the page and work down. I always paint my sky darker at the top, fading as I get to the horizon line.
- Drop in colors for the rest of the scene, working around the white I want to preserve.
- I cover the entire paper in my first wash.
- The colors I use for the background are often more muted because that helps depict the distance. As I move down my page, I use more saturated paints.
- Drying time will vary depending on humidity, the time of year, and whether you're indoors or outdoors. If it's drying quickly, reload your brush and work from the bead for a smooth, seamless wash.
- You should not try to achieve a full spectrum of values in the first wash. You are only thinking about a soft, light wash - but not too light! This is a common issue with beginners. They don't take into consideration the fading of the paint. Compare the value you're using to the white of the paper. We want there to be a discernible difference here.
Here's my completed first wash:
Paint Your First Wash With the Second Wash in Mind
As you're painting your first wash, think about which parts of this layer you'd like to leave visible through your second wash. A lot of what you lay down in this wash will be covered up later, but it's important because you now have the option in your second and third wash to be strategic about where you let those lighter values sneak through.
Here is my second wash. Do you see the places those lighter values are peeking out? Without the first wash focused on the lightest values, this is not possible. But because I've laid a good foundation and set up for the light in the scene, the second wash was successful... and is almost complete!
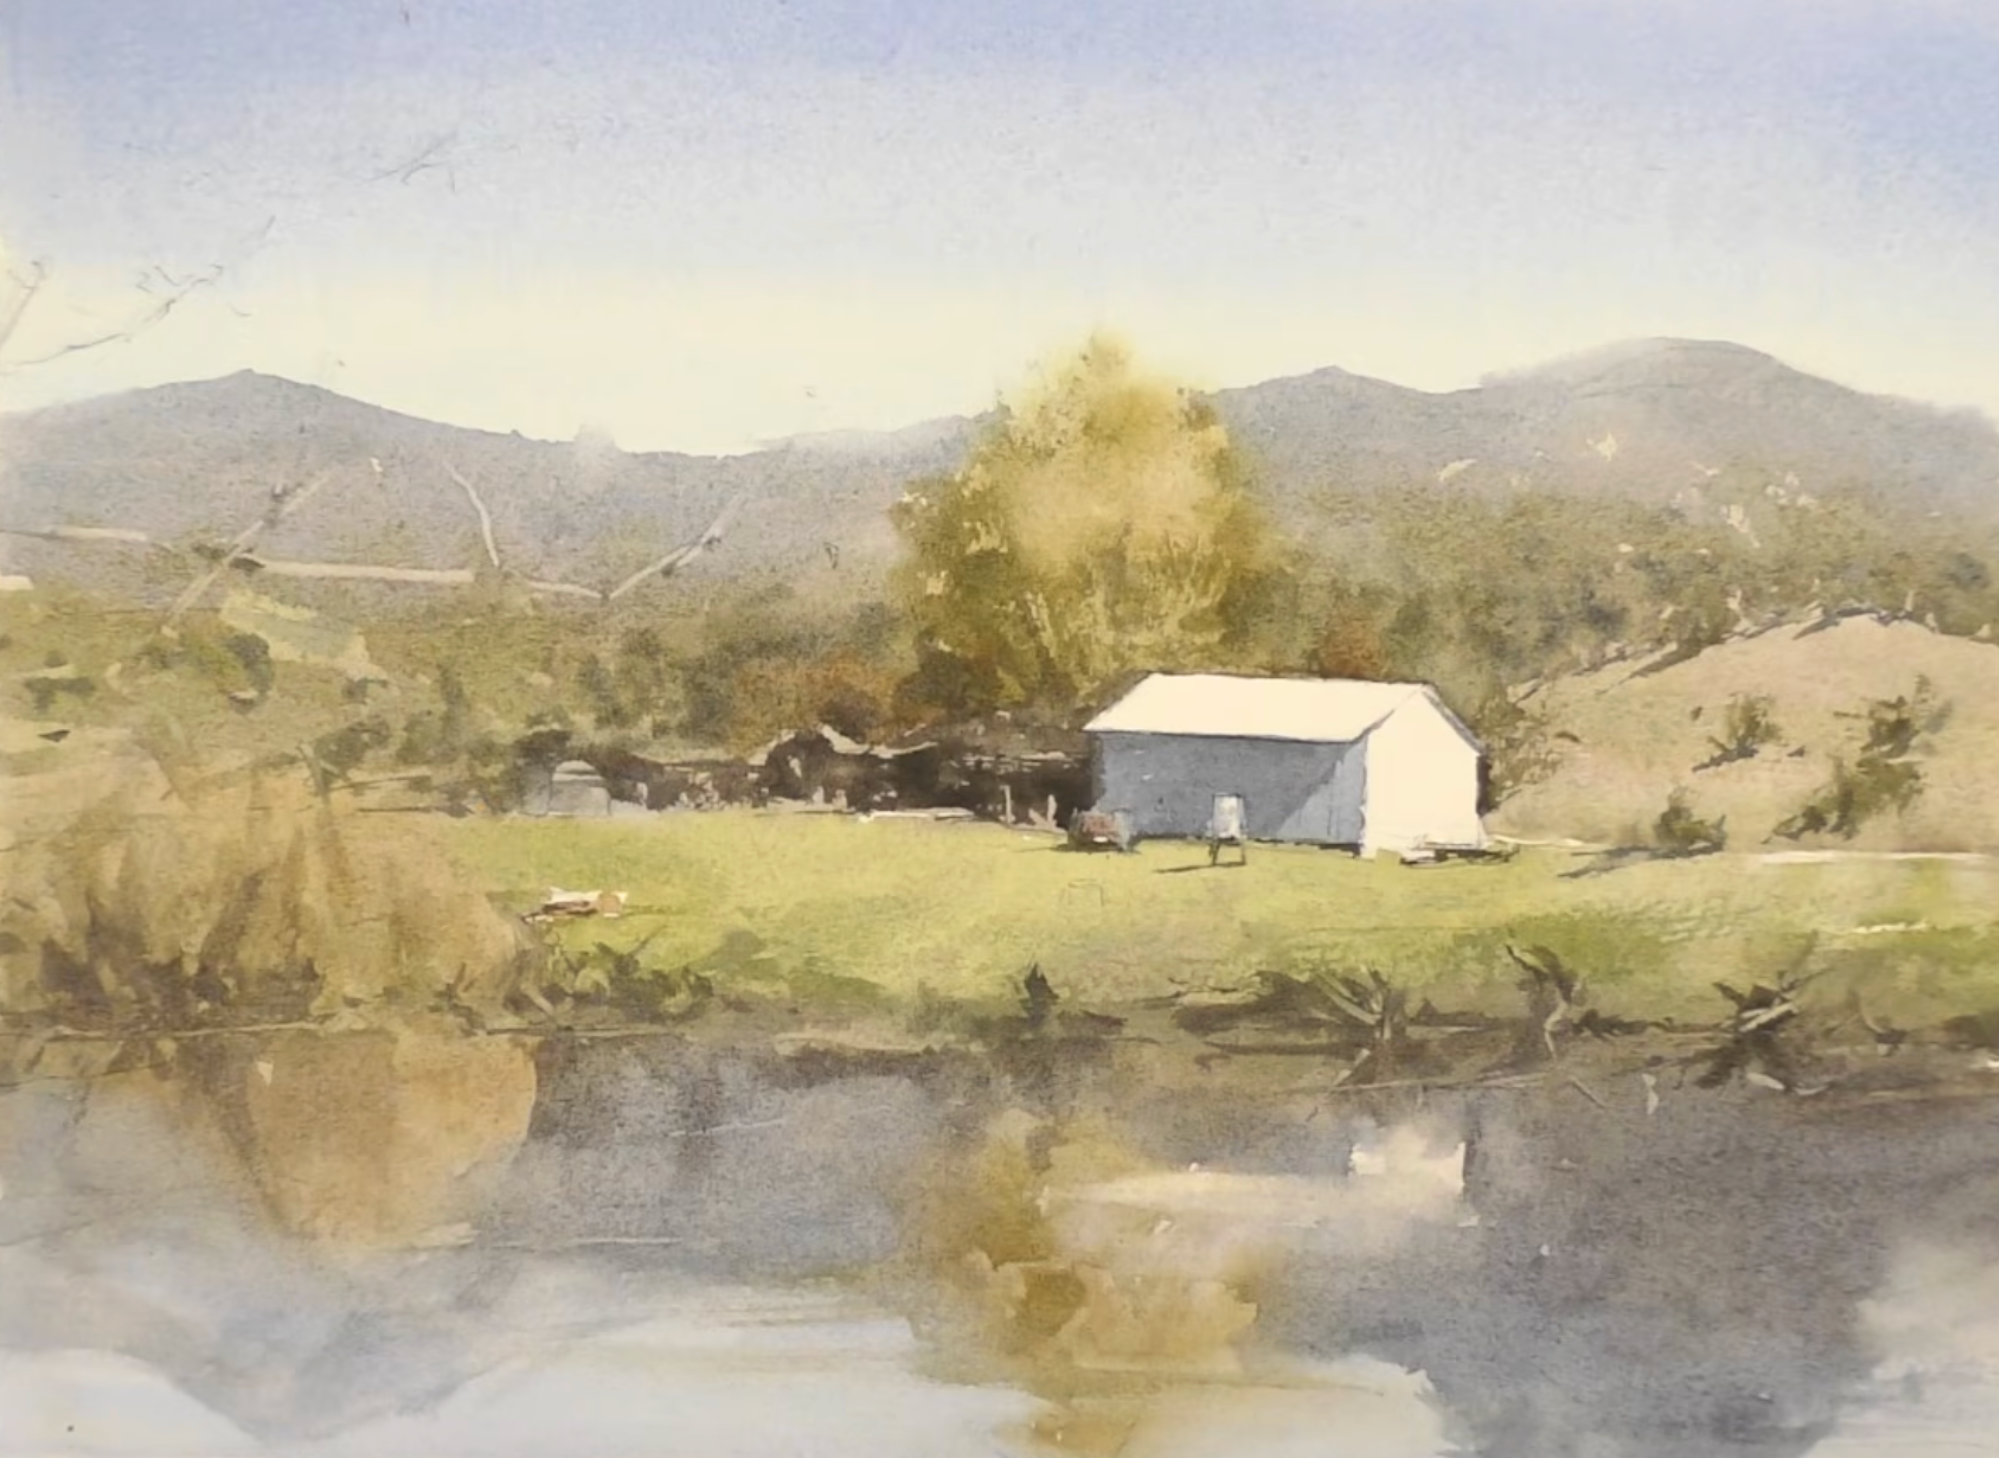
Want some instruction on the second wash? Click here for more about the connected middle value shape!
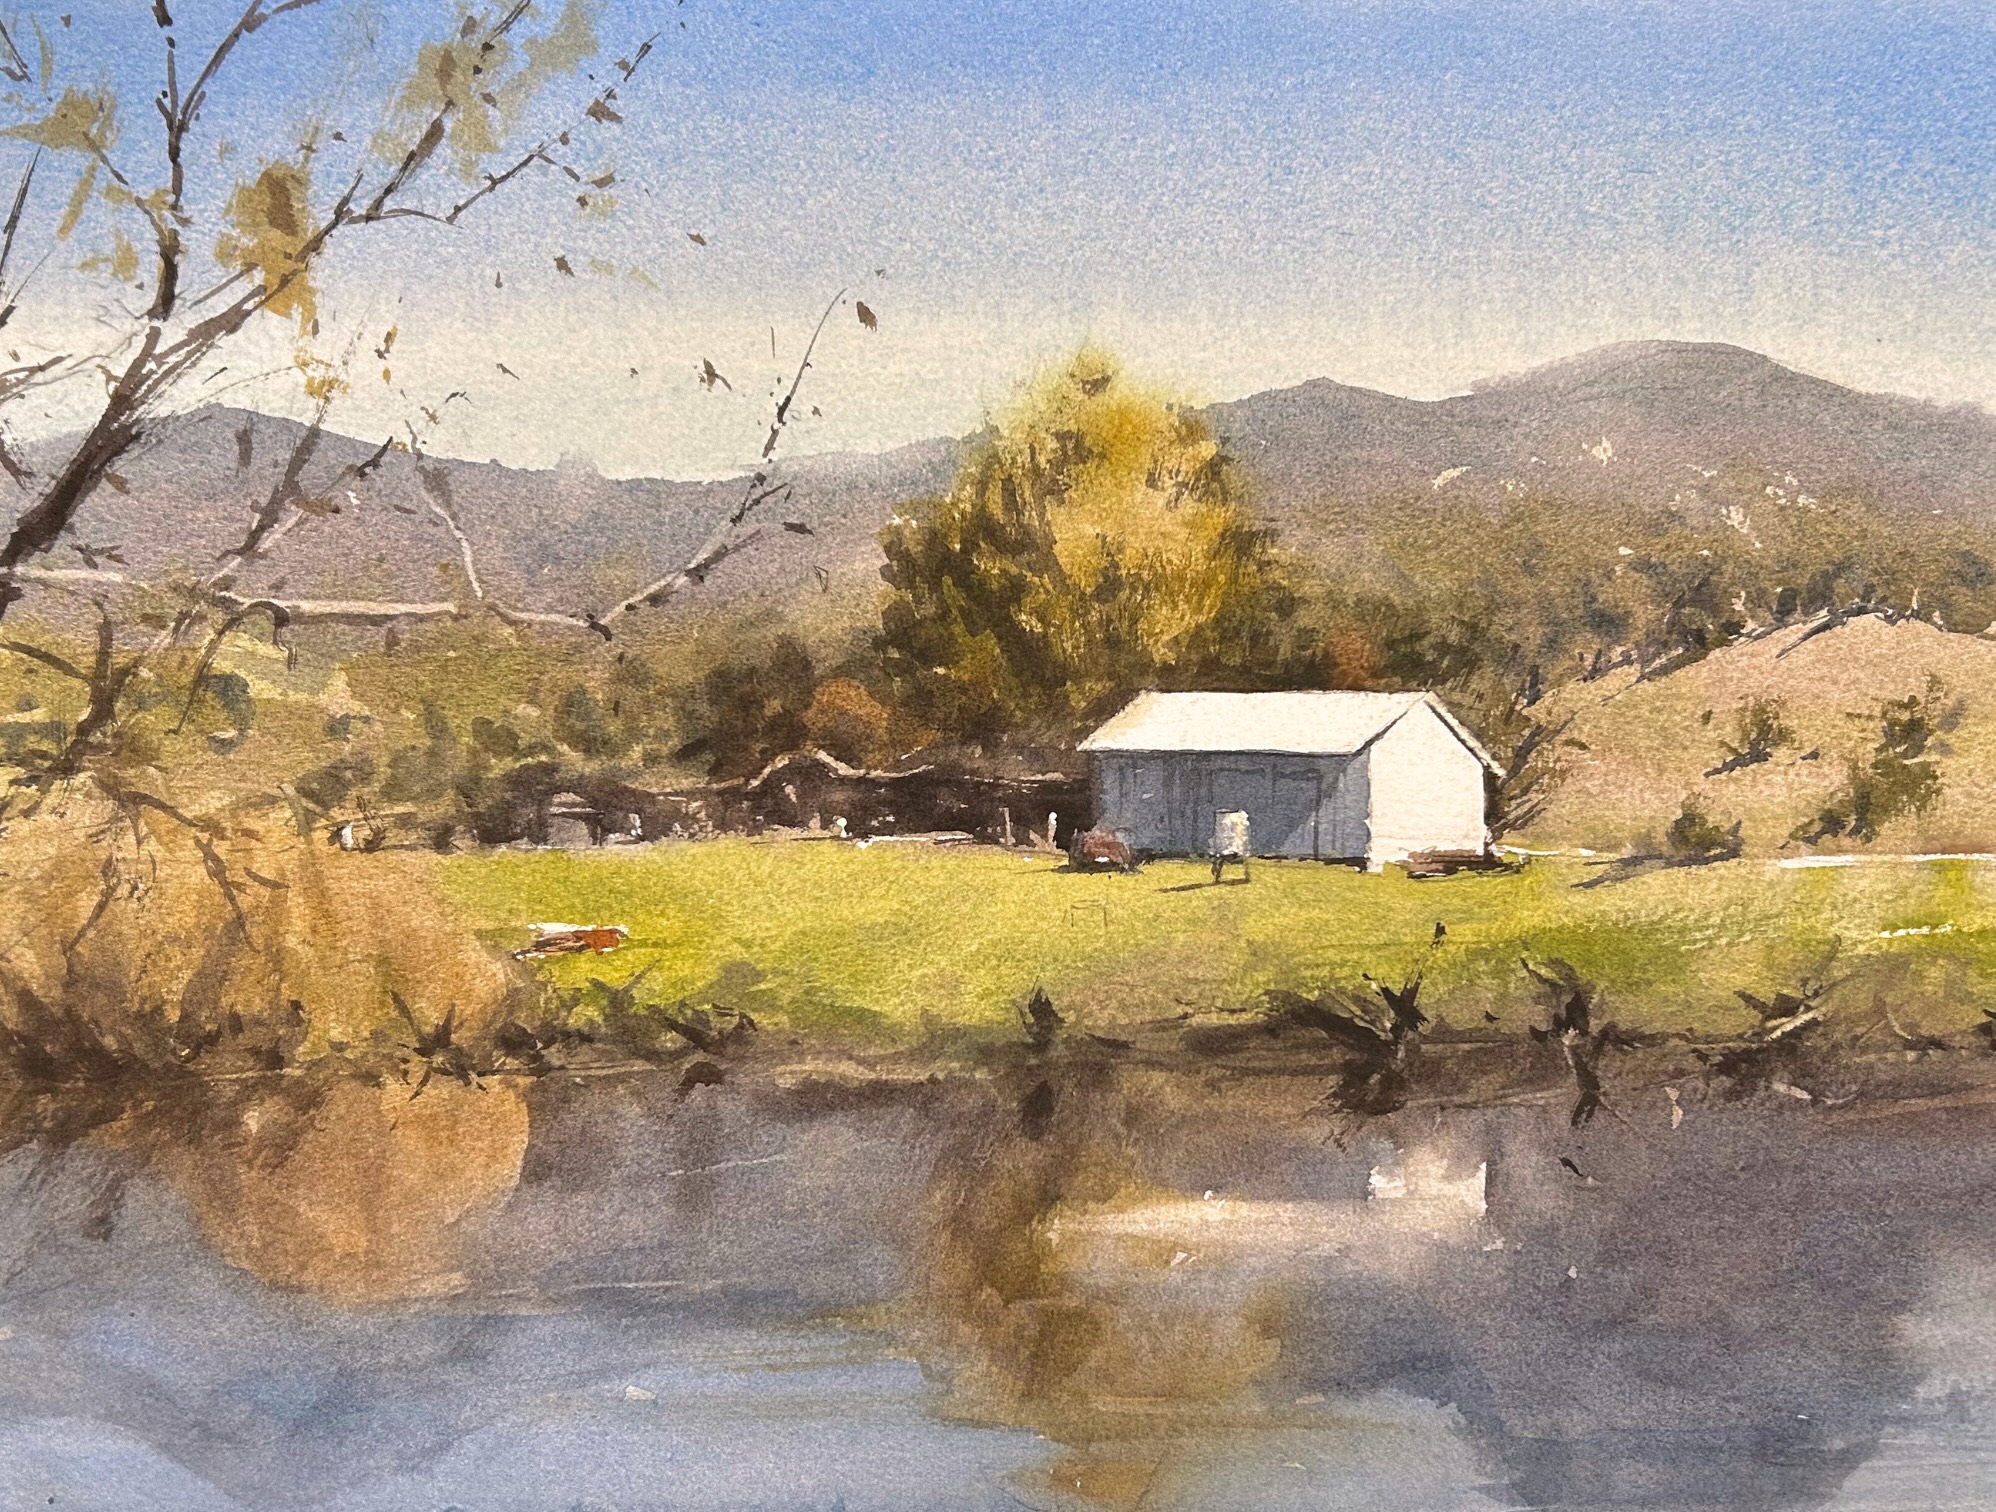
The third wash (darks and details) rounded out the process, and here's my final painting:
Related Blogs
Strengthen Your First Wash For A Strong Foundation
