Tape-Free Watercolor: Embracing Spontaneity on Paper
Dec 04, 2023Enjoy this post? Like this pin!

The Magic of Wet into Wet
One of the reasons I prefer watercolor over other mediums is the incredible depth and complexity you can achieve when you work wet into wet. It's truly magical when you get those beautiful, lost edges when you allow colors to mix with one other on the paper. They create these wonderful soft transitions and seamless blends. Watercolor shines when we relinquish a bit of our authority and we let the pigments merge organically on the paper. Painting wet into wet is where we let watercolor kind of be watercolor, and we don't have 100% of control.
I have found that the best way to take advantage of this incredible part of the medium is to wet down both sides of your paper before you start to paint - which means you have to throw out the tape. This helps you create a wonderful wet into wet wash, which is the foundation of your painting. If you can get this wash correct and master this phase of your painting, you set yourself up for success later.
Understanding My 3-Step Watercolor Painting Process
To understand the significance of wetting both sides of the paper, it's helpful to see in the context of my 3-step painting process, which involves a progression from light to dark.

Divided into three phases, I start my watercolor paintings with a light value wash, followed by a medium value wash, and ultimately, I bring in the darks and details as the third step. This approach requires a reverse thinking strategy. I paint the light areas first, gradually working around them as I complete the painting process.
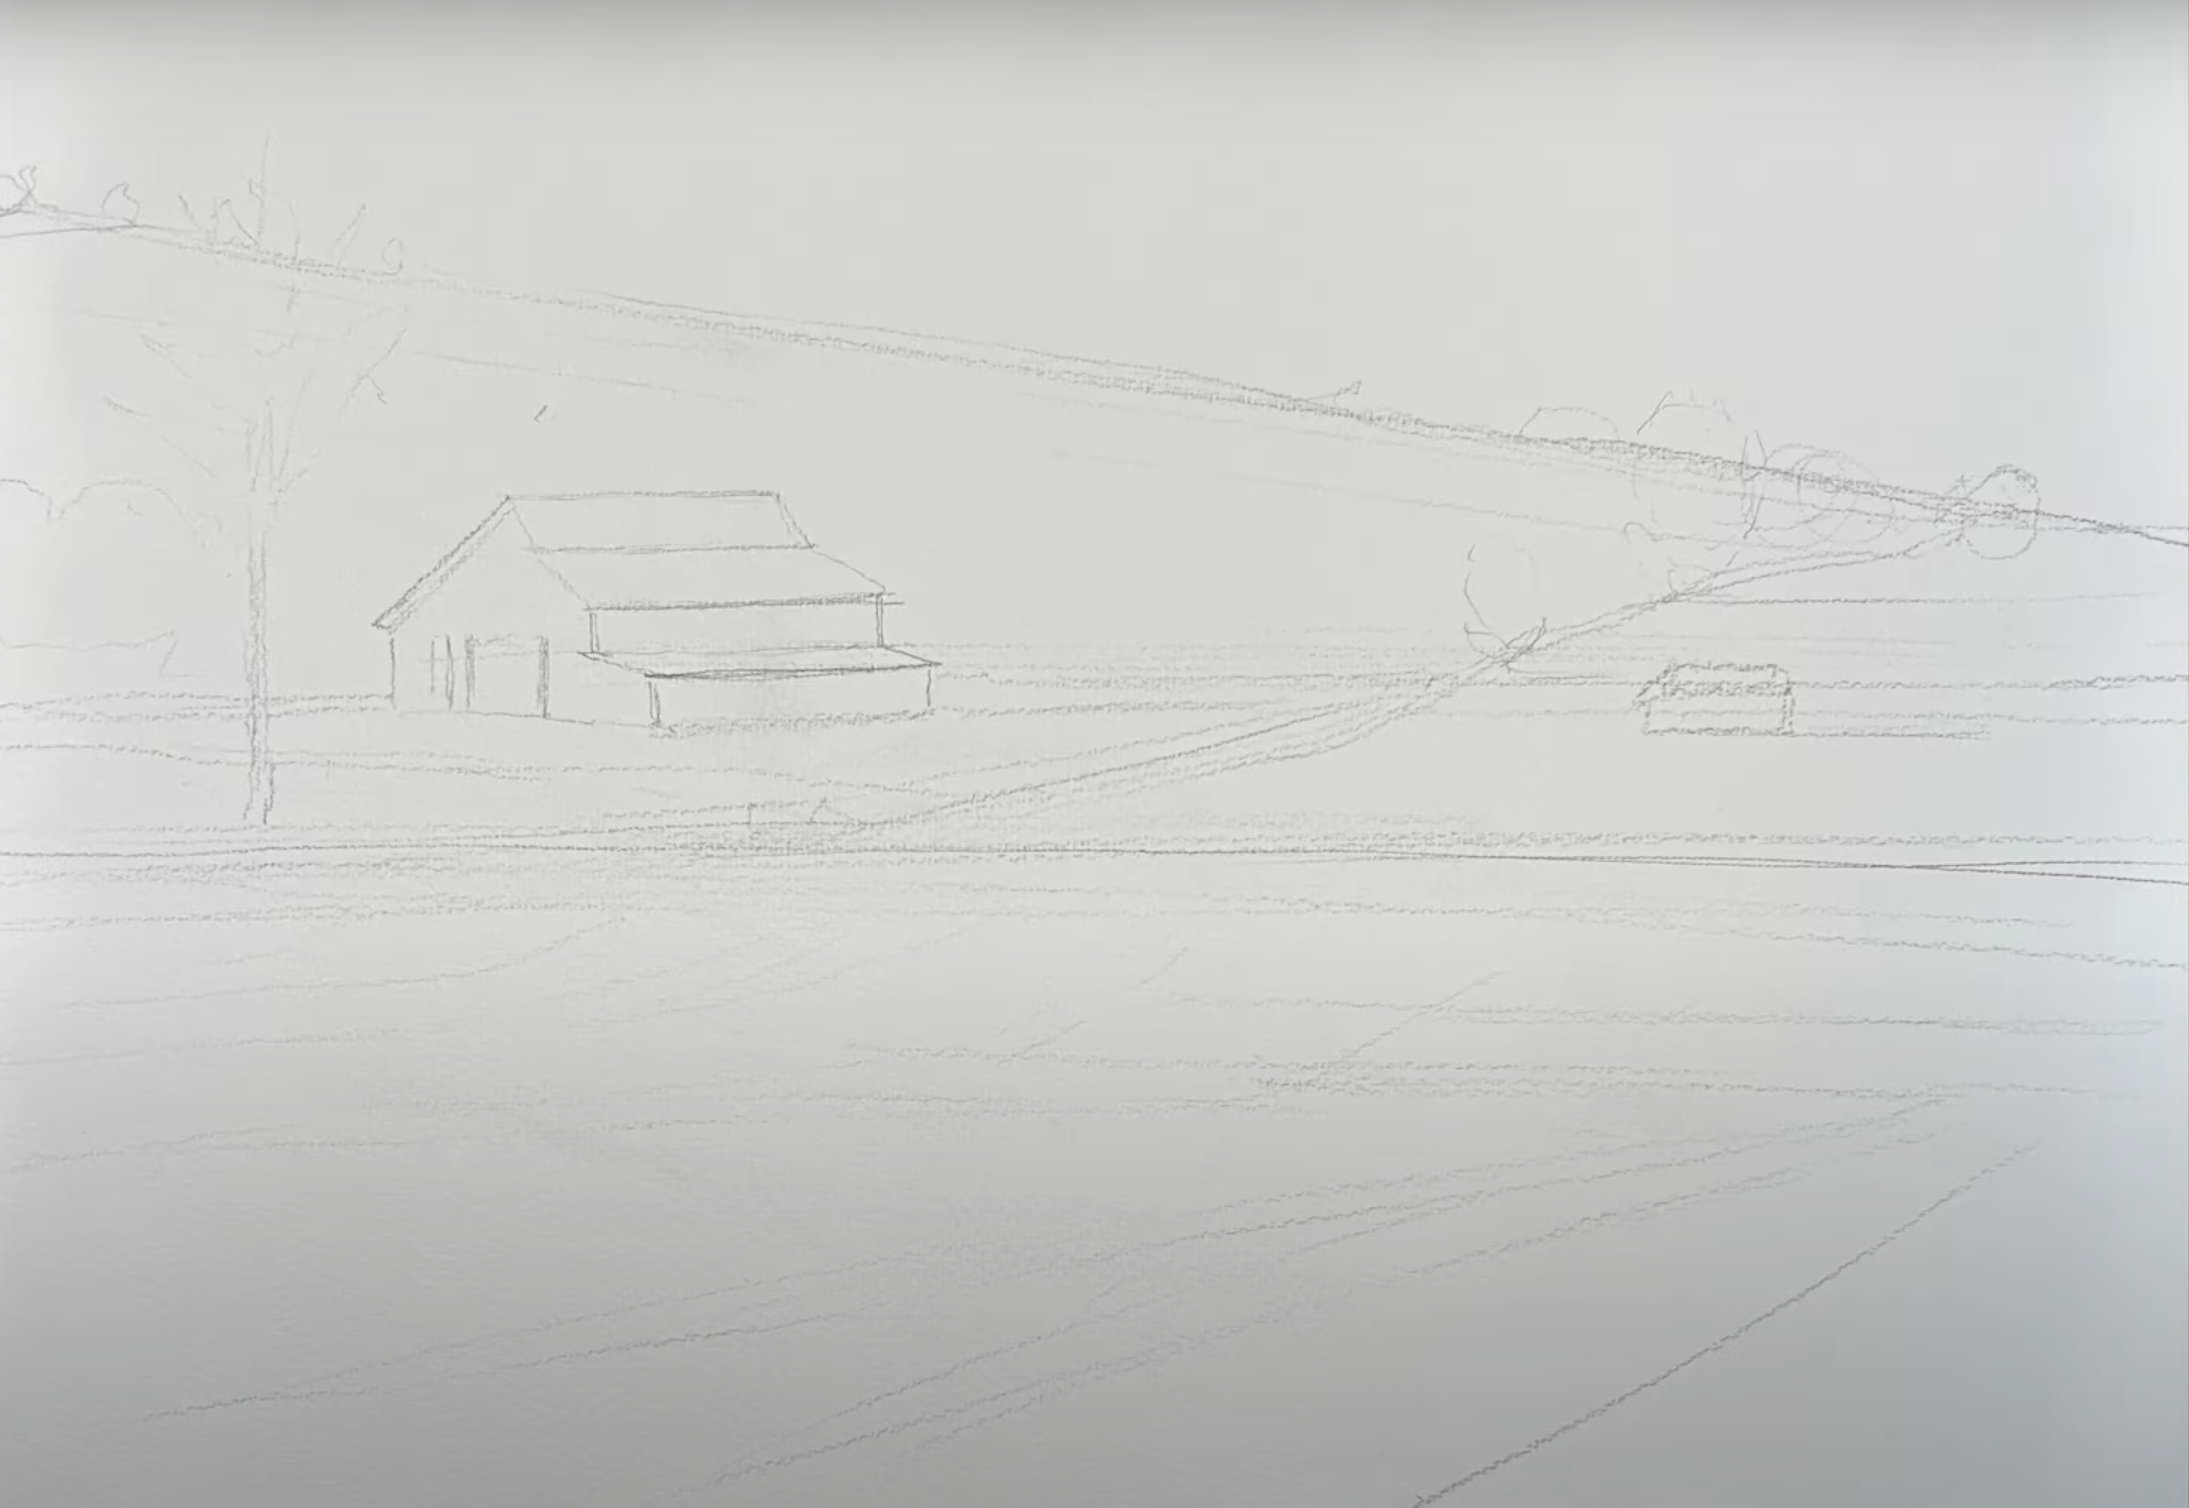
After I choose a watercolor scene, I sketch the composition with a pencil, establishing a visual blueprint for the painting.
Then I dampen both sides of the watercolor paper - a departure from the conventional taping method. While this may be unsettling for those new to the technique, rest assured that wetting both sides enhances the paper's moisture level and provides more time to work within the wet-in-wet wash before it dries. I apply the moisture with a sponge, but I don't need the paper to be drenched, just damp.
This is the only time in my painting process where everything is wet and loose, and I can really let those colors flow from one to another. I can really just think about getting beautiful soft edges, soft transitions, and really setting myself up to lay down the lightest values in my scene.

Following this initial wet-in-wet wash, I allow the paper to dry before returning to paint the middle values and darks.


How Wet Into Wet Painting Creates Beautiful Skies
The decision to forego tape and wet both sides becomes particularly advantageous when painting skies.

This is a good technique for painting skies because I can work wet and wet without getting hard edges in the sky. I really like to create skies with a lot of soft edges, and I like to play with different values in the light colors of the clouds first and then going back in while the paper is still damp and paint the blue around those clouds. This approach gives me a lot of time to focus on those things and achieve the loose, soft look that I want.
FAQ About Wetting Both Sides of the Paper
I've talked about this process before, and there are always questions and concerns. Let's talk about a couple of these.
- What if you want to preserve some of the white of the paper? Well, you can do that. And if that is the case, I will dampen all the back of my paper. And then when it comes to the front of my paper, if there's an area of white that I want to preserve, I just go around that area with a sponge and I'm still able to maintain the white of the paper that I want to preserve.
- Doesn't your paper curl when you wet it this much? The key to avoiding this is to wet both sides of the paper evenly. If you do this, the paper is going to lay nice and flat on your surface, and because it's wet, it will stay right where you want it to stay. And then when the paper dries, it will dry flat.
- What should I use to wet my paper? You can experiment with this, but I use a sponge to apply the water to both front and back. This makes it easy to distribute the water evenly and avoid areas I want to preserve. You can also use a soft brush or a spray bottle.
- How wet should my paper be? This is a personal preference. Again, you can experiment with different moisture levels, but I would describe my paper as damp on both sides, not drenched.
- What kind of paper should I use with this technique? This technique can work with cold press or hot press watercolor paper. I use Saunders Waterford 140lb Cold Press Paper.
Related Blogs
3 Most Important Watercolor Supplies
Tips to Achieving the Best Paint-to-Water Ratio in Watercolor
Improve Your Watercolor Art Through This 3-Step Watercolor Painting Process
