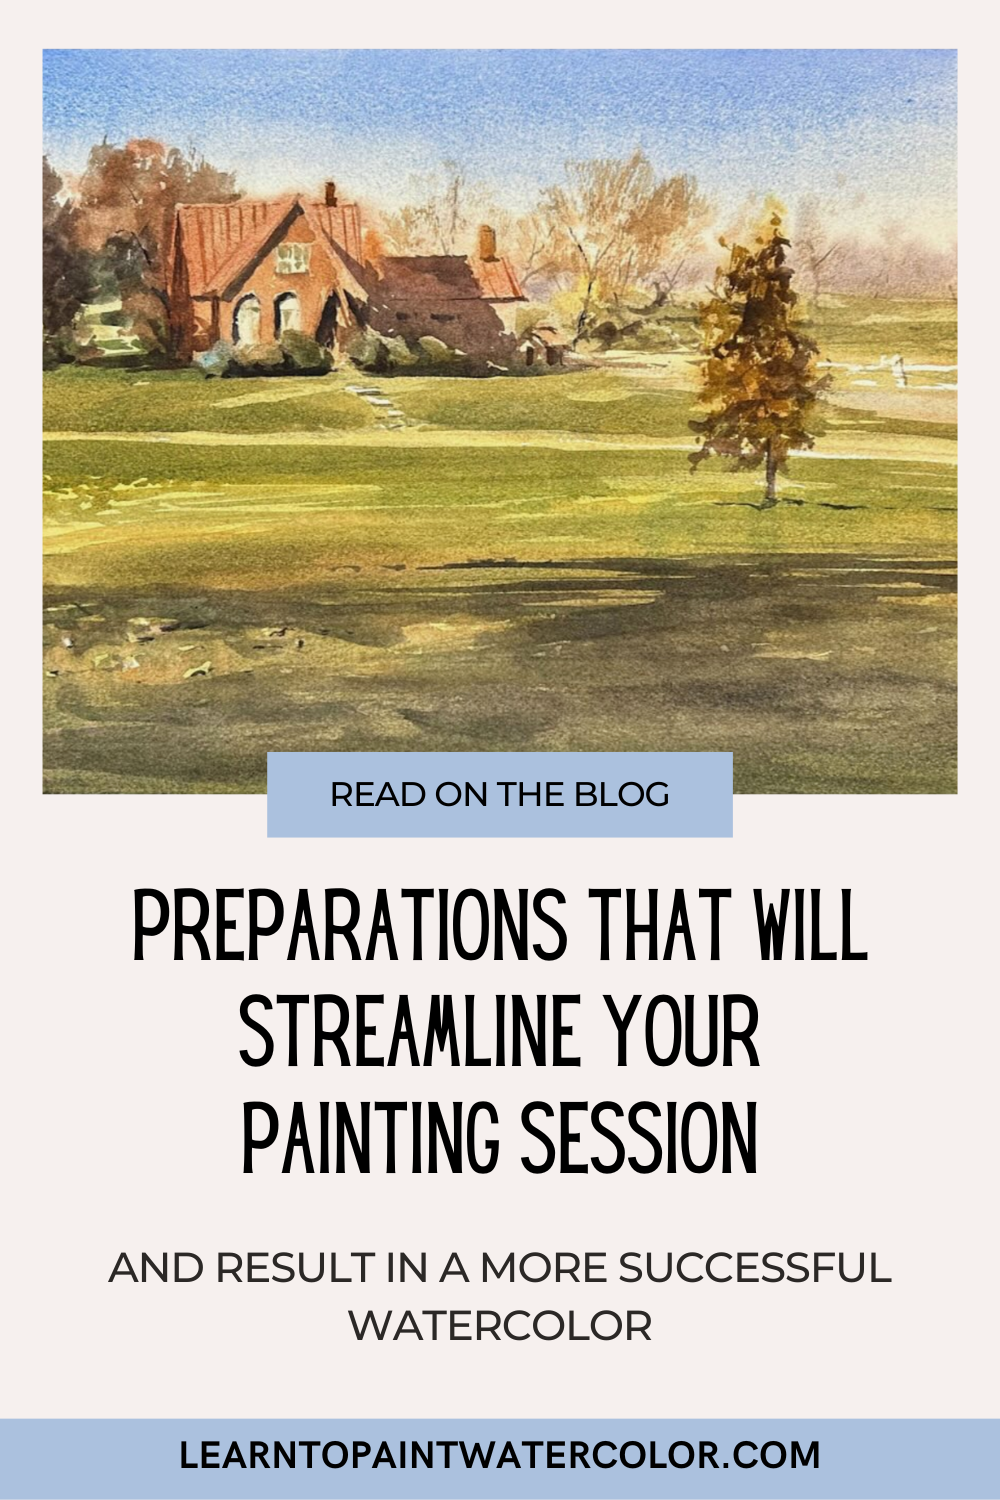
How to Prepare for a Smooth and Successful Painting Session
Jan 15, 2024Do you ever find yourself searching for a specific brush during your painting process, wasting that precious wet-into-wet time? Have you ever been deep into your painting session and realize you don't have the colors you need? Do you ever wish - just a little too late - that you'd have taken 5 minutes at the beginning to think through your composition before starting?
These are the sorts of things I want to help you avoid the next time you set out to paint.
Keep reading to learn more about ways you can streamline your process for a smoother painting experience and a more successful result.
Your Ultimate Guide to a Seamless Painting Session
Preparation is key when you're setting out to paint a gorgeous watercolor.
Whether you are capturing the light of a meadow, painting a gorgeous interior, or trying your hand at a portrait, the first task is to ready your space and create an environment that supports your painting process and that encourages your creativity and focus.
Enjoy this Post? Like this Pin!
Setting Up Your Painting Space
Not everyone has the luxury of a dedicated art space. In the beginning, I certainly didn't. But you can still create a space that will support your creativity and your specific painting process.
Here are some tips that will help you transform even a multi-use room into a space that will work for you!
Embrace Natural Light To Aid Your Watercolor Painting Process
To create with clarity, choose a well-lit room so you have a good sense of what it is you're creating on the paper.
If you are able, I recommend you paint in a room that has good natural light. But, really, you just want to have a well-lit room. You don't need to get too worked up about a daylight bowl versus something else. Just try to paint in generally a well-lit area.
Even if you paint at your kitchen table with your overhead lights on, that's fine.
Prepare Your Essential Supplies to Paint
Before diving in, ensure your supplies are ready:
- Have fresh water and paper towels ready to go.
- Whether you use paper from a block or cut sheet like I do, prepare your paper for your painting.
- Organize your brushes for easy access. Consider the scene you'll paint and set aside brushes accordingly for a seamless workflow.
- Pre-mix pigments you need or reactivate dried paints so you have the colors you need when you need them.

*I do not use fresh paint for every painting. Rather, I keep my most commonly used colors on my palette and spray them with water immediately before I begin to paint.*
Plan Your Watercolor Composition
After preparing your space and supplies, it's time to plan your composition.
Choose Painting Layout: Portrait vs. Landscape
One important decision you'll want to make before you start sketching is the layout of your painting. Answer the question: does my watercolor scene work best in landscape or portrait?
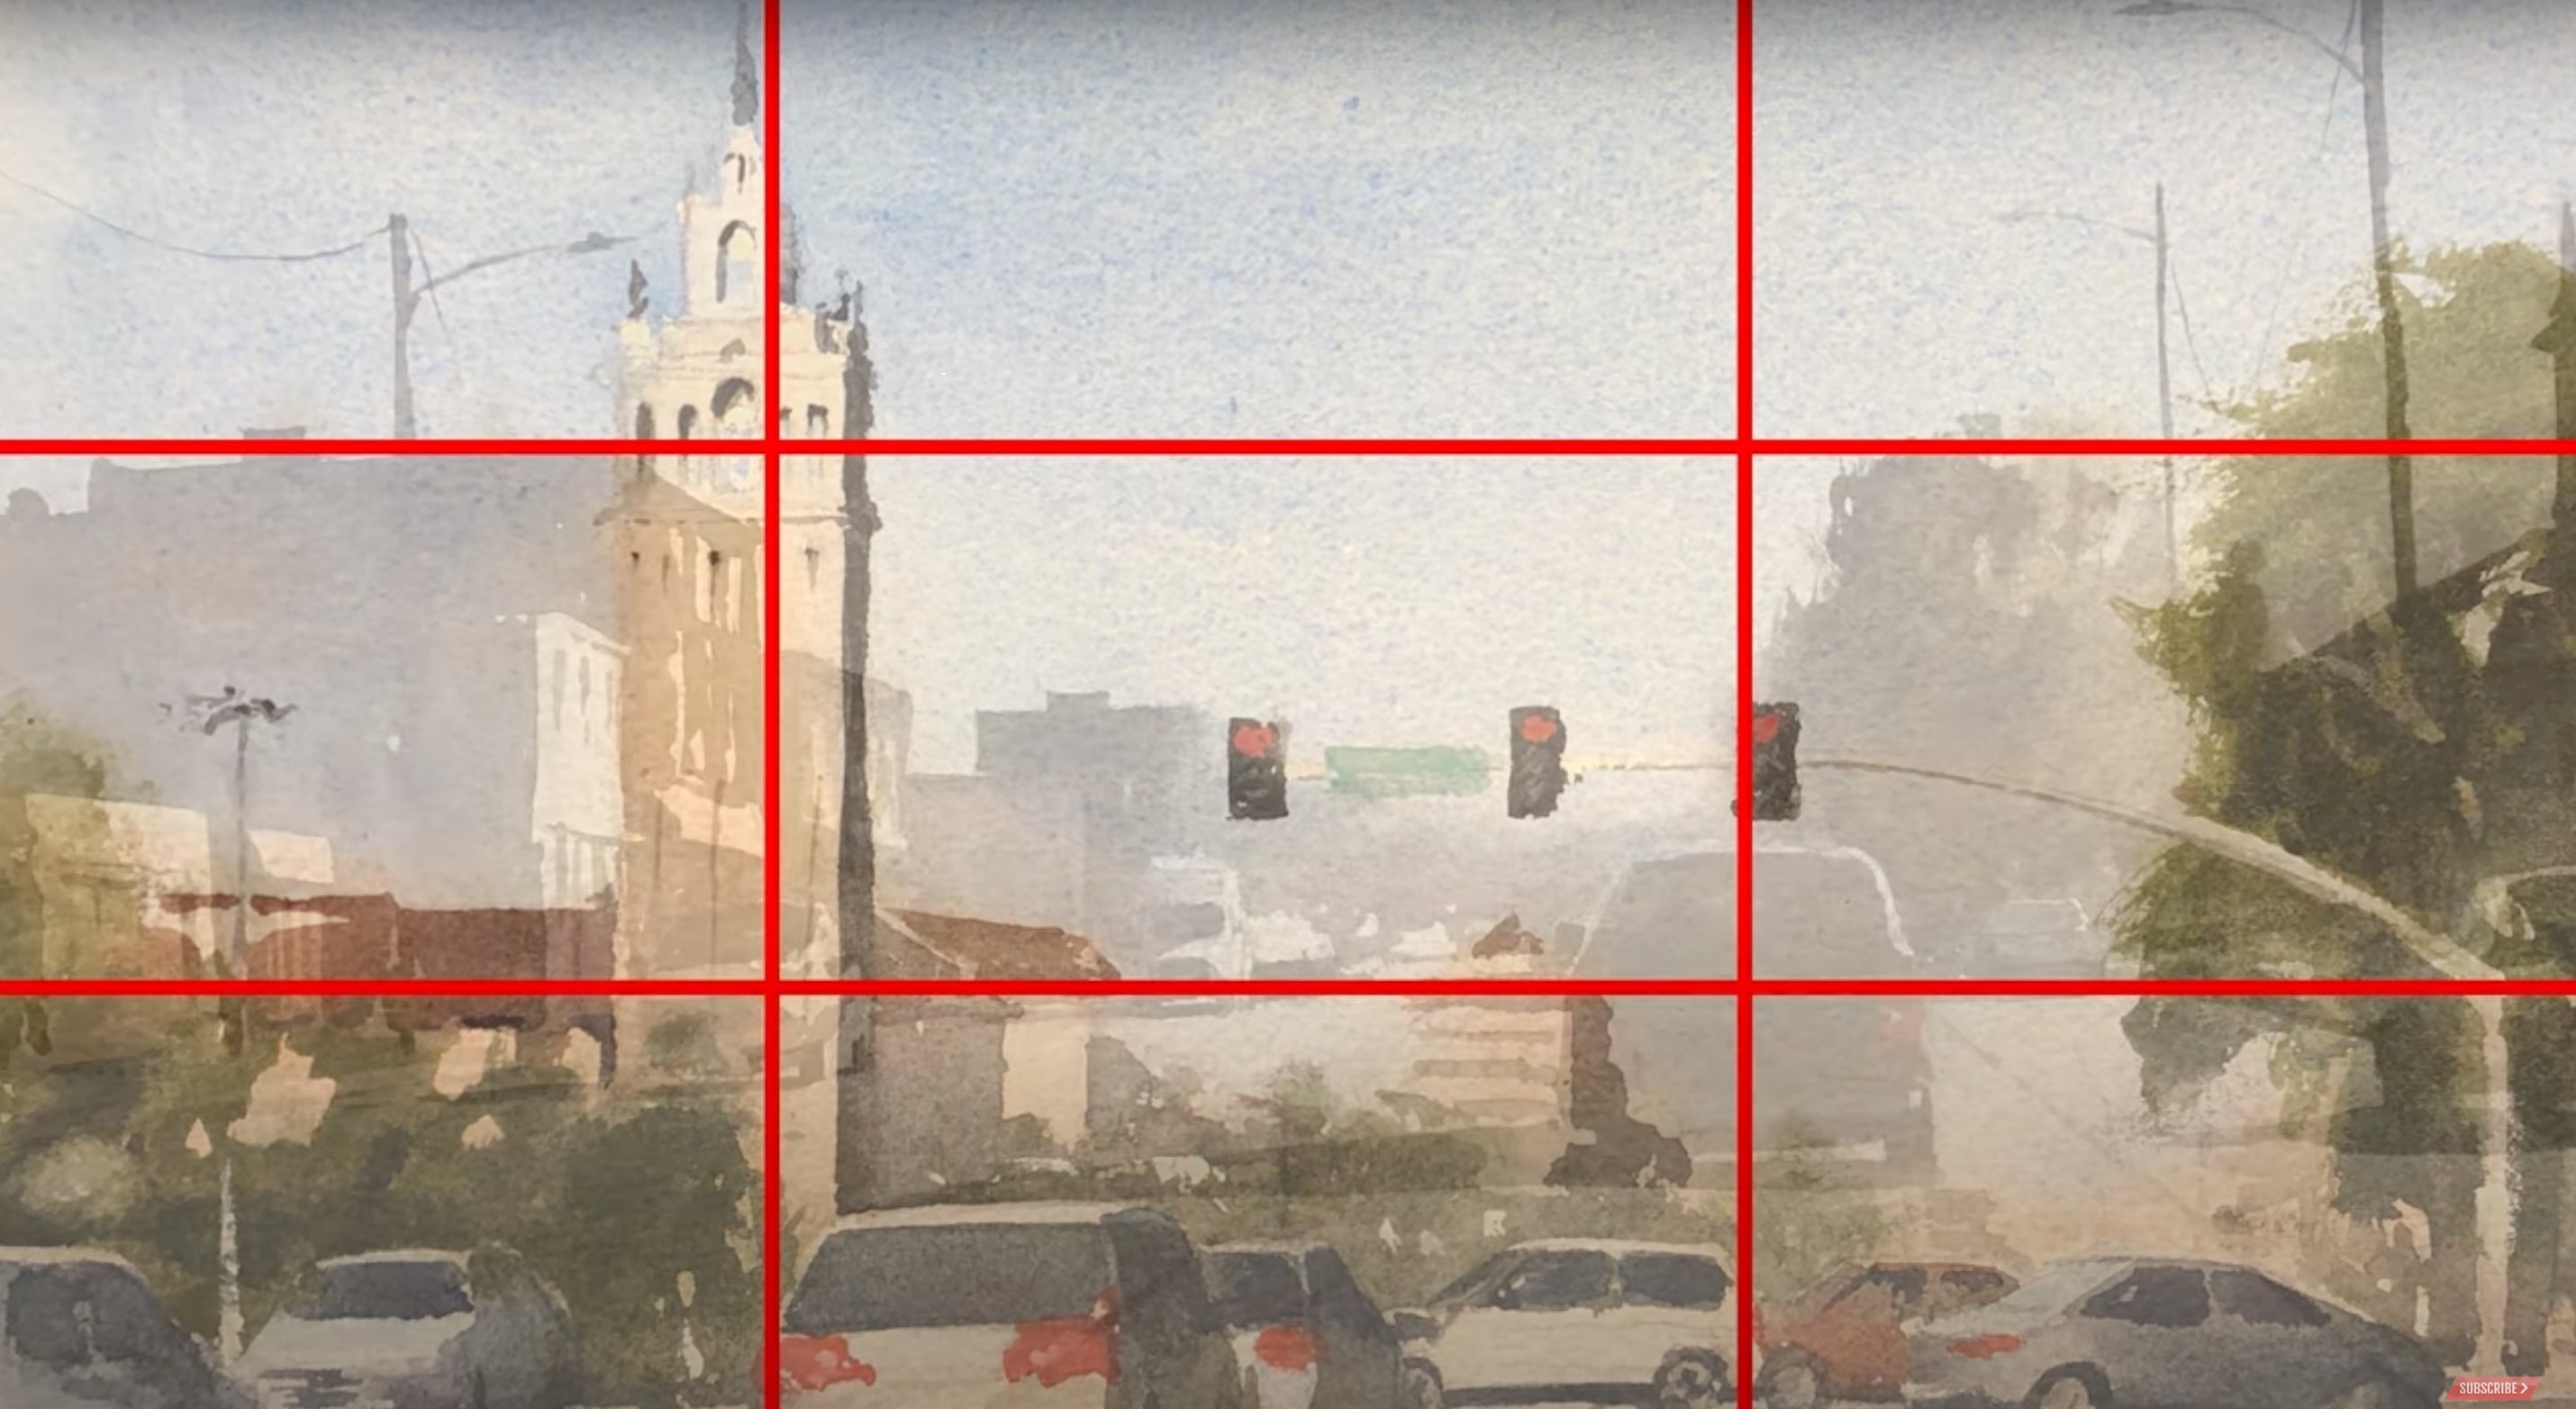
The watercolor paper I use is 11x15 inches. So, I have one side that's slightly longer than the other. The way that orient my paper depends entirely on my subject. It depends on what I want to emphasize and highlight in the scene I am painting.

If I am drawing a street scene that has a lot of verticals, where maybe there's a tower or another important part of the architecture up in the sky, but I still want to see what's going on in the ground, I will orient my painting as a portrait. Or if I am painting a water scene with important reflections but also the mast of a boat that I want to include, I really want to show that vertical arrangement of the subject. So, I'll choose portrait for this too.
On the other hand, if I'm planning a scene where I want to show a lot of what's on the land and I want to show a lot of what's in the sky, the landscape layout is going to be my preferred method. I probably paint 70% landscape and about 30% portrait. That is really a matter of preference and the subjects that I'm choosing.
Once you've made a decision about which way to orient your watercolor paper, it's time to sketch the drawing that will guide your watercolor painting process.
Consider the Rule of Thirds in Your Watercolor Composition
I'm not going to go in depth about complex composition strategies today, but one of the things that you can think about as you arrange your painting is the rule of thirds.
This is where you split your composition into thirds, placing key elements of your scene on those thirds. This doesn't have to be a hard and fast rule. It's more of a guideline. However, when you study great paintings, photography, and film throughout history, this is a rule that seems to work well.
Sketch a Drawing to Guide Your Watercolor Painting
For this, I use a mechanical pencil with 2b lead and a kneaded eraser. There's nothing really special about this. I just outline the major elements of my painting and give myself the guide that I need for the particular painting I am working on. Sometimes the drawing is somewhat complicated; other times it is relatively simple.
After I've laid out my drawing, I take my eraser and I go over my drawing very lightly, taking off any of the excess graphite that sits on my paper so that it doesn't smear when I wet the paper down. Then I flip the paper over and I dampen the back. Then I move to the front, dampening it too. If there is an area of white paper that I want to preserve, I avoid that area on the front of the paper. Other than that, I cover the entire paper and after this it is time to load up a brush and start to paint!
Related Blogs
Creating Depth and Realism: Essential Strategies for Watercolor Landscape Artists
How to Start Your Watercolor Painting
The Key Steps to a Successful Painting
