Use this Innovative Approach to Paint Light in Landscapes
Aug 24, 2026It took me over 700 paintings to understand what I'm going to teach you today.
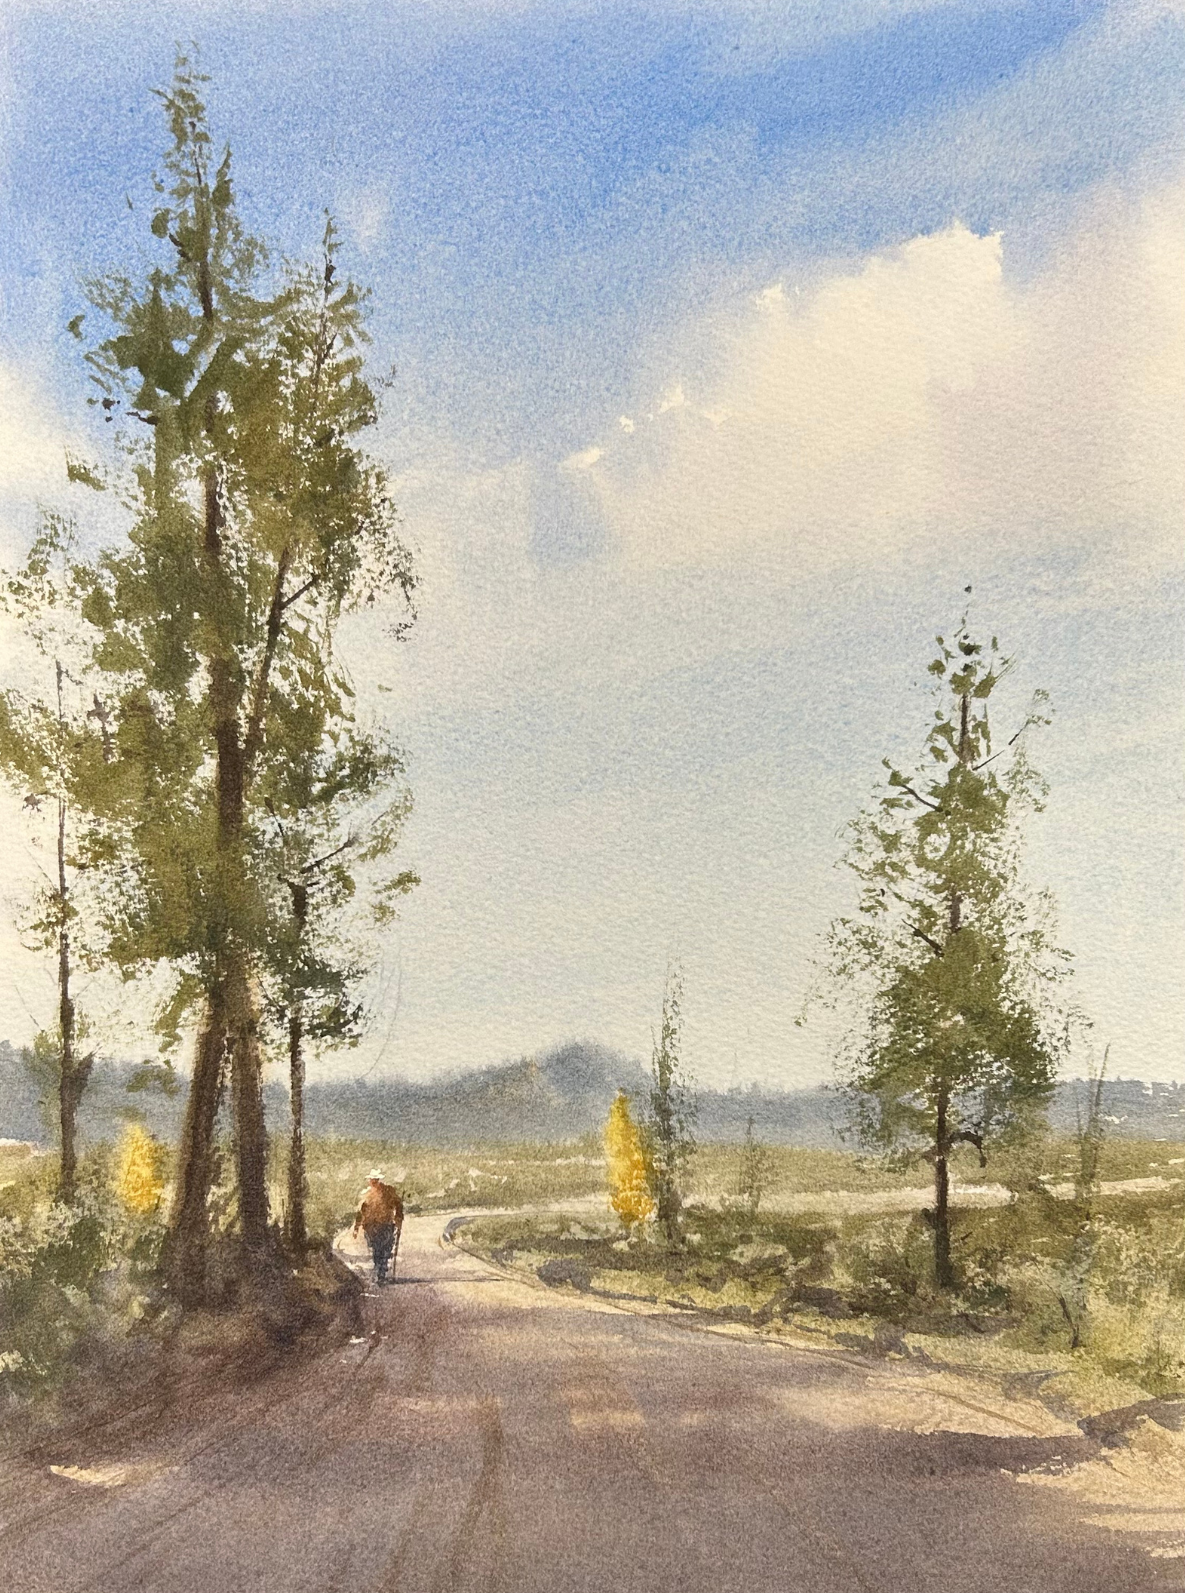
I'm going to show you my exact method for painting this scene: the brush trick that simplifies painting trees, why I use a heat gun at one point, and most importantly, my thought process at every step along the way.
I hope you take these ideas and use them in your own scenes!
Infuse Light into Your Landscapes With a Layered Approach
Step One - Paint Your Lightest Values
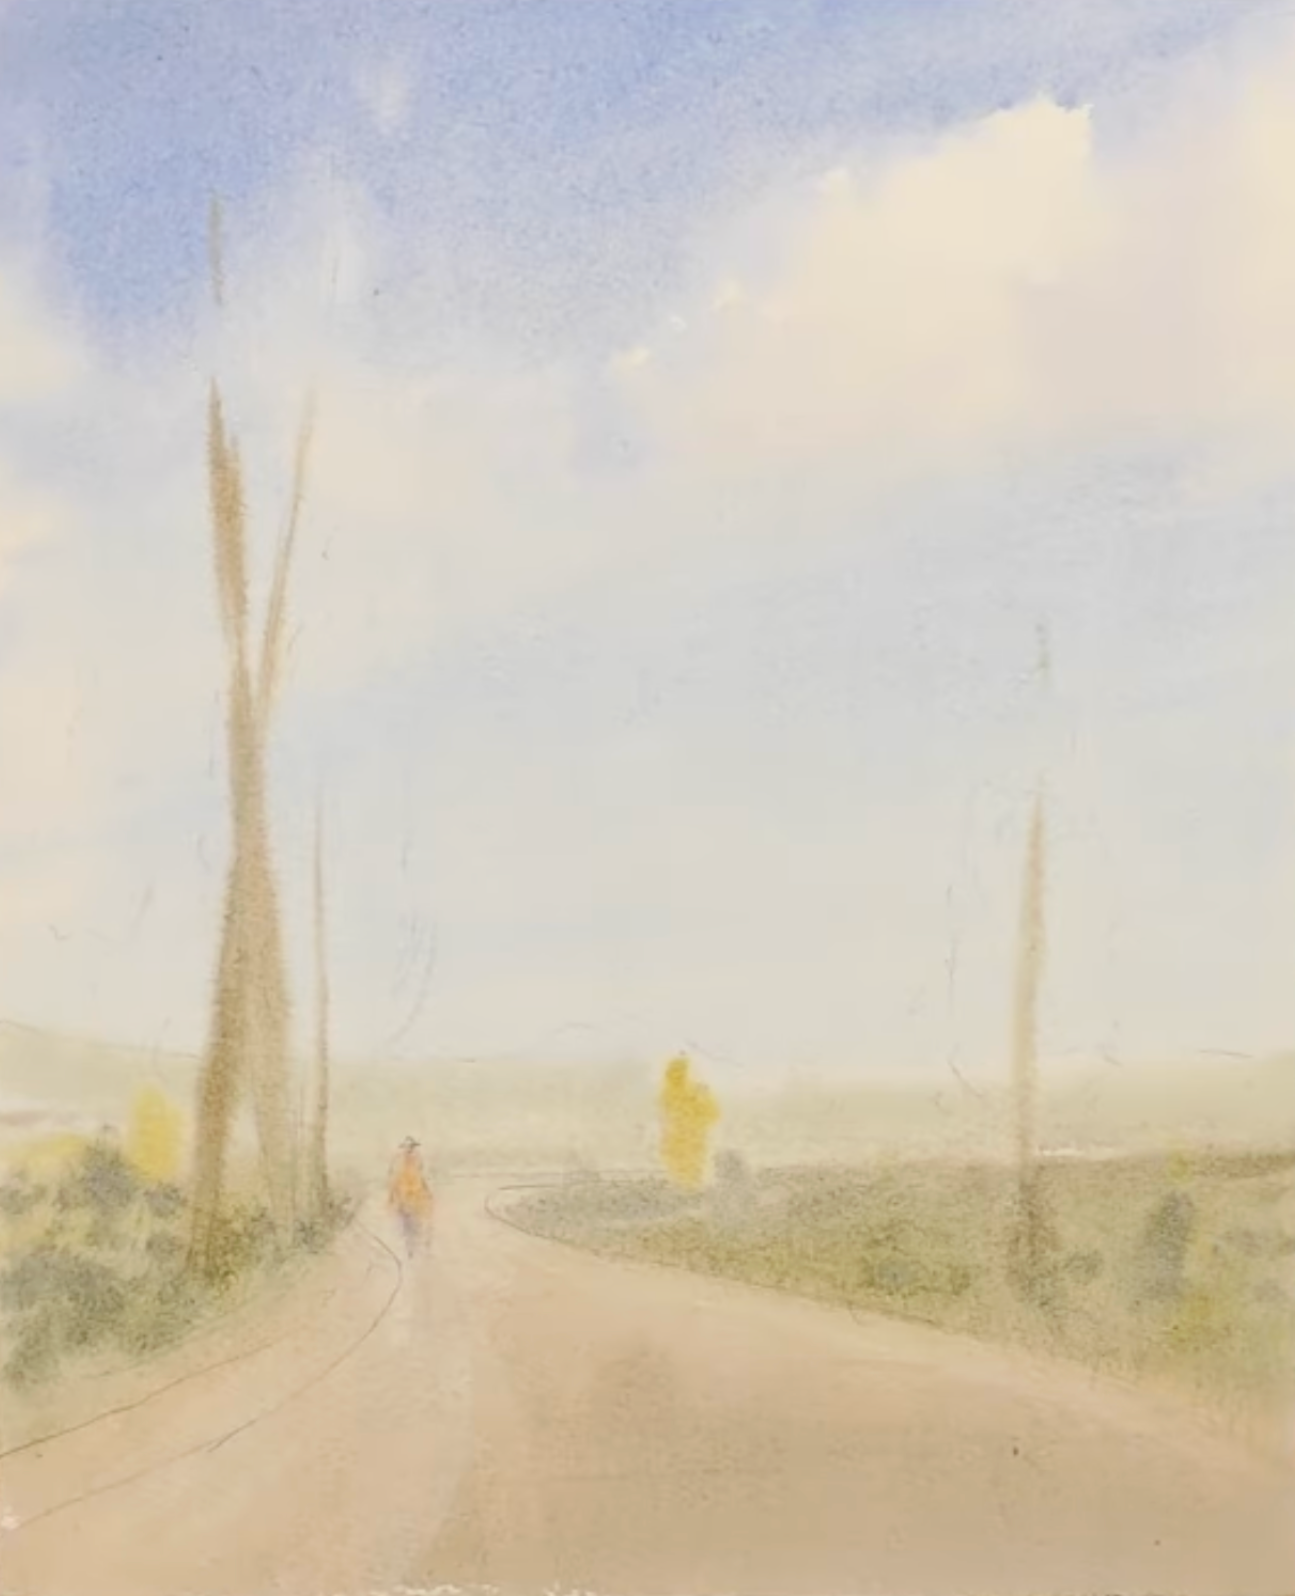
Step Two - Paint Your Middle, Connected Shape
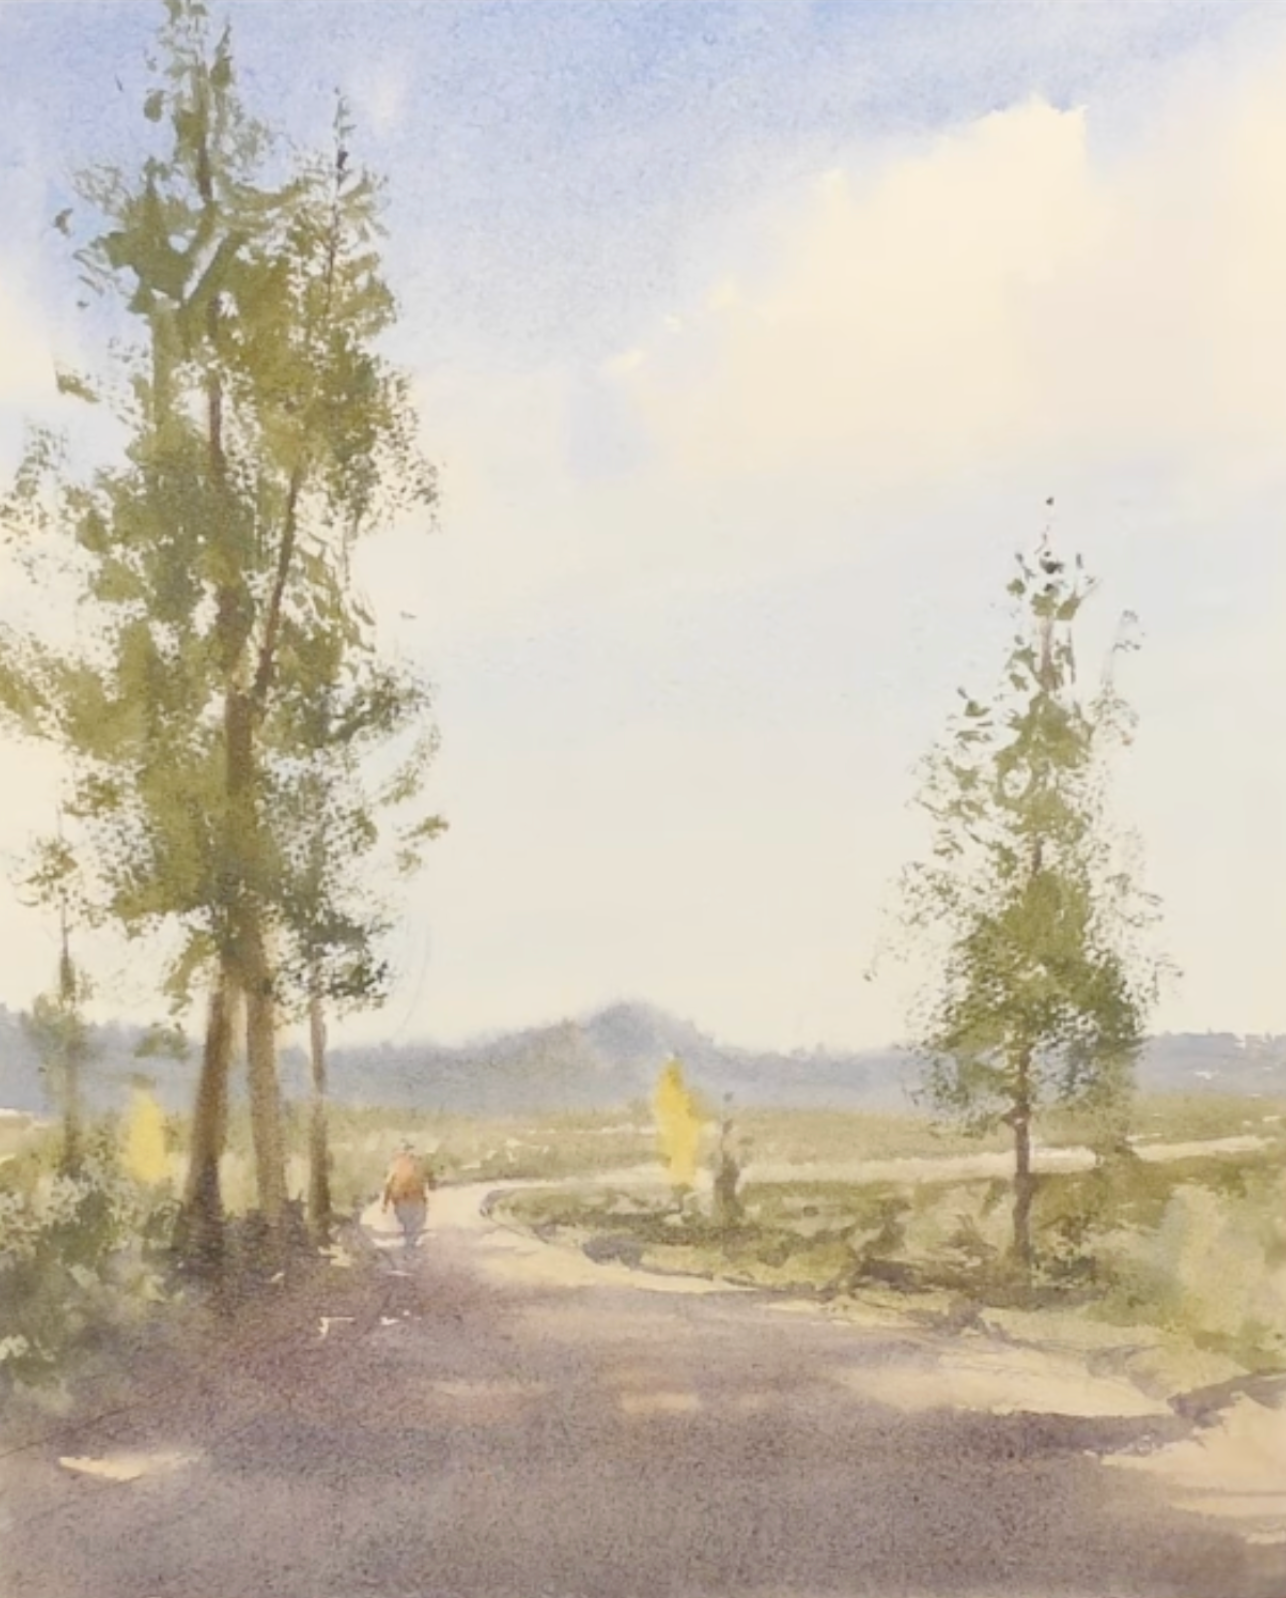
Step Three - Paint Your Darks and Details
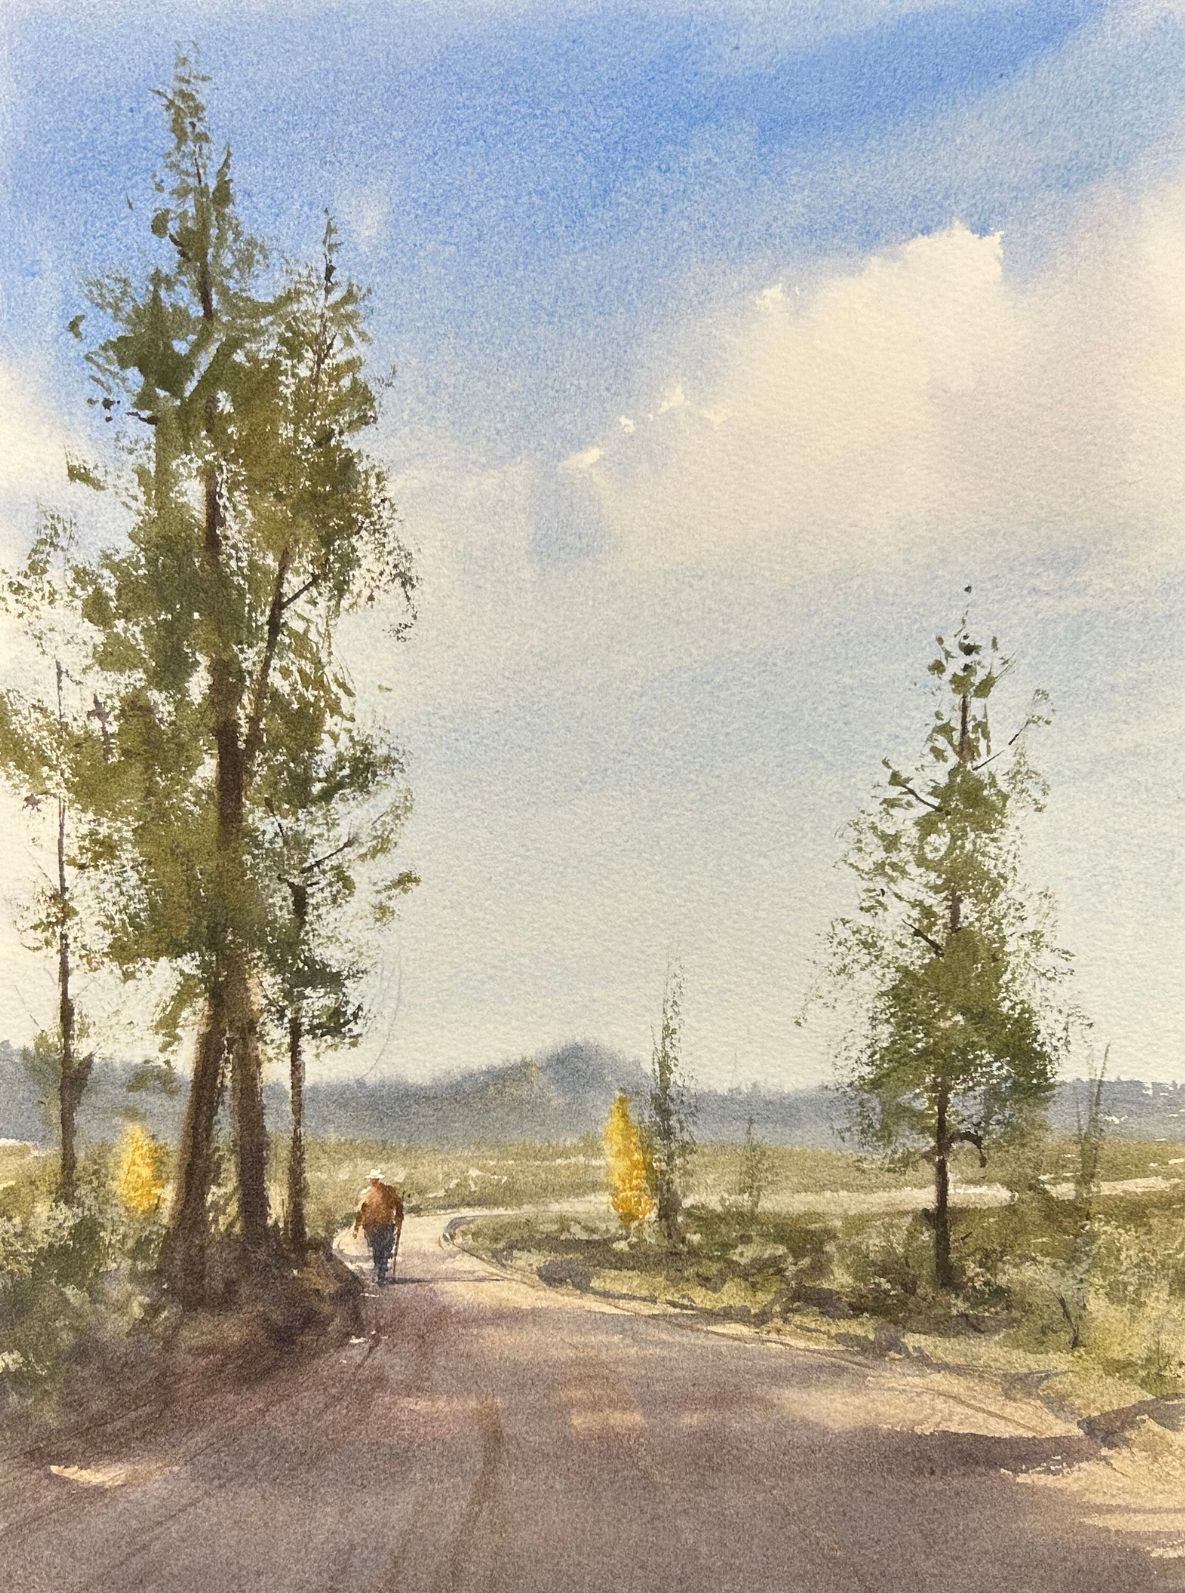
A Note About Composition - And Permission to Be Creative!
What differences do you notice about the reference photo's composition (on the right) and my painting's composition (on the left)?
The trees I excluded and the way I arranged them in the scene was an intentional choice.
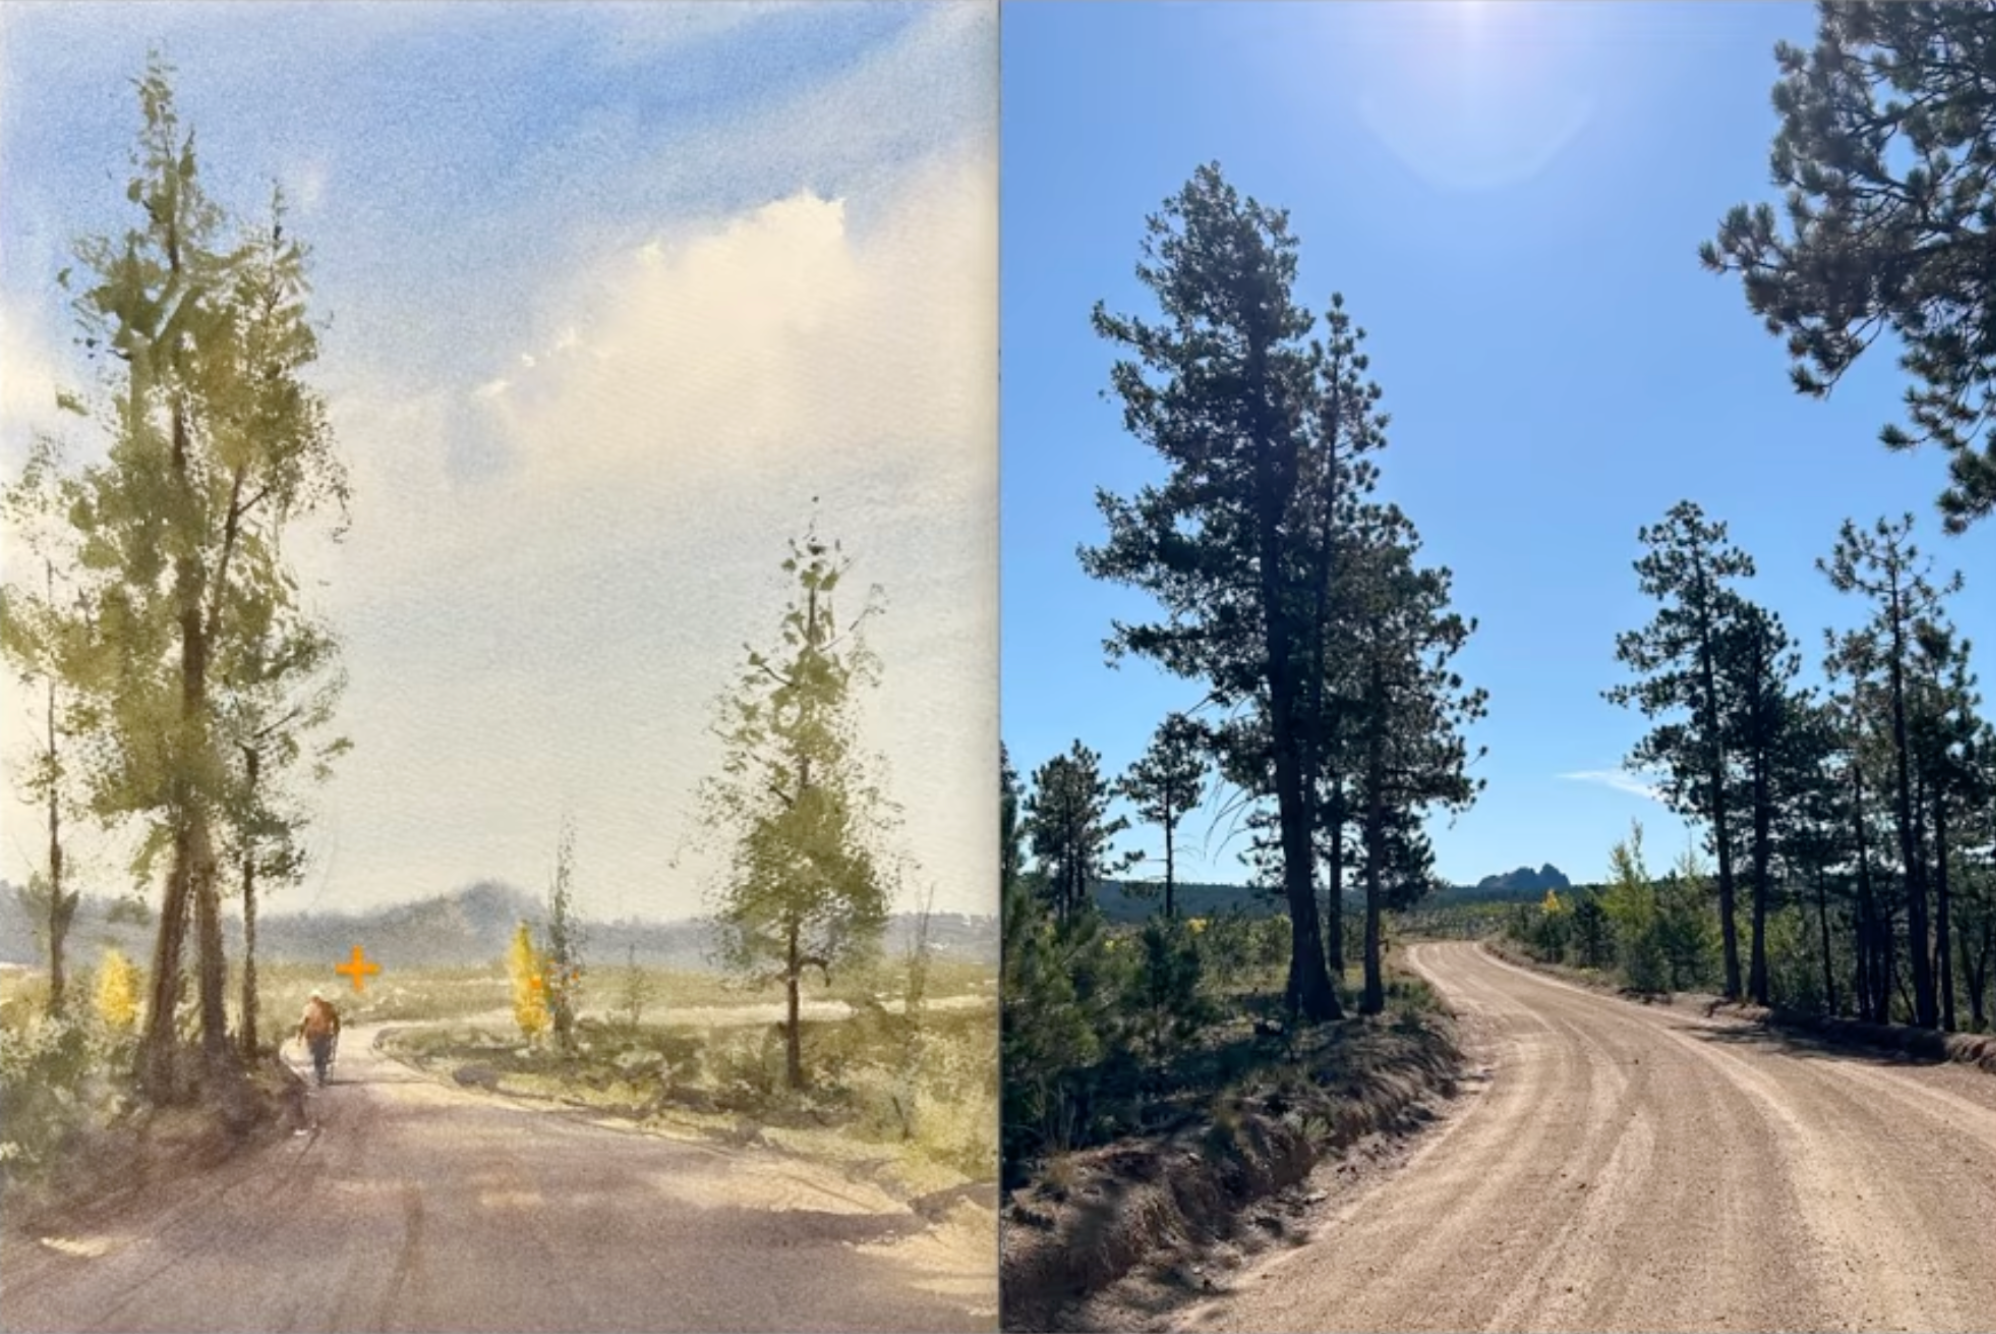
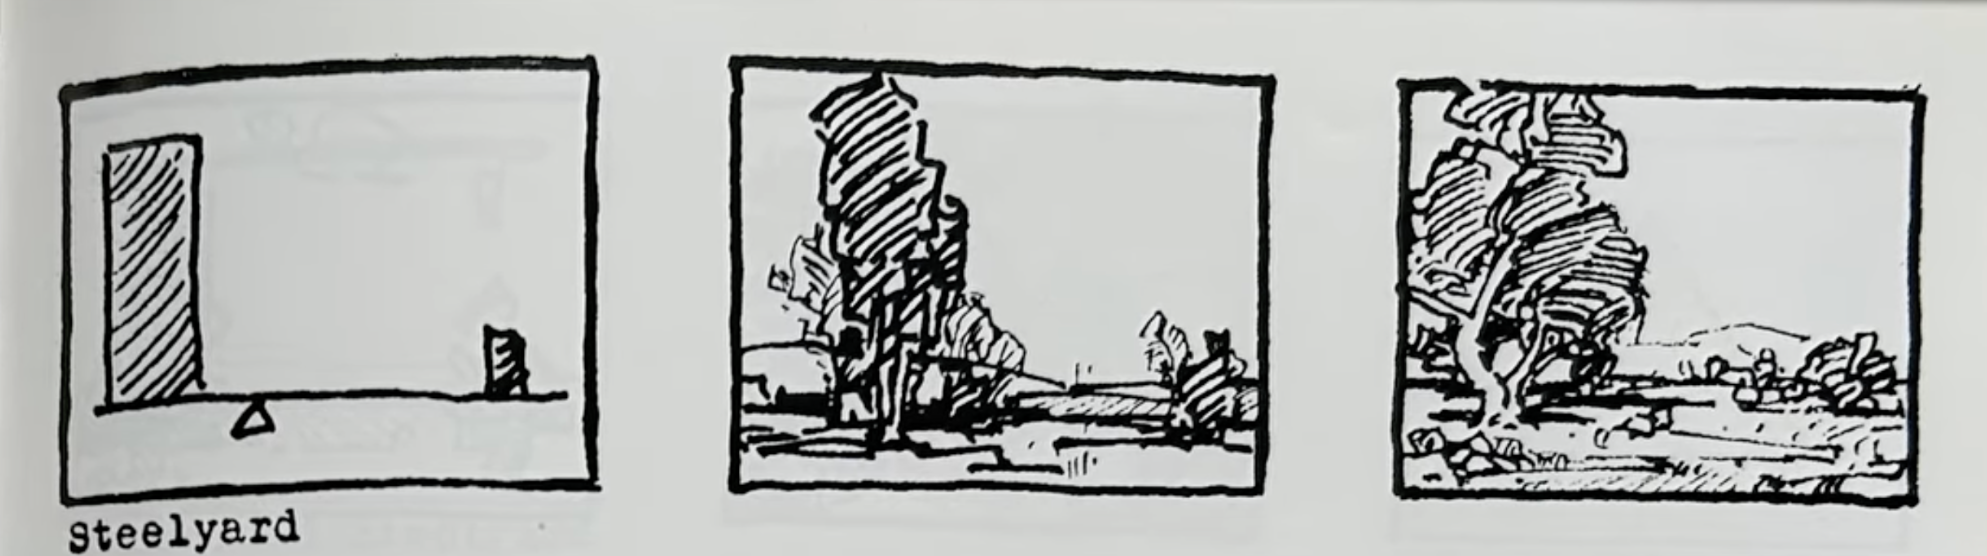
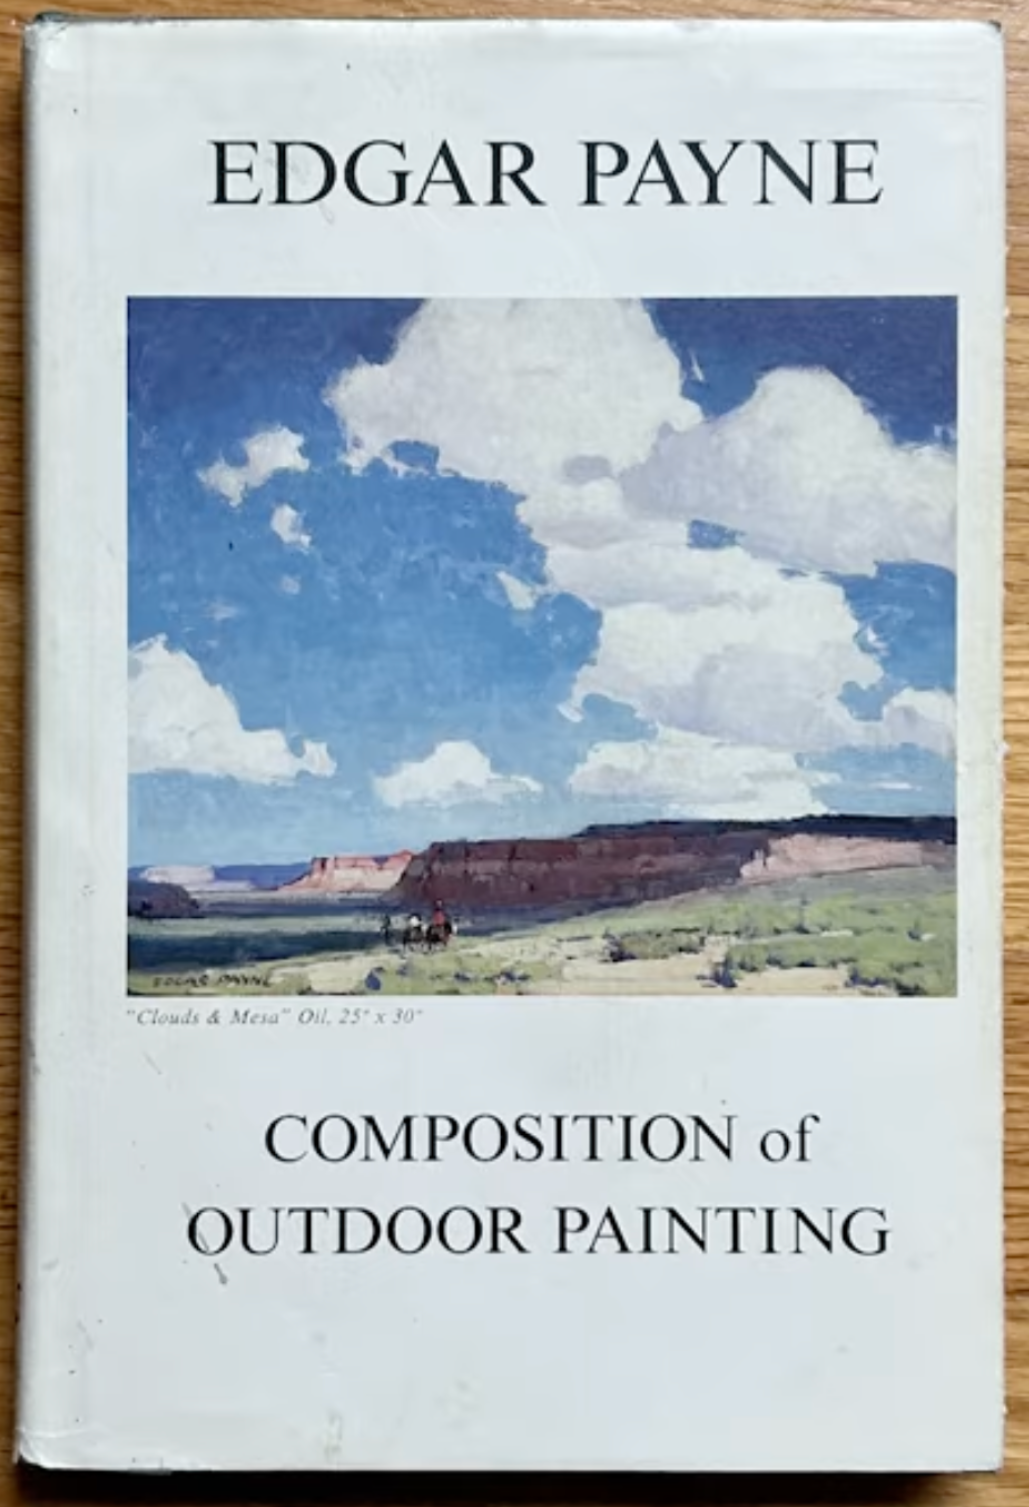
When I made these decisions, I was thinking about how to create a scene that engages a viewer, that absorbs them into the painting, moving their eyes from one part to the next. But I'm not just making things up as I go, reinventing the wheel. I'm using compositional frameworks to help me. This one is called a Steelyard Composition, which I learned about from Edgar Payne in Composition of Outdoor Painting (picture below). If you'd like me to talk more about the lessons I gleaned from this study, let me know!
The Brush Trick I Promised You in the Beginning
Okay, so I teased this brushwork strategy at the beginning, and I'm happy to say that it's really simple, and once you do it you'll wonder why you didn't think of it before.
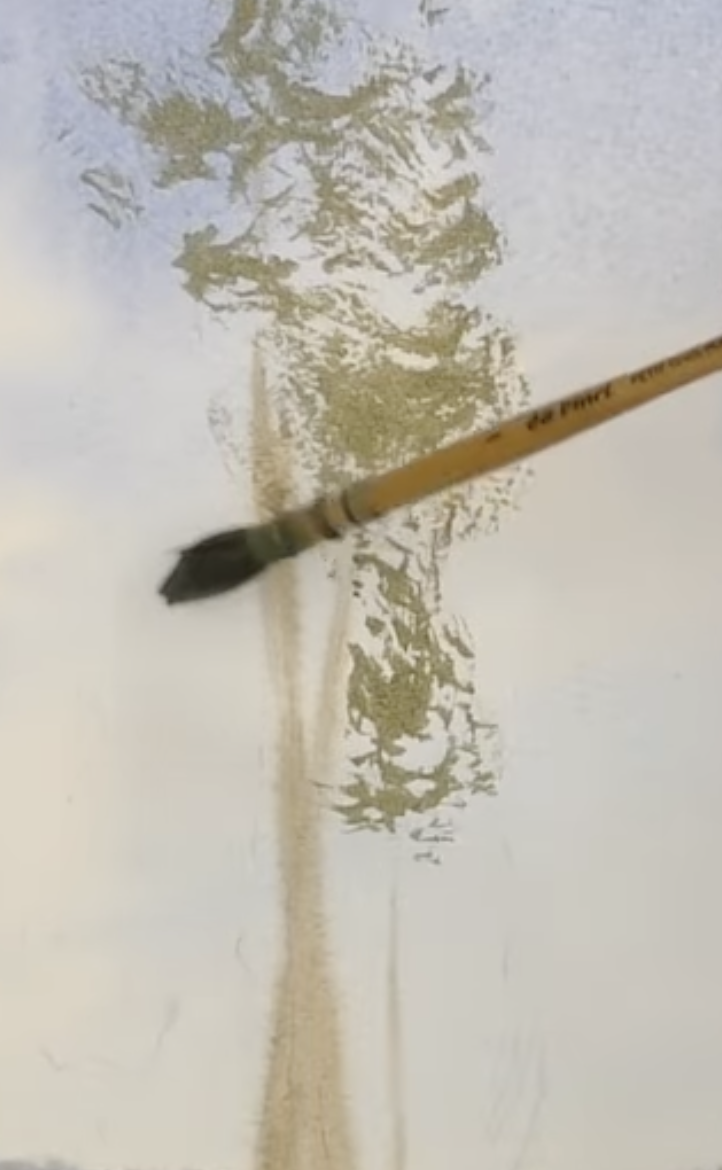
Notice the way my brush is splayed out in the picture. This isn't always how I want my brush to look, but for these trees, I purposely pushed down on the bristles so that they would separate some to create multiple marks with each brushstroke.
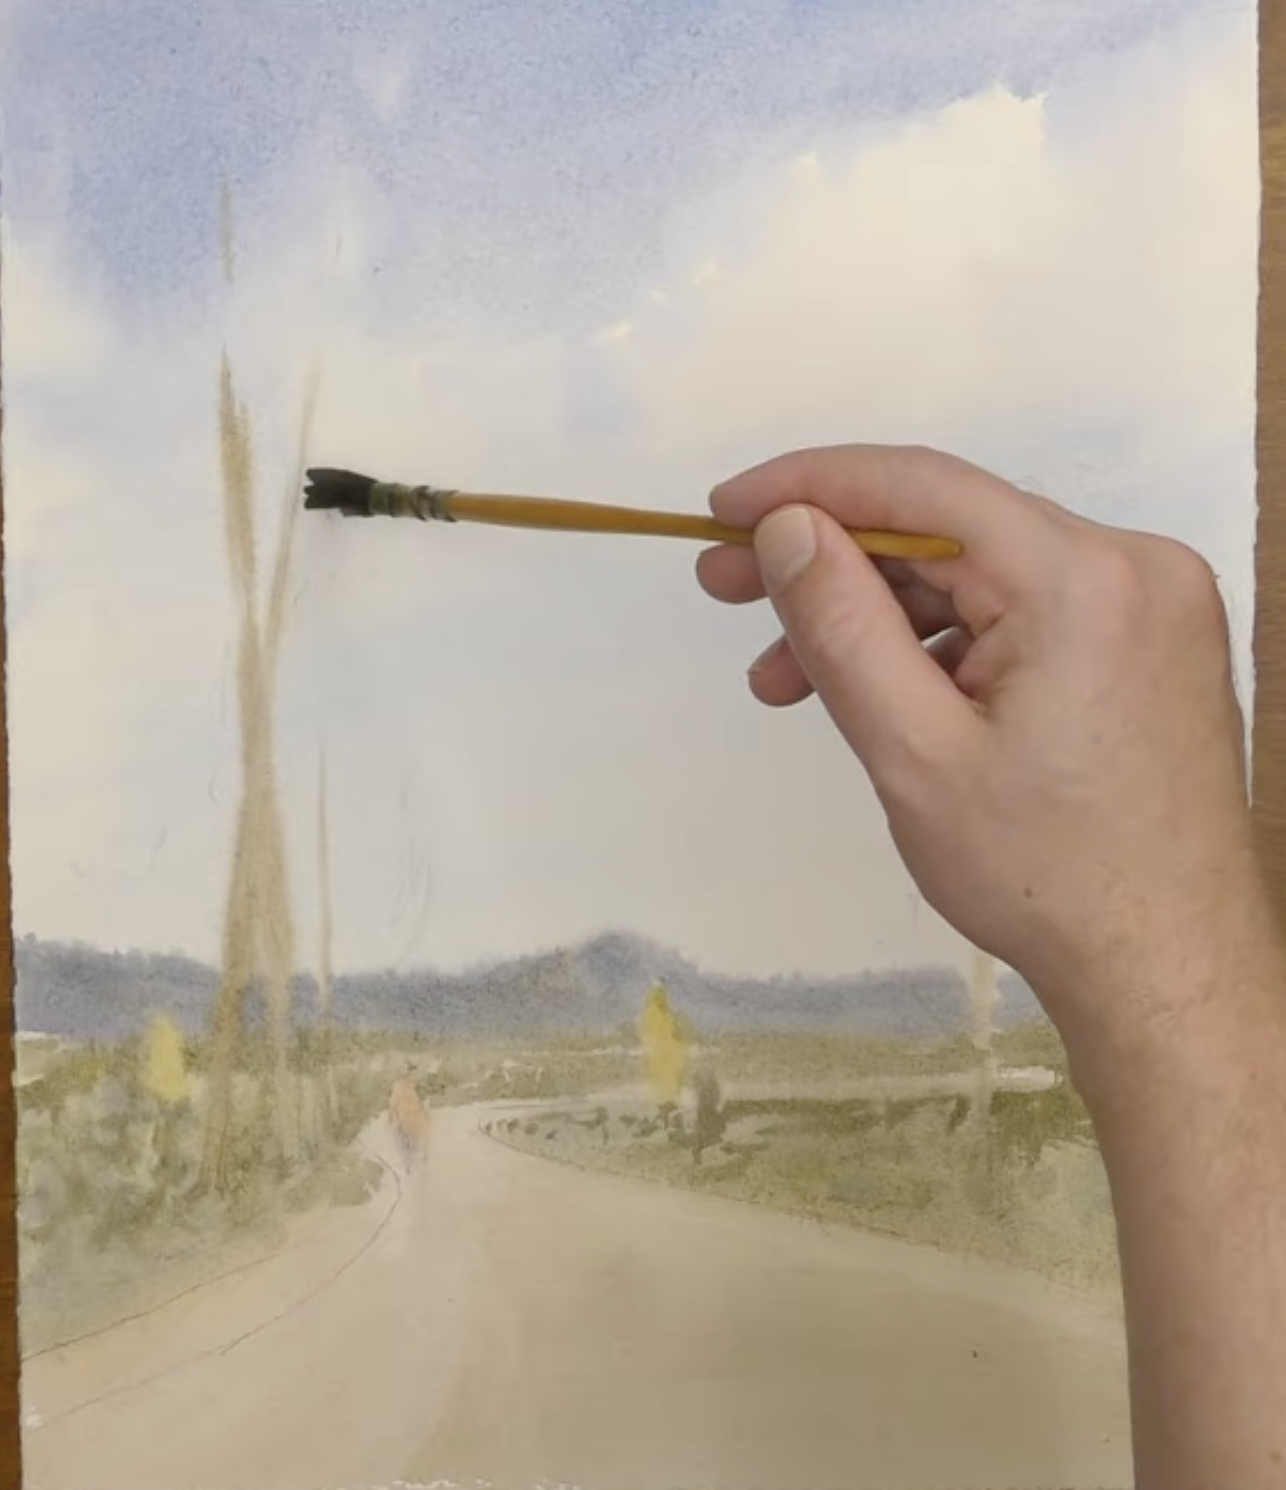
Now I can make these crisp brush marks that not only make my tree look more realistic, but also help with the depth of the entire scene. The difference between the softness of the sky and the hard edges of the foliage do a lot to create dimension in my painting.
A Heat Gun? Tell Me More
Okay, so I don't always use a heat gun when I'm painting, but it's the kind of tool that becomes useful when your paper is too wet to create the edges you need. When I initially dropped the blue/grey of the hills in the background, I didn't like how soft the line looked - the way the color bloomed. Sometimes I want this effect, other times I don't. In this case, I wanted the paper to be a little dryer so I could paint a cleaner line. This is when the heat comes in handy.
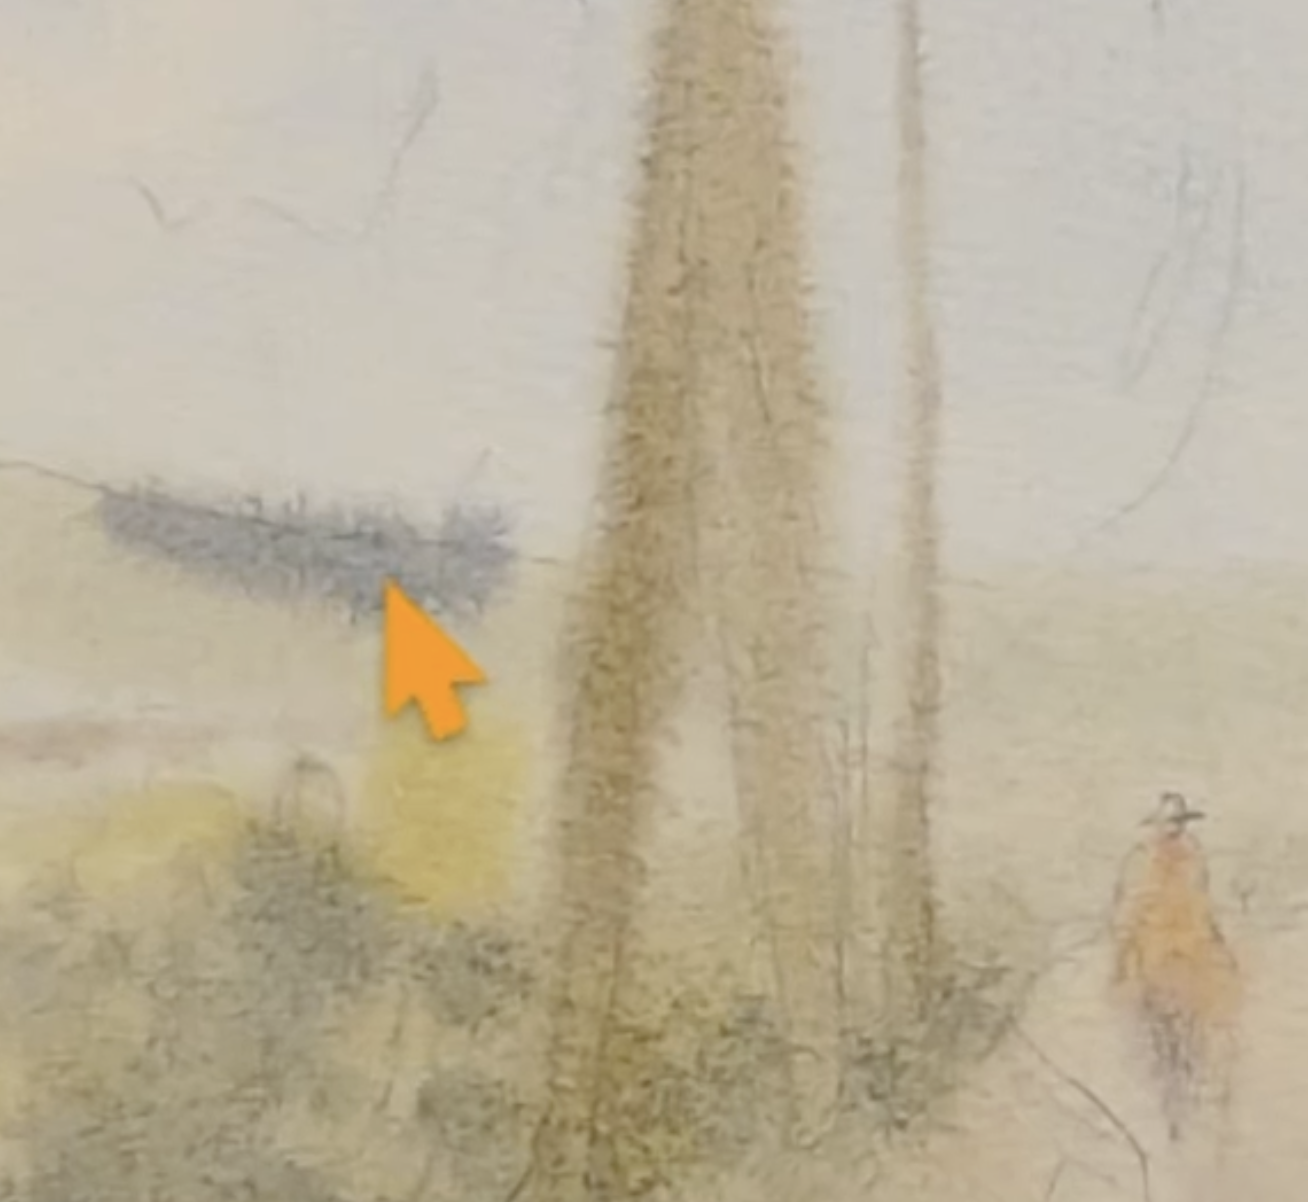
I just used it to dry the paper a little bit and then continued with my painting.
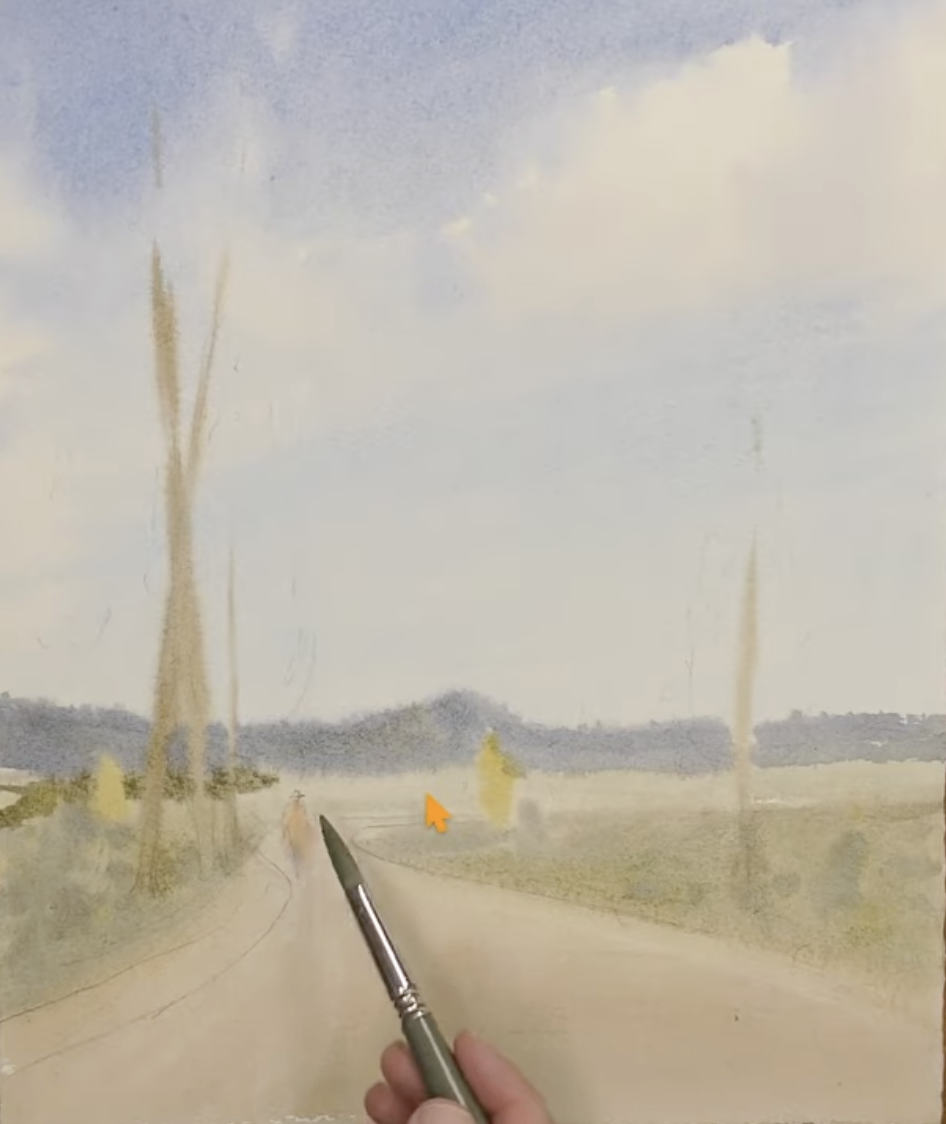
More Detailed Description of These 3 Layers
If you're curious about the pigments I mix to get the colors on my page or want to watch how these layers come together to create a complete painting, watch the full video on YouTube. I talk you through the mixtures, consistencies, and my approach to applying the paint onto my paper.
Related Blogs
This One Simple Watercolor Technique Unlocks Insane Luminosity