How to Use Layers to Paint a Spectacular Watercolor
Jun 01, 2026Of all the things that I've learned in my ten year watercolor journey, layering might be the most important.
Learning how to gradually build up the light effect in a painting completely transformed my paintings.
That is really hard to do if you don't have a process, a way of looking at a scene and understanding the order in which you need to paint something. Let me show you an example.
Layering for a Successful Watercolor
Here is a reference photo of a street scene from a little village in France called Montreuil-Bellay.
This was one of my favorite places I was able to paint in France. And I snapped this scene here:
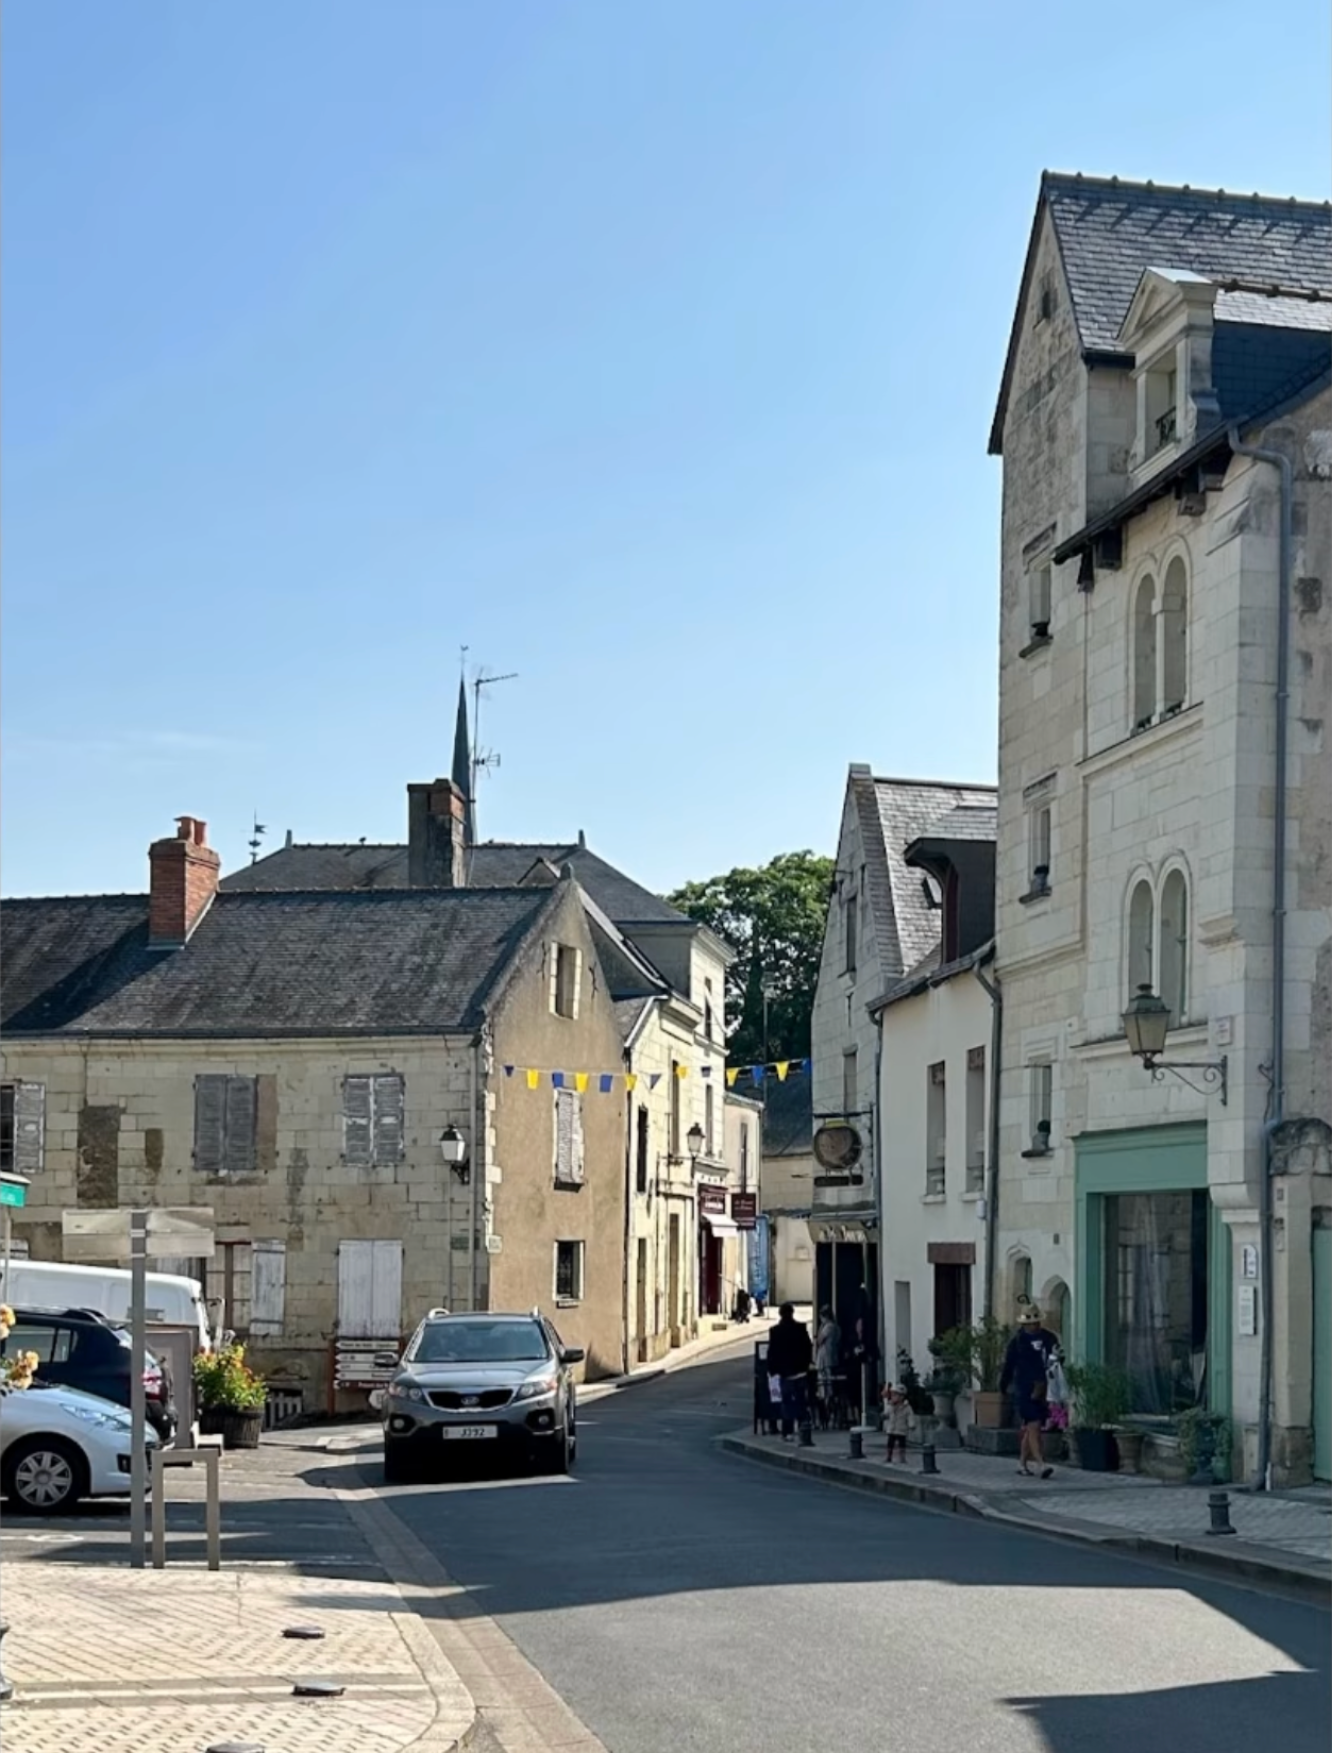
It's a very compelling scene: we have these buildings in light, we have this car coming through.
But if you just look at this and you don't have a good handle on process, where do you start? What do you do first? It's hard to really grasp that if you haven't thought through these things.
So the first process in layering is painting all the light areas first. So when I look at this scene, I see the sky in light. I see the building in light. I see light on the path or on the roadway down on the bottom left. I want to paint all those areas in light in my first wash of the painting.
So I lay out a drawing:
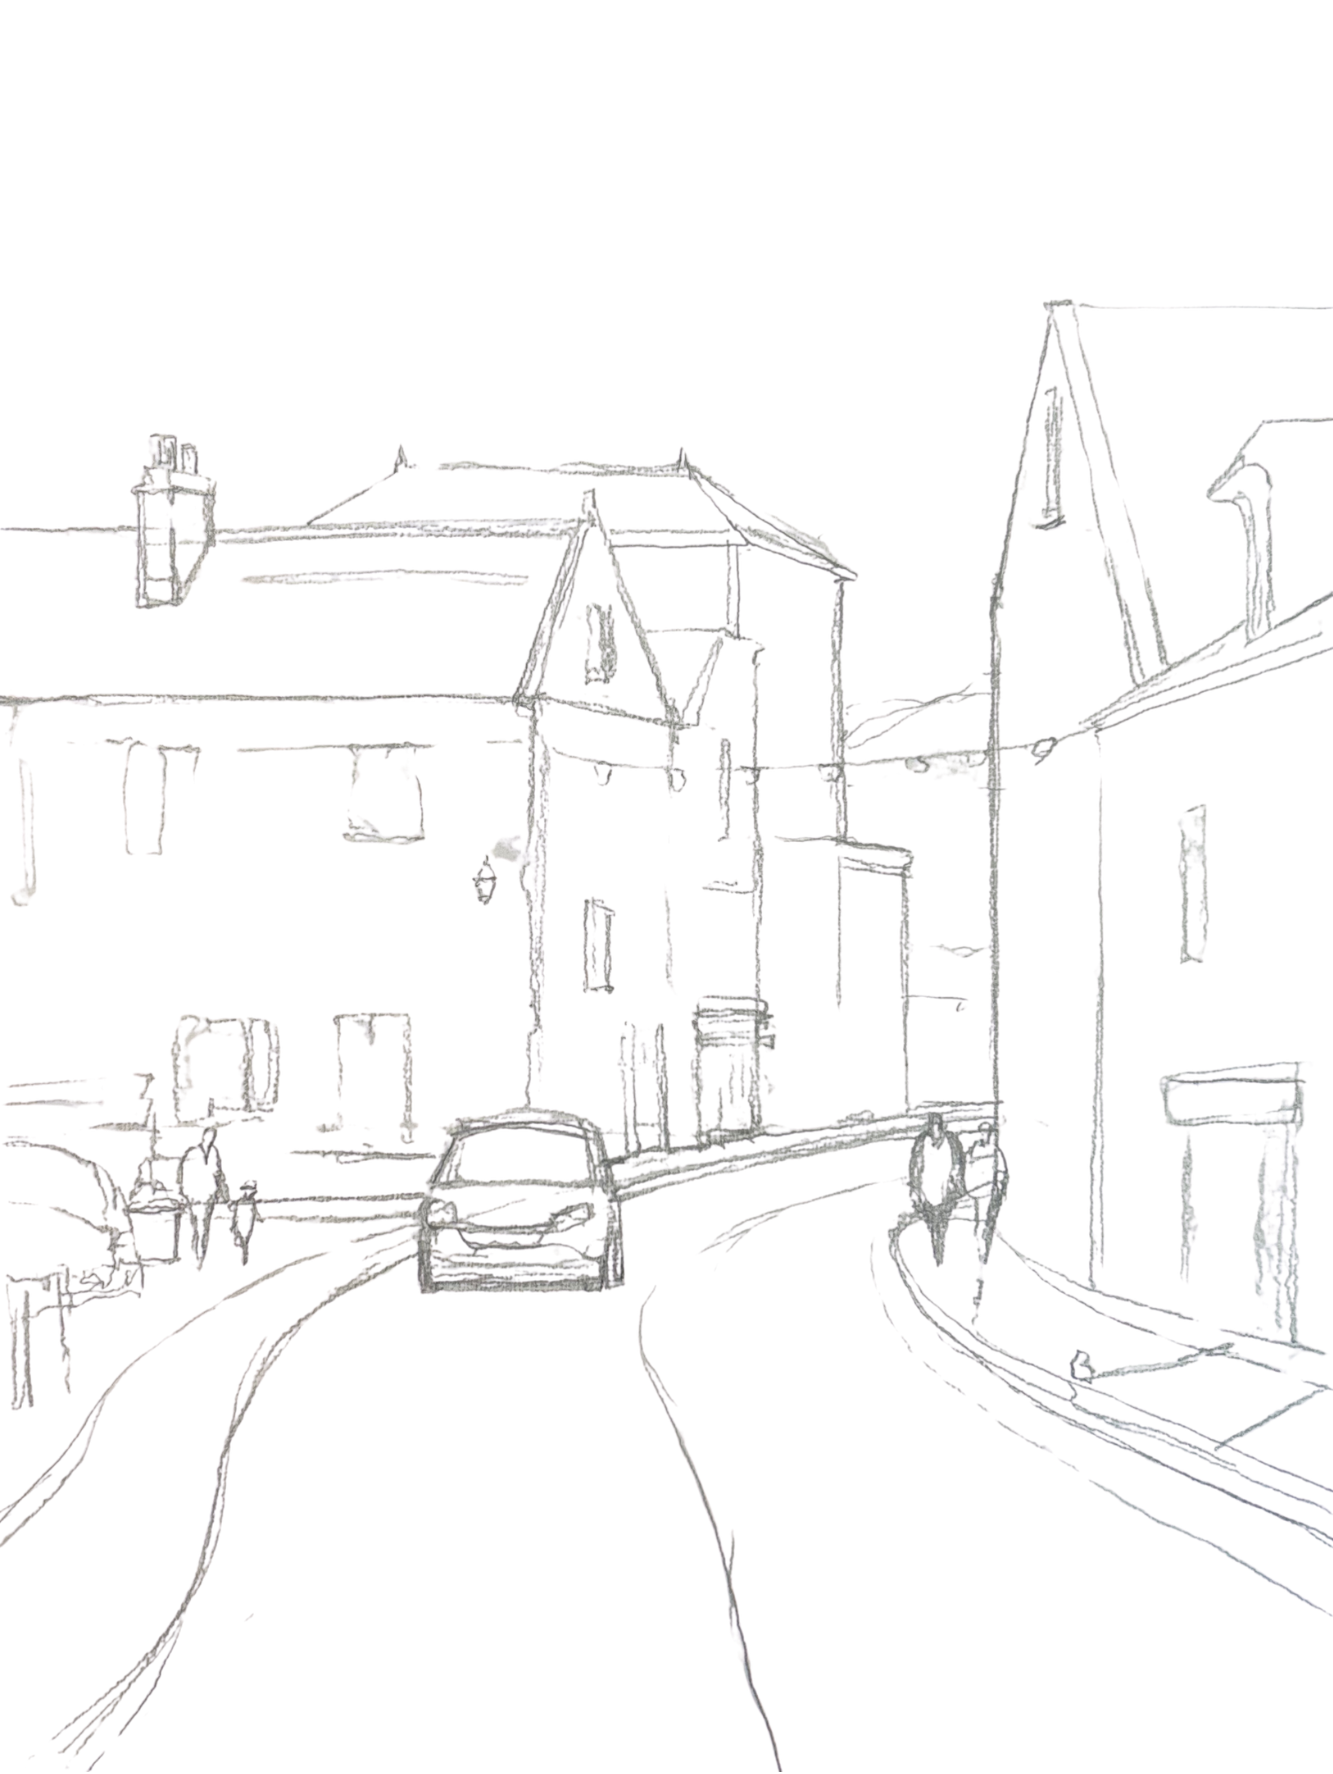
And then I paint the lightest values:

At this point, I'm not worrying about the stuff that's in shadow. I'm not trying to make anything really look like something in the first wash. I'm just laying in a nice soft wet into wet wash that has the lightest colors of the scene, the lightest values around the scene.
So after I've done that, the next thing I want to do is lay over the middle values on top of that. So I wait till the paper has dried and then I add in the large middle value shape over the top of the scene. And that's what this looks like.
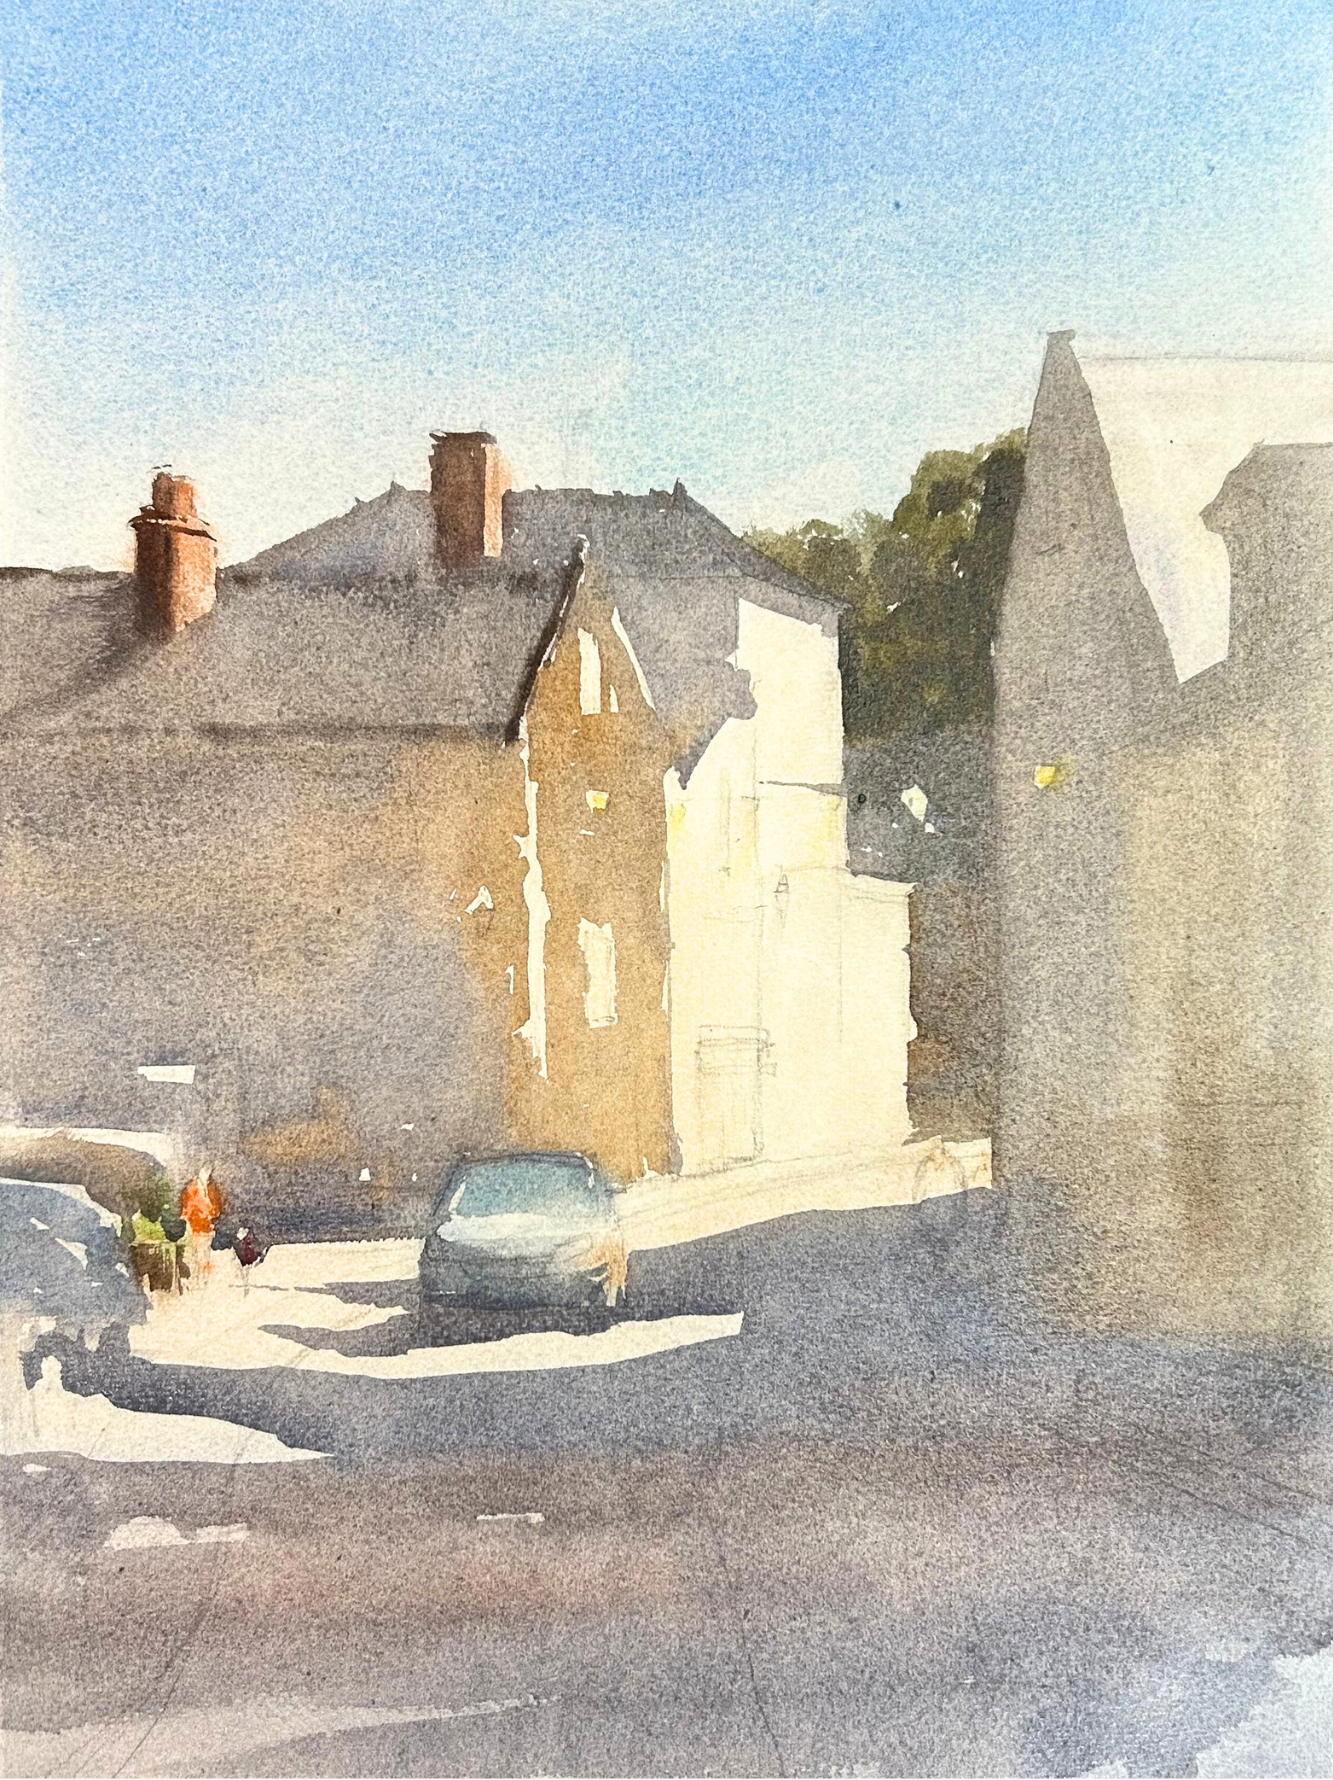
So I'm painting the trees in the background, merging that right into the shadow shape, painting the front of this building that is darker than this building here, painting the side of the building, coming into the car, painting the middle values into the sweeping shadows into this building, all in one go, painting the middle values.
Then after I have done that, I go back in once the paper is dried and now we're getting to the part that everyone wants to paint the details of the scene. So it's really tempting when you look at this reference photo to see the details, to see the objects in the scene, to see the car, the people, the buildings, all of that stuff, the stuff that we think makes up the painting and will carry the painting.
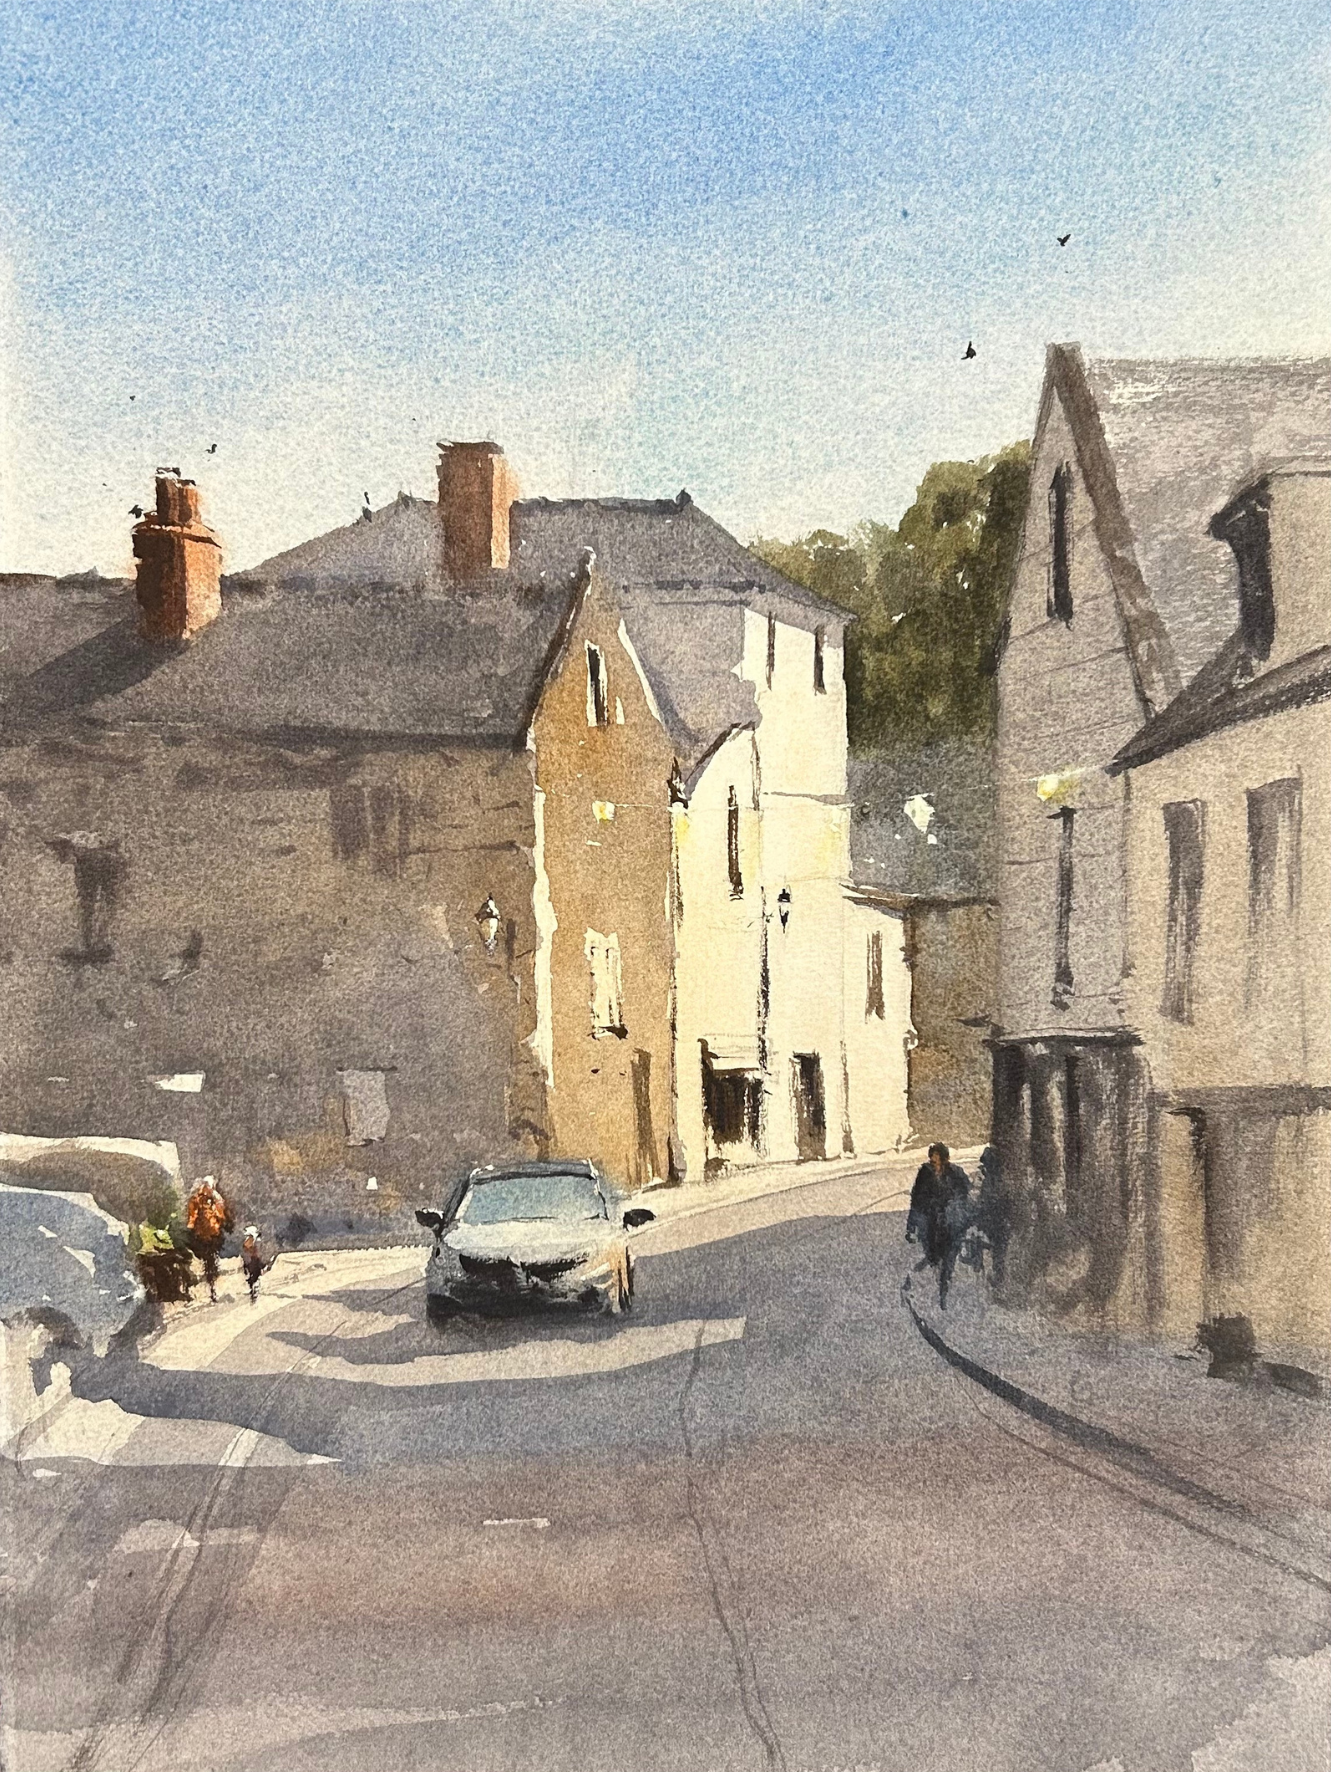
But in reality, it is the values that will carry the painting. It's the values that will help the light become evident and work within this scene. So by laying the lights, by laying the middle values on top of that, and then waiting to get into the darks and the details until the end, and then painting those on top of the middle values, that is what brings the whole thing together.
From Light to Dark - Embracing Layers
By understanding layering, you can reverse-engineer your painting and create a compelling scene with strong values and captivating light.
You have to think through your approach of layering the lights, the middle values, and the darks. That's how you can get that full range of values. So the best way to learn this is to keep coming back, over and over again.
So the next time you sit down and paint a scene, identify the light areas first and then squint at the middle values. Look at the middle value shape and think about, well, what is not in light exactly? Or where do I need more value over the top of the light values? And that's when you can start to see the connected middle value shape. And that's when you can create that layered approach that results in the final image.
Layering is how you can create a feeling of complexity in your work, a feeling of structure. It is how you develop a plan for painting a scene rather than just looking at it and trying to recreate it.
Related Blogs
How to Mix Pigments and Paint a Scene in Three Layers
