What to Expect at an In-Person Workshop - My Complete Watercolor Process
Jul 27, 2026Step-by-Step Watercolor Process
Today I'm giving you a sneak peek into how I kick off my in-person workshops, and I'm going to show you my complete watercolor process.
1. Take a Reference Photo (or Find One)
So here's a look at the reference photo for the scene I'm focusing on today.
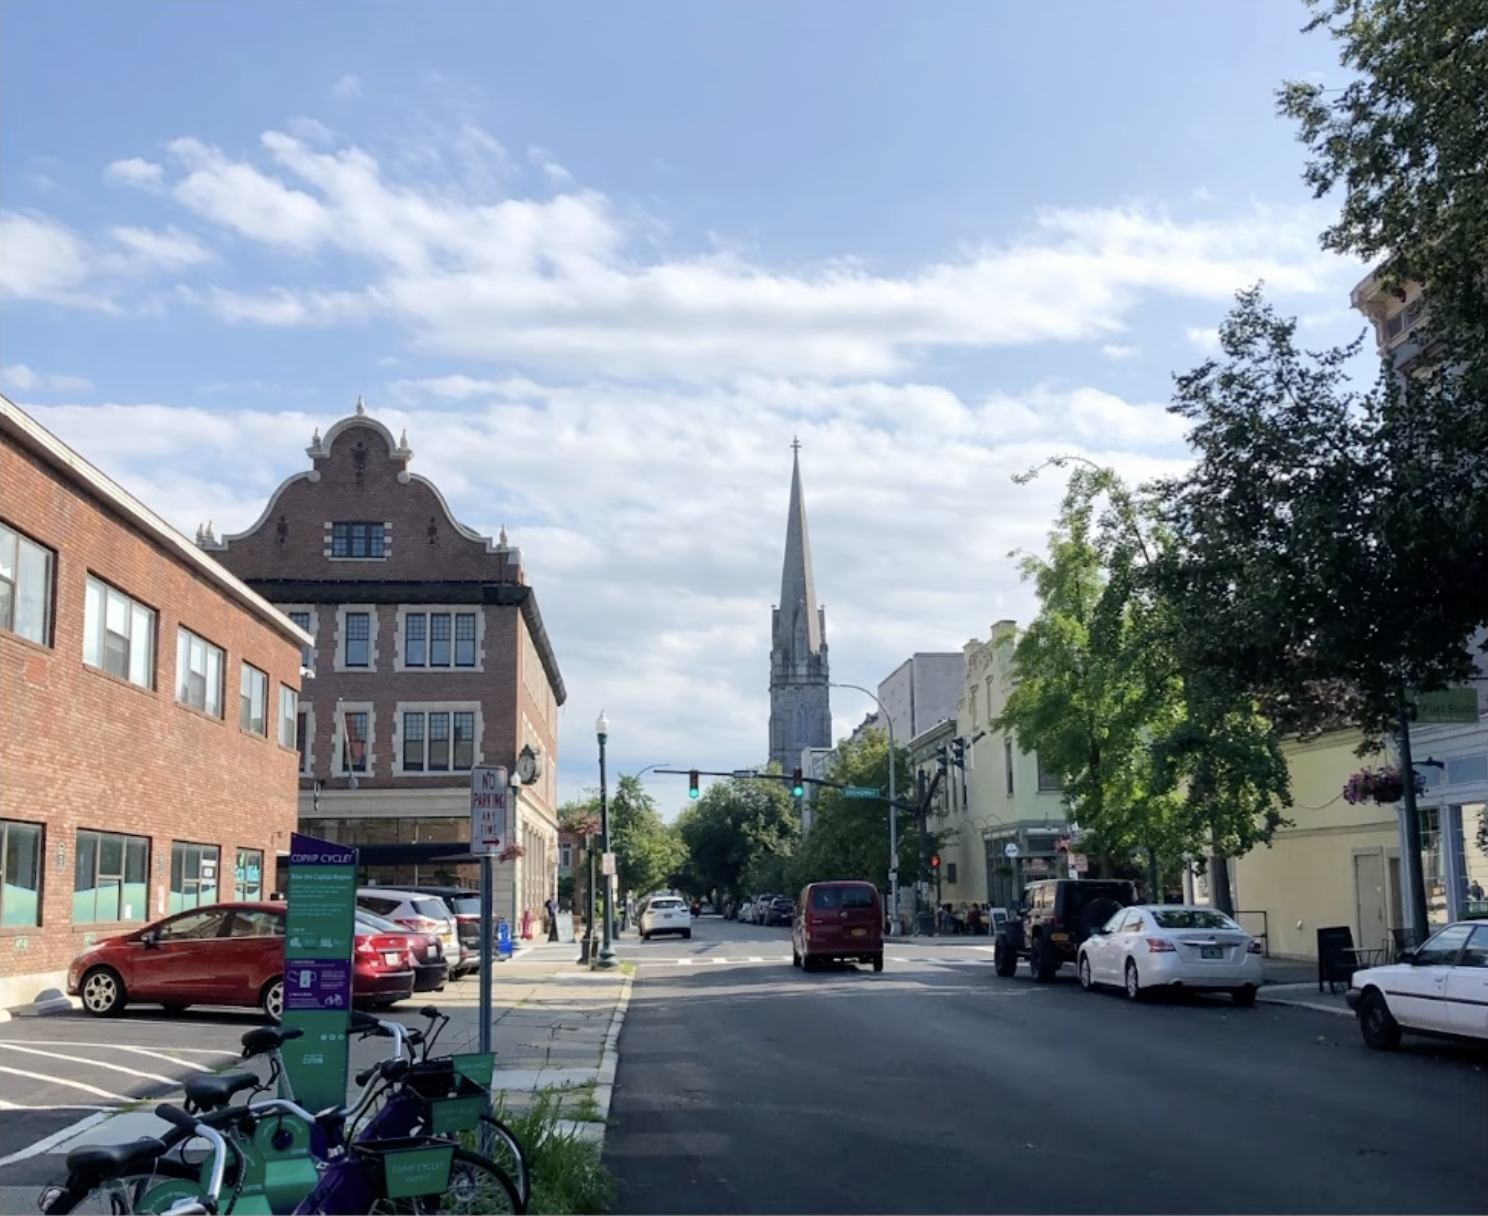
This was in Troy, New York, where my brother lives, and I liked the shapes of the building and I liked the light effect, so that's why I took the picture. After you snap a picture, think about what it is about the scene that is appealing to you and keep this at the forefront of your mind as you go through the rest of the process.
2. Crop Your Photo
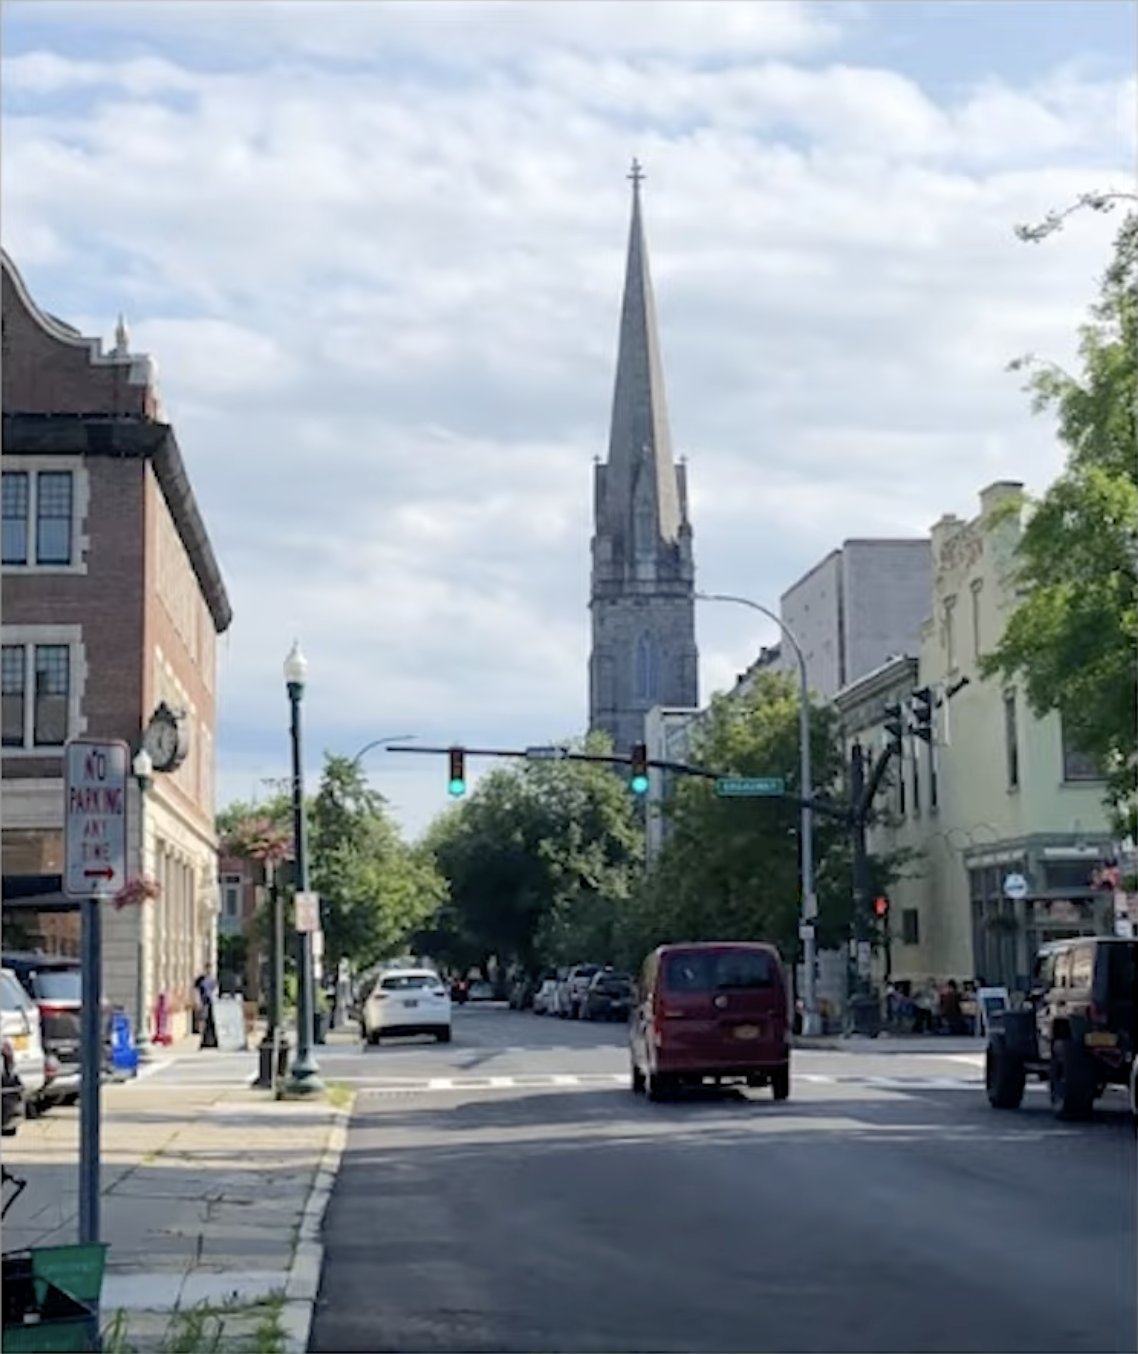
We're not often going to take a reference photo where everything is exactly where it needs to be, that is composed in exactly the right way. So before you're ever drawing, you need to look at your photograph and ask yourself if there is a way that you can crop it to make a more compelling painting.
You can save yourself a headache if you can zoom in and crop into an area of the scene that's compelling and, in the process, you'll get rid of a lot of stuff that you don't want to paint. So in this scene, I'm going to crop in and feature this prominent building, carefully selecting my composition.
3. Draw the Scene
Next, I need to lay out the drawing. So even though you have a photo that's been cropped and you've selected a good subject, you need to now start thinking as a creator. What I mean by this is to feel free to move things around in the scene and to take things out that don't serve you, that don't add to the painting.
I also like to think about the rule of thirds when I draw the scene. The rule of thirds is where you divide two vertical lines and two horizontal lines evenly throughout your scene. And those thirds are generally where we want a lot of the action to be.
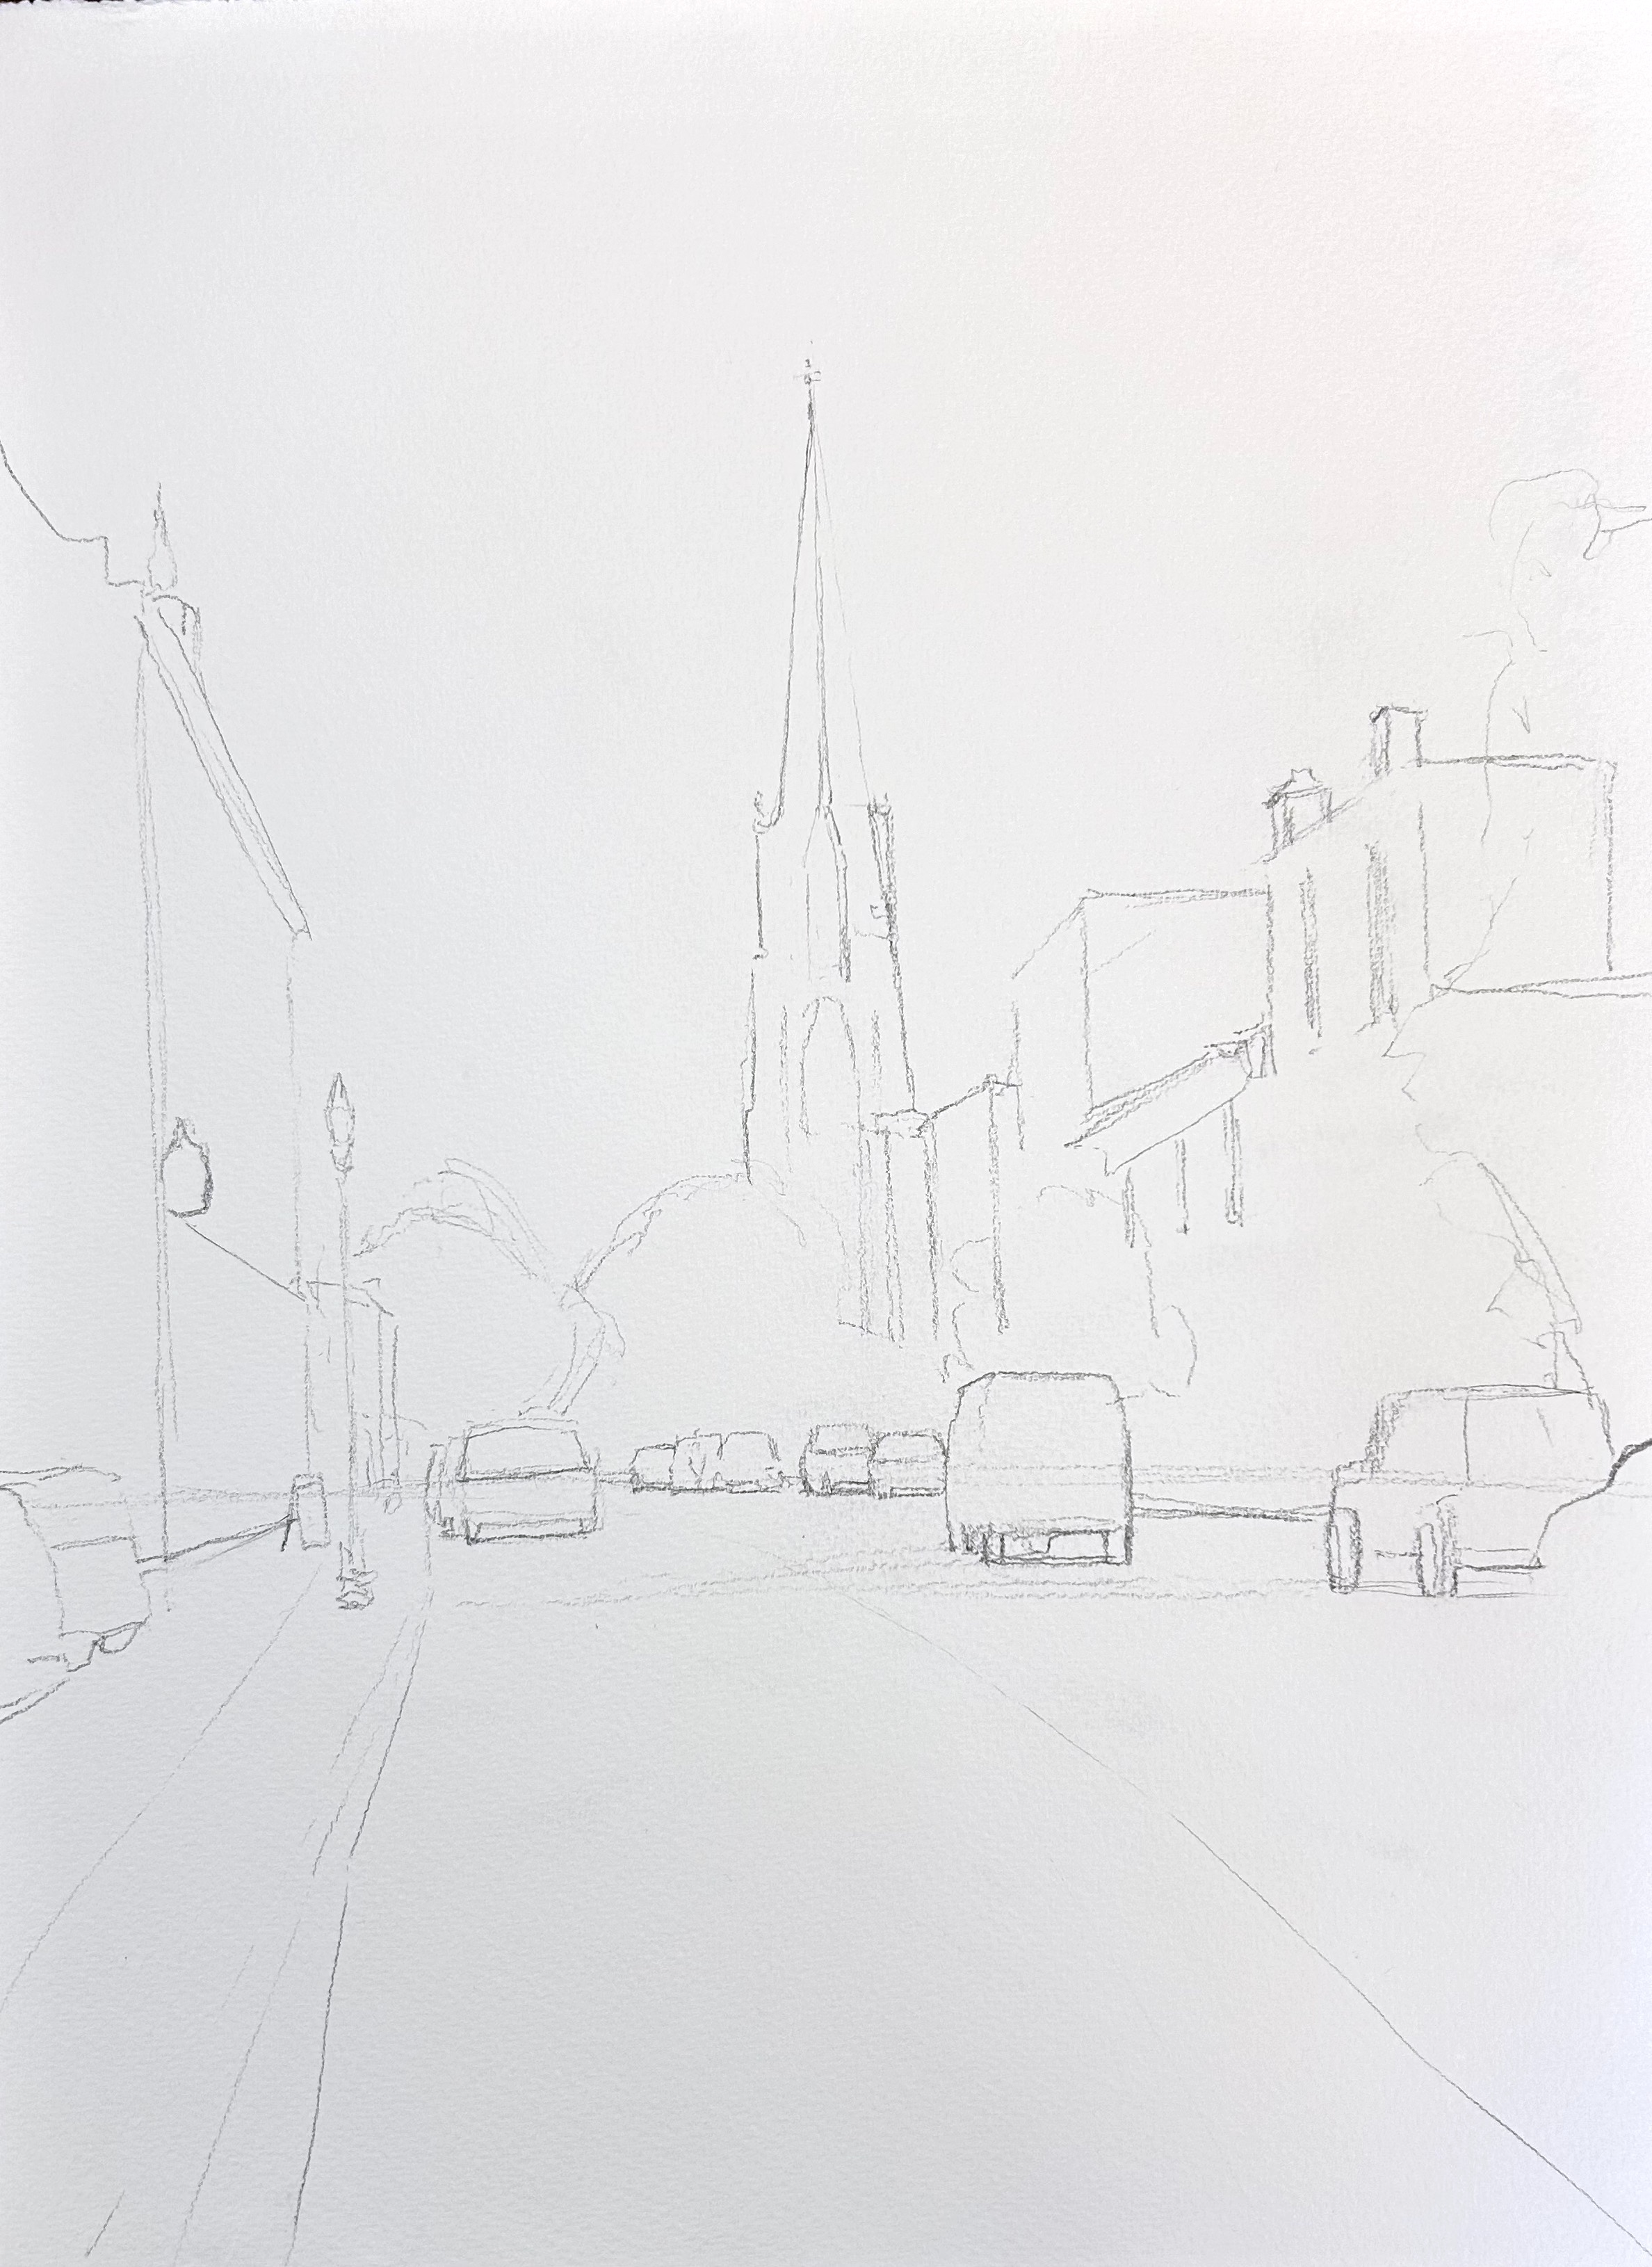
And there I've laid out my drawing.
4. Paint the Light Values of Your Scene
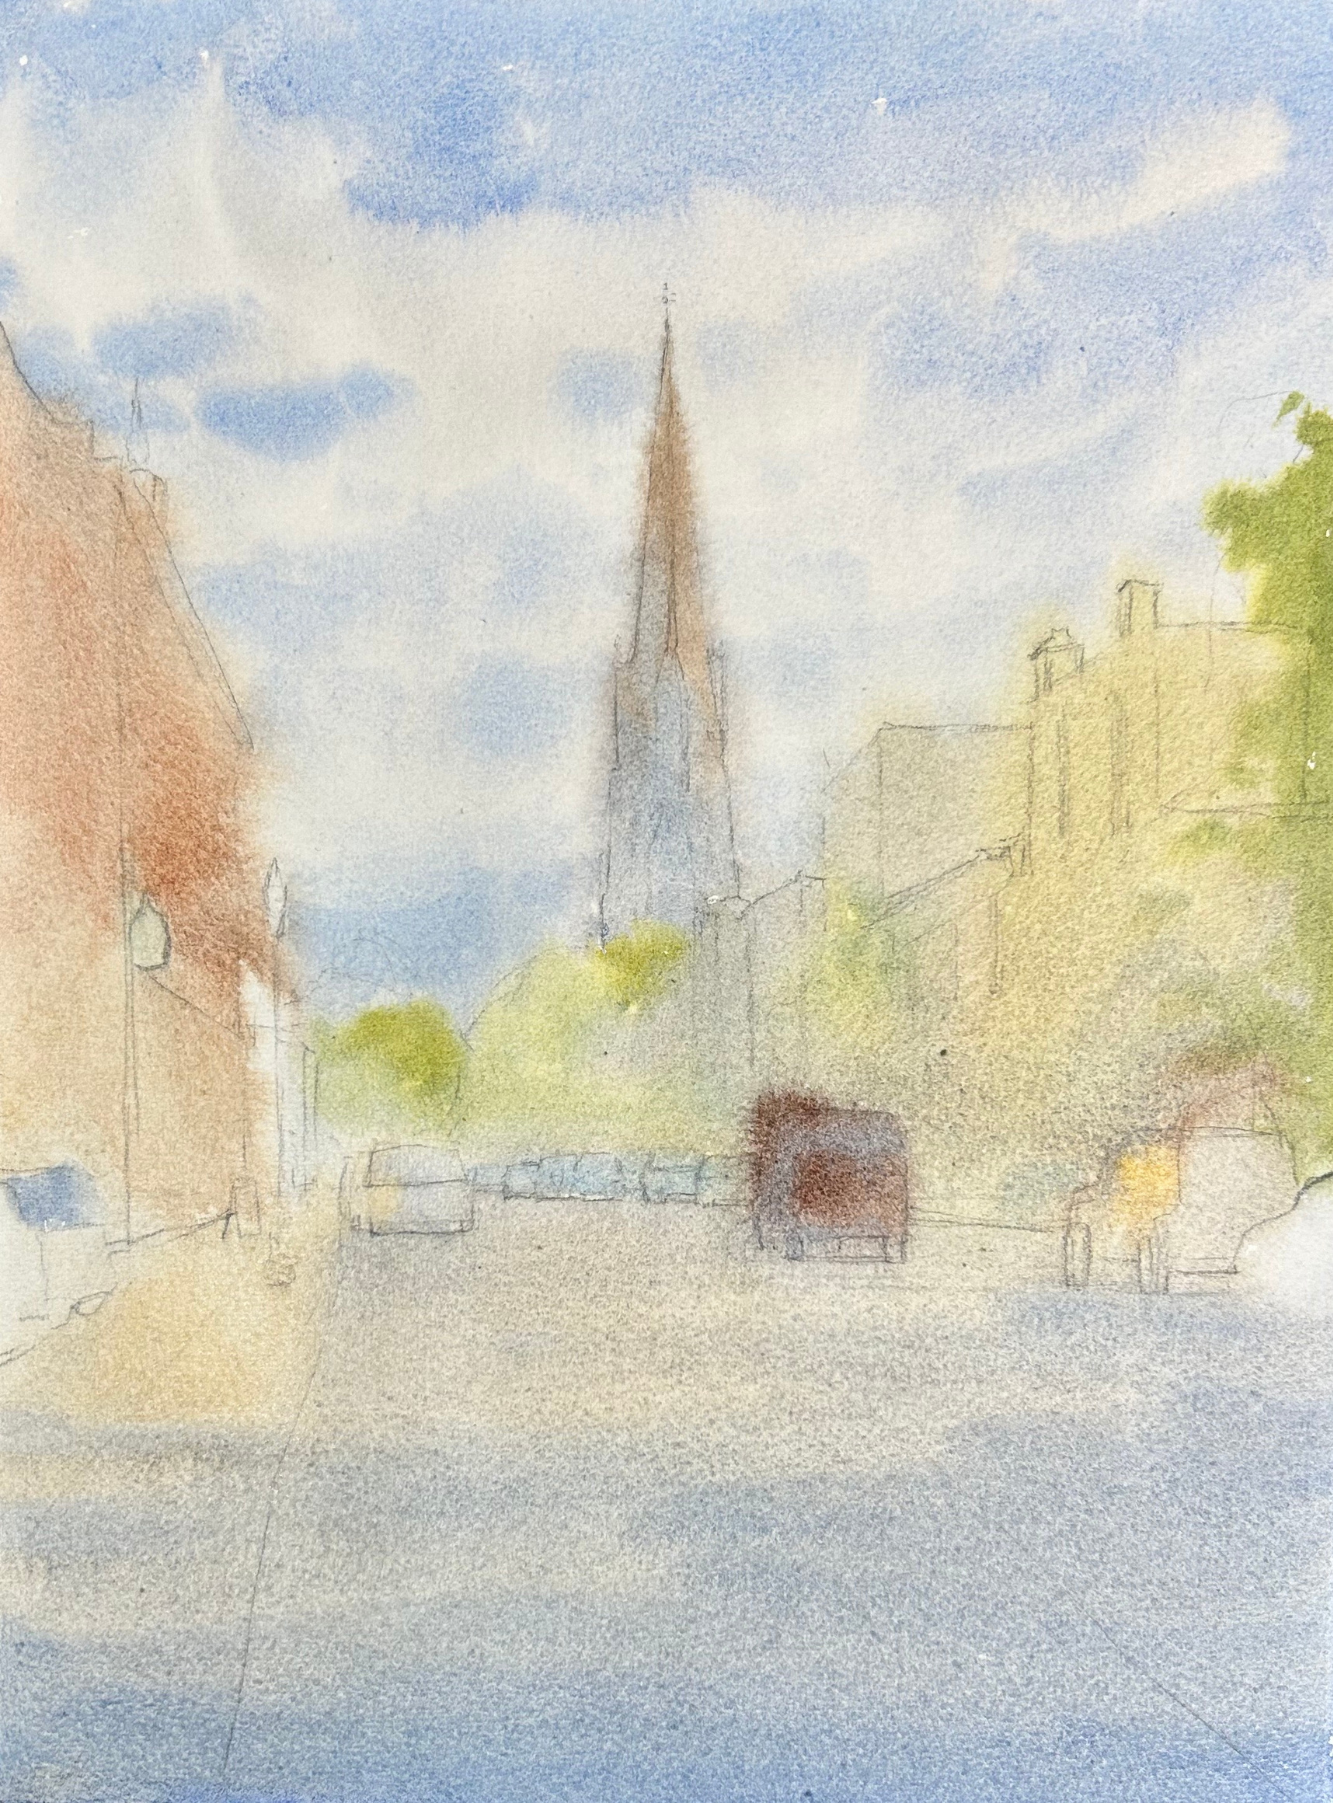
Next, I'm looking at my scene and thinking about everything that is in light. I'm taking away the white of the paper, toning everything how it needs to be.
Practically how I paint this is I dampen the front and the back of the paper.
And I generally start at the lightest area of the painting. Often that is the sky. So I'm painting in the sky, the light side of the tower - this spire that's going to be in light.
I know that I'm going to have a shadow down in the foreground, but there might be parts I want to paint around. So I'm thinking about that color as well as I methodically work my way around the scene, painting everything that is in light into this nice wet into wet wash.
At this stage, the paper is damp, colors are kind of flowing into each other, and I'm okay with that.
5. Work on the Middle Value Shape
Next up, we are into the middle values.
Now, this is where it pays to do a value study and look at your reference photo in black and white. When you do these things, you can see those values more clearly.
It's also really important in this step to mix strong middle values.
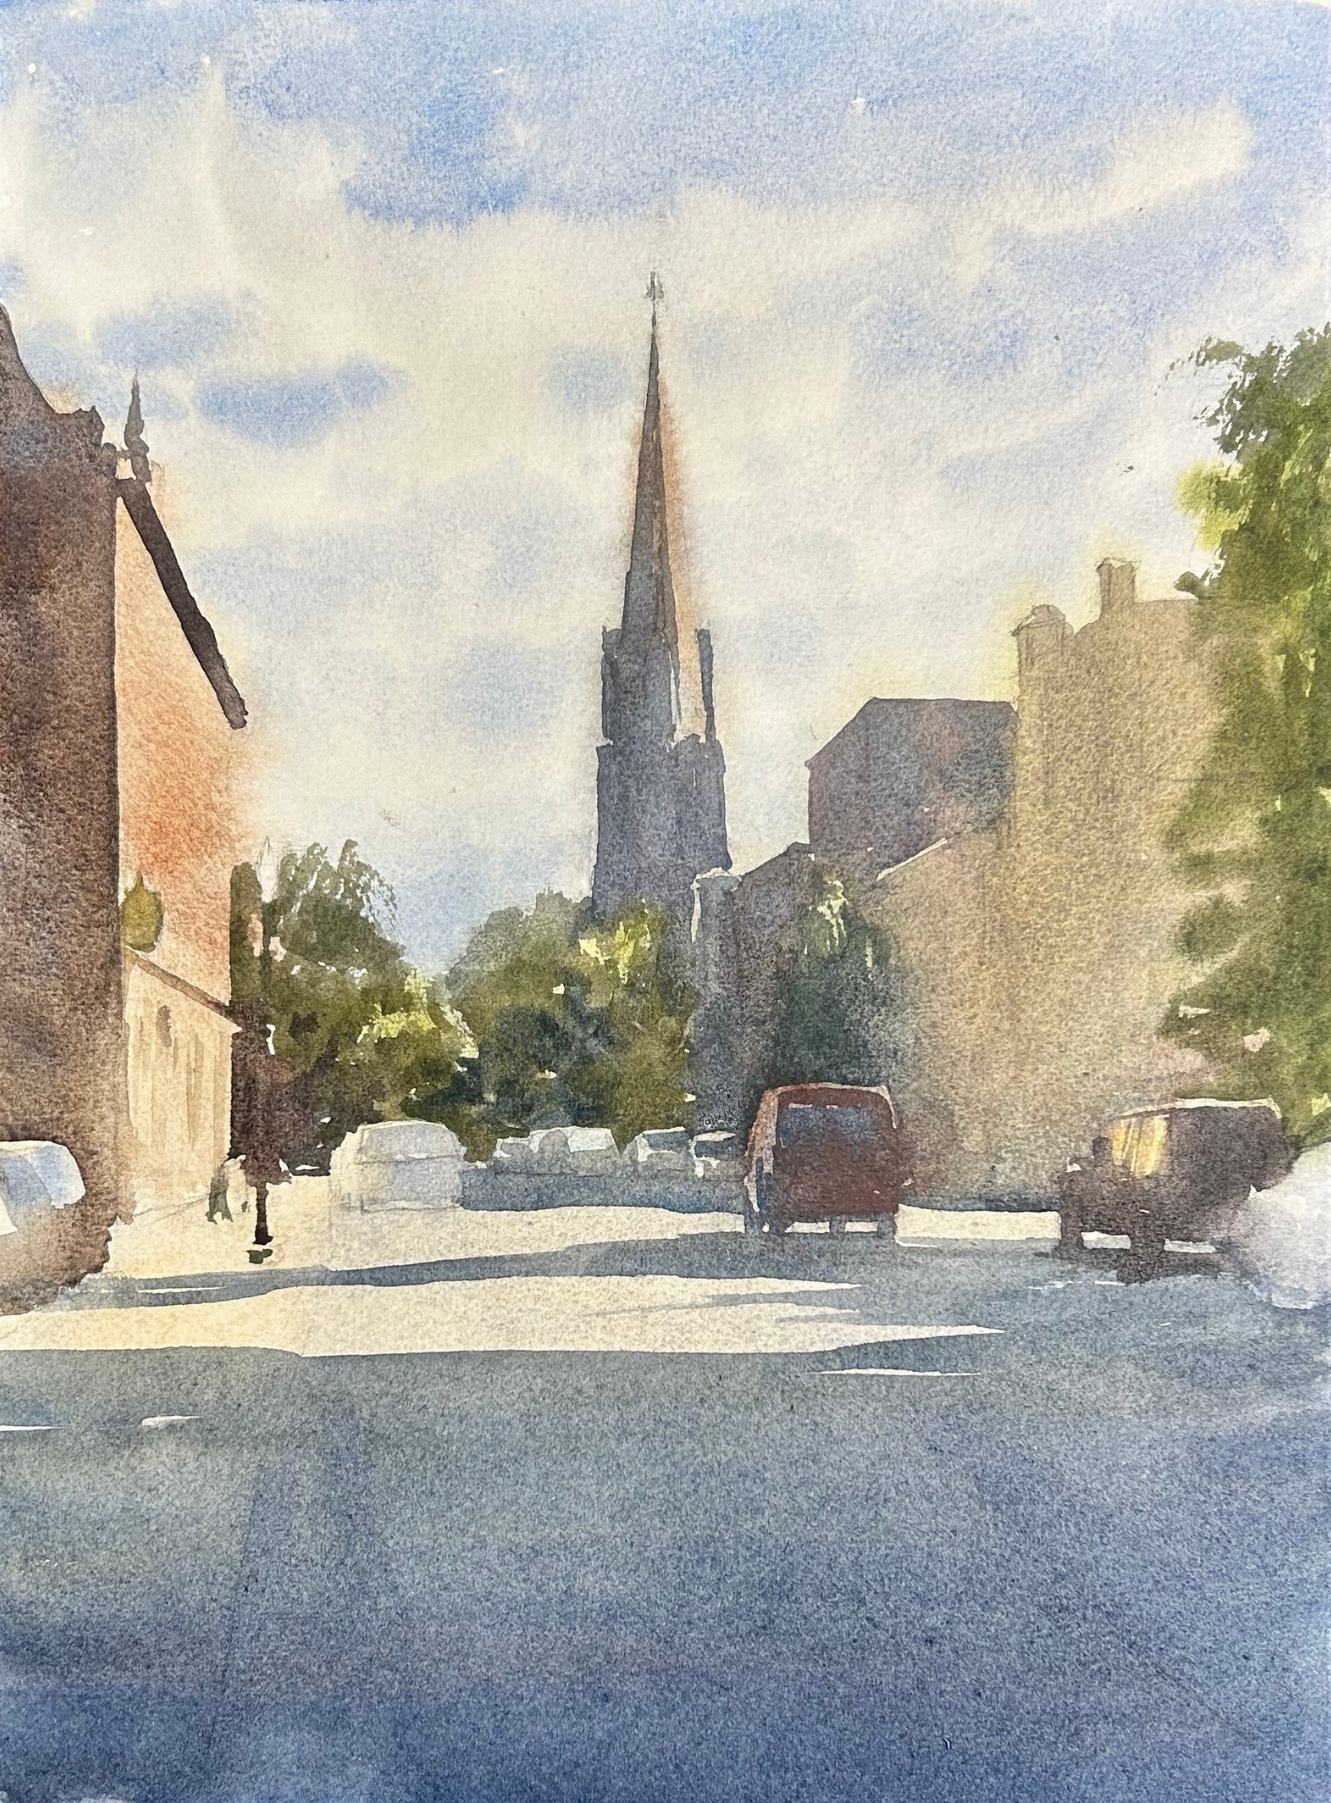
My second tip for the middle value step is to look for connections where you can find them.
For an in-depth look at this stage, check out my blog and video on the middle value wash.
6. Add the Darks and Details
So when we get into this phase, one thing I often tell students is start at your primary area of interest.
When I started the details here, I went right to the vehicle in the bottom right third of the scene and started on those darks and details first.
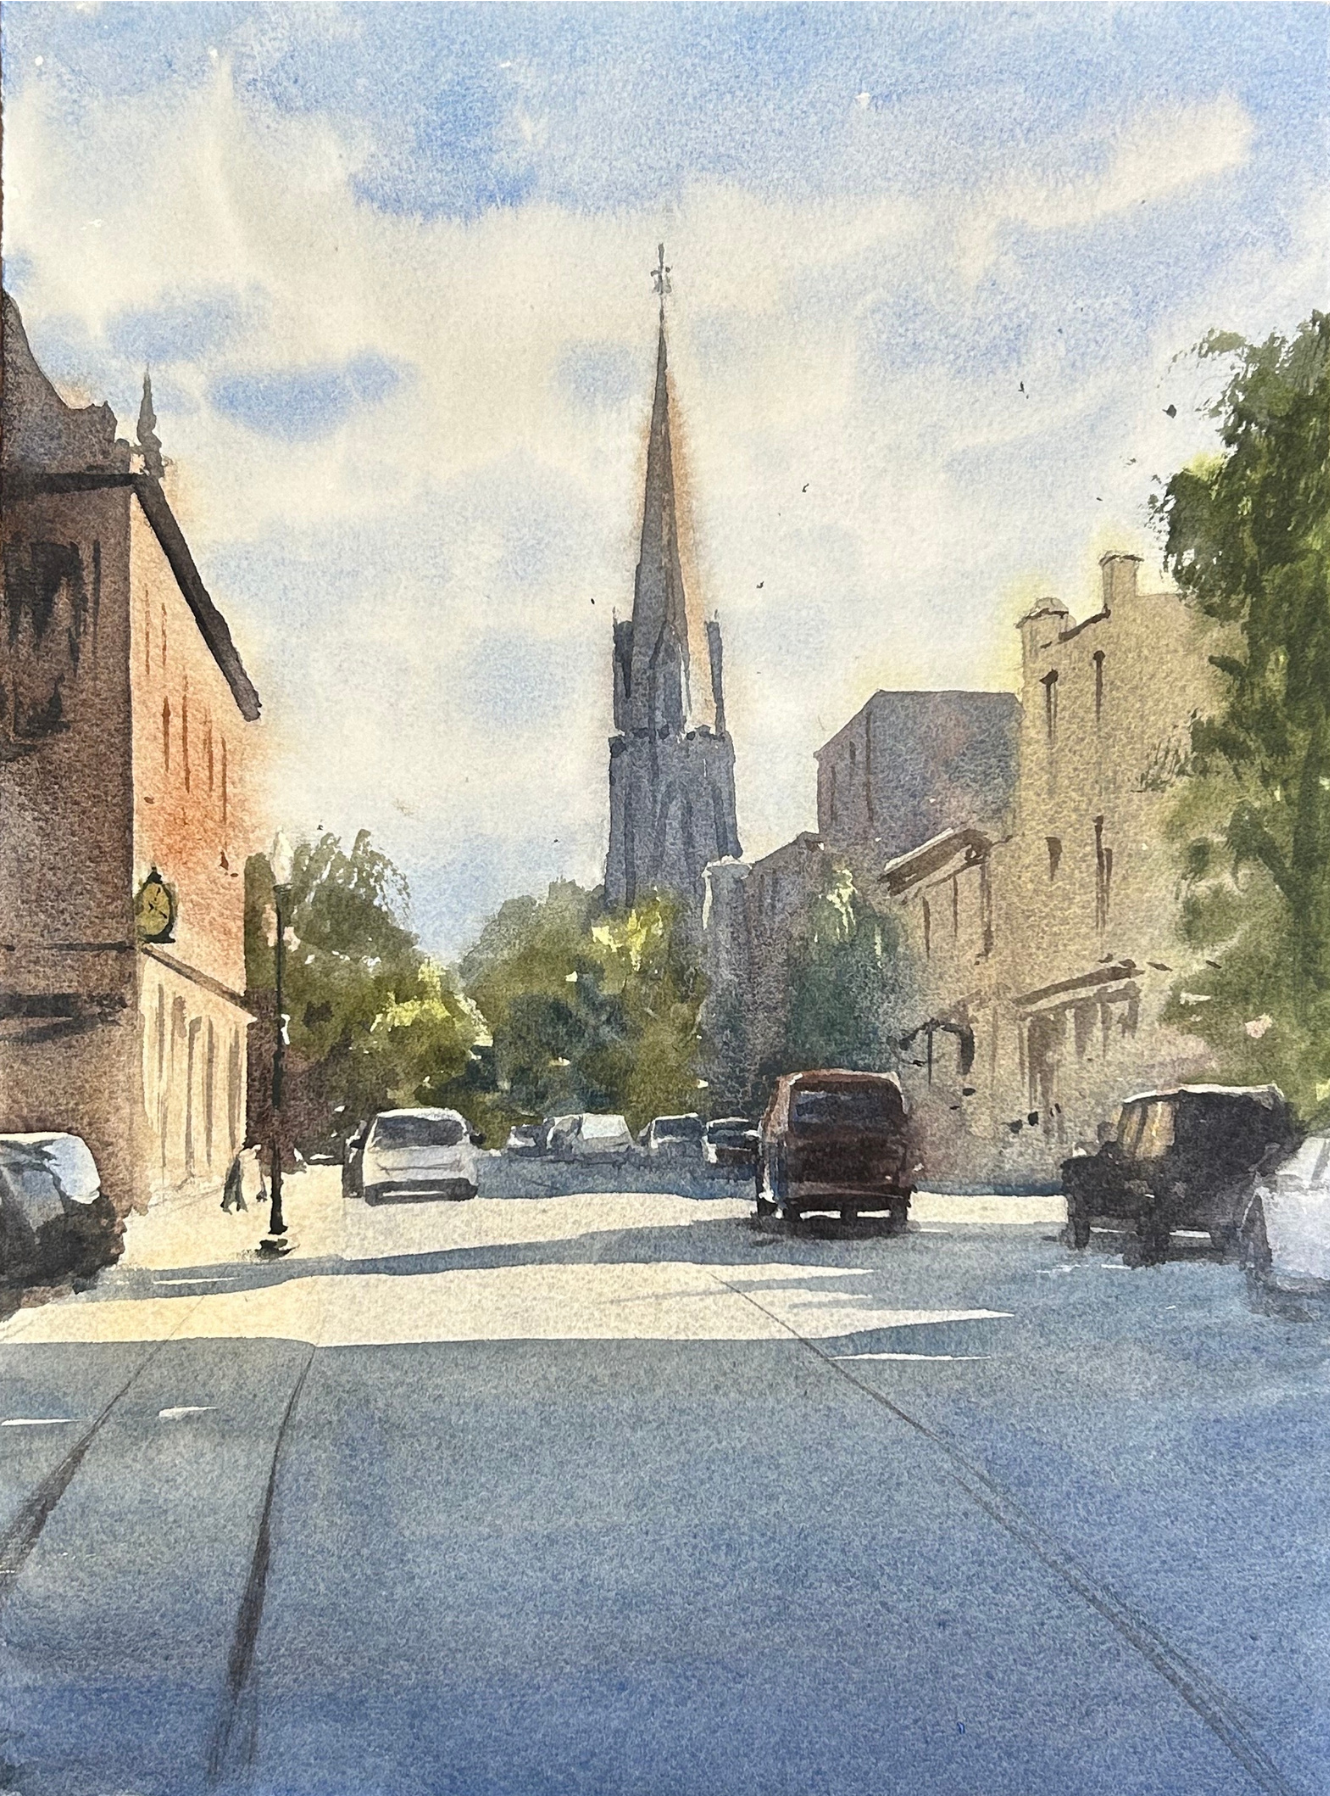
Get that area how you want it to look and that will dictate the amount of detail you need through the rest of your scene.
Keep that main area important. Keep the most contrast in our main area of interest so the viewer's eye goes instinctively to that section.
I often tell students to get about 80 or 90 percent done and then give themselves a break. It can be hard to stop when you're on a roll, but trust me. I've painted enough scenes where I've added in something at the very end that I didn't like and there's no way to fix it.
And so after you've done all the planning and all the drawing and the painting up to this point, you want to proceed to the ending with caution. Take your time when you're finishing your painting.
Related Blogs
How to Use Layers to Paint a Spectacular Watercolor
Watercolor Painting Light to Dark
Recipe For Success in Watercolor