Tutorial - How To Paint A Rainy Street
Oct 27, 2025The same corner of the same street can look different from day to day. Daytime, nighttime, dawn, dusk, rain and snow can change the whole mood of a street corner or landmark. So I often revisit different locales that inspire me; I photograph them in different seasons and times of the day.
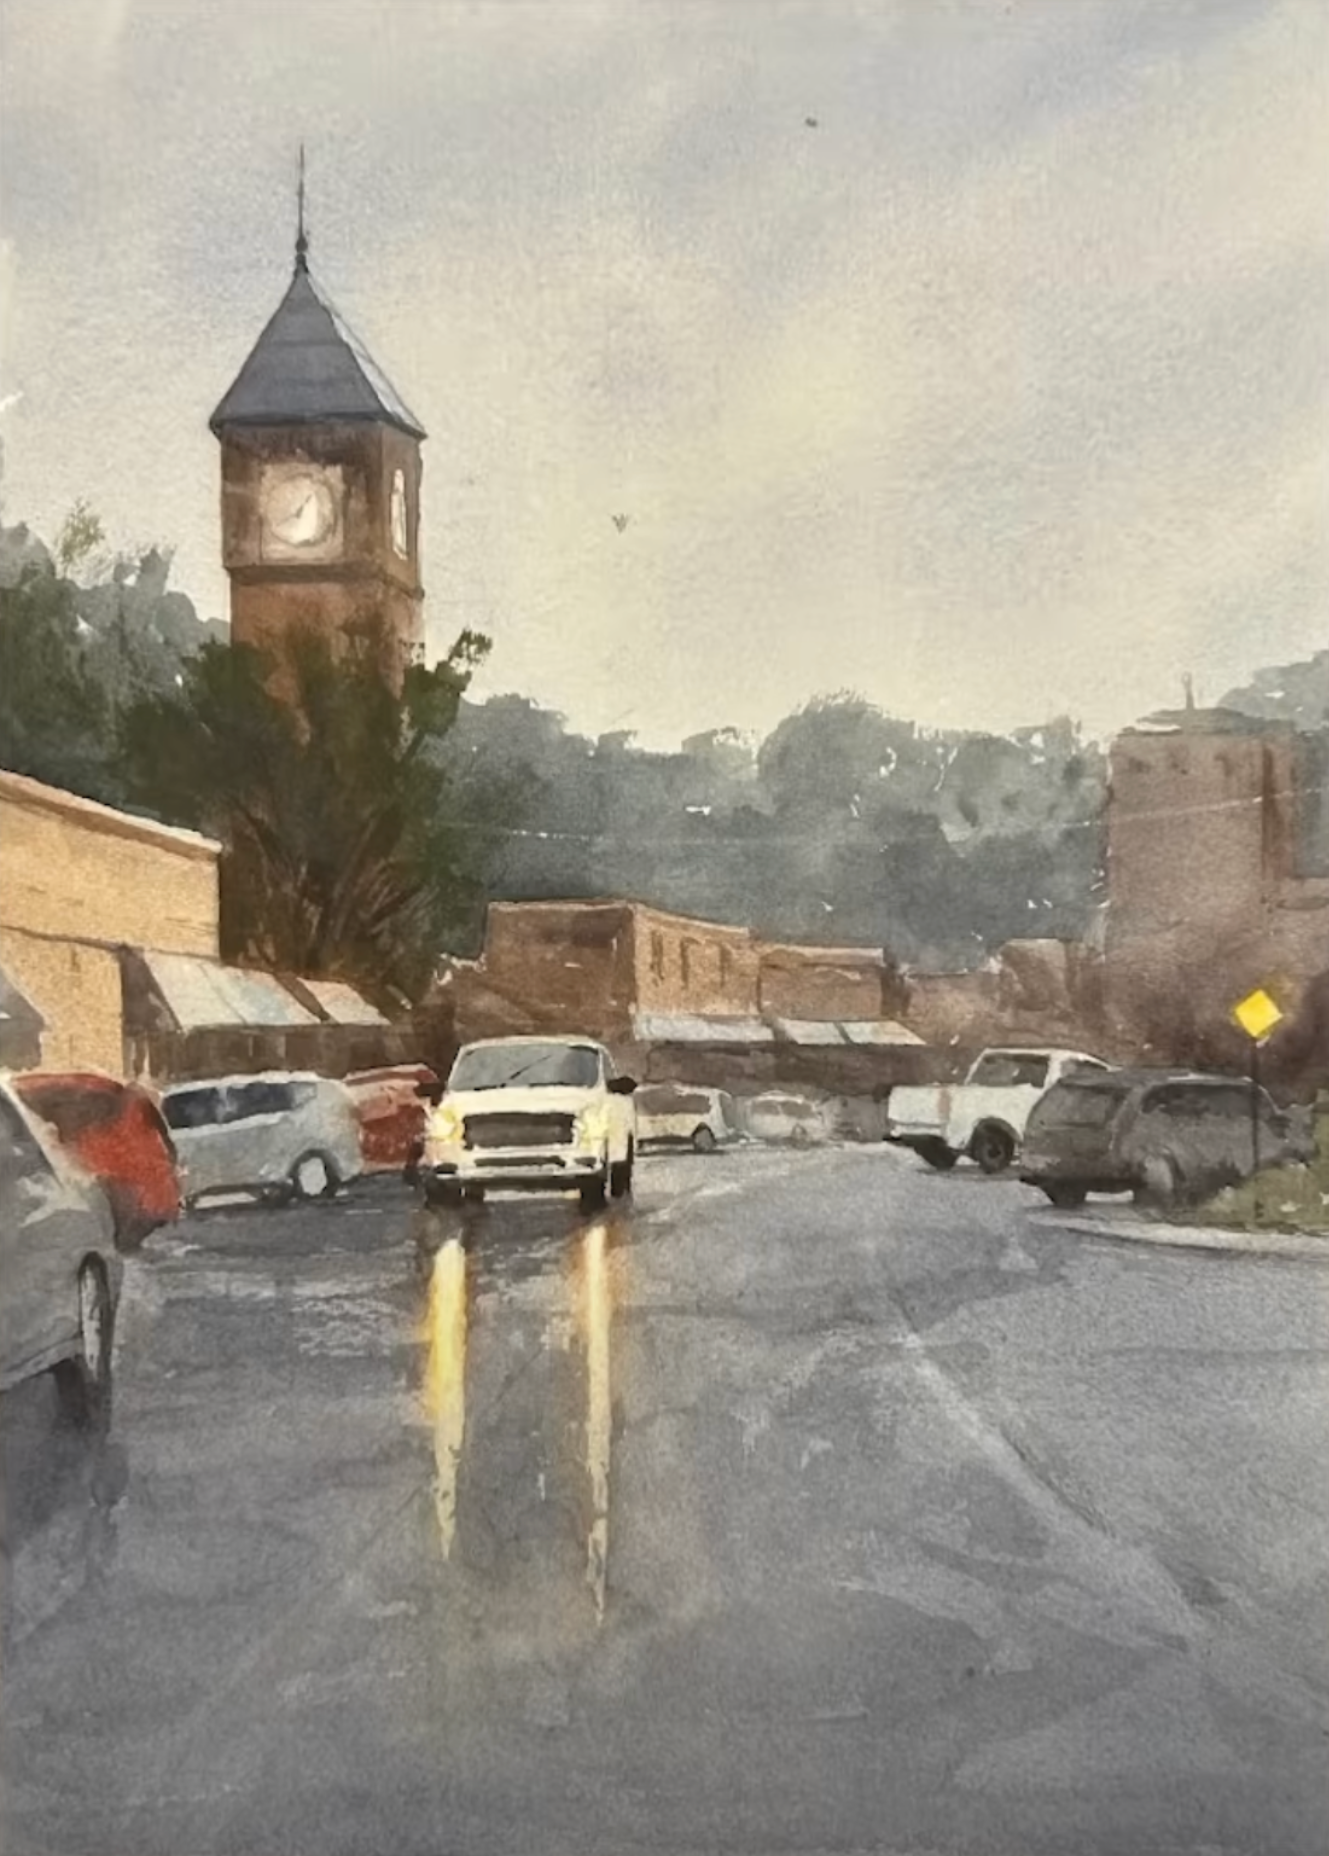
This charming spot with the curvy road, clock tower, and store awnings is one that inspires me often. In this particular picture, I wanted to capture the reflections of this truck's headlights in the rain.
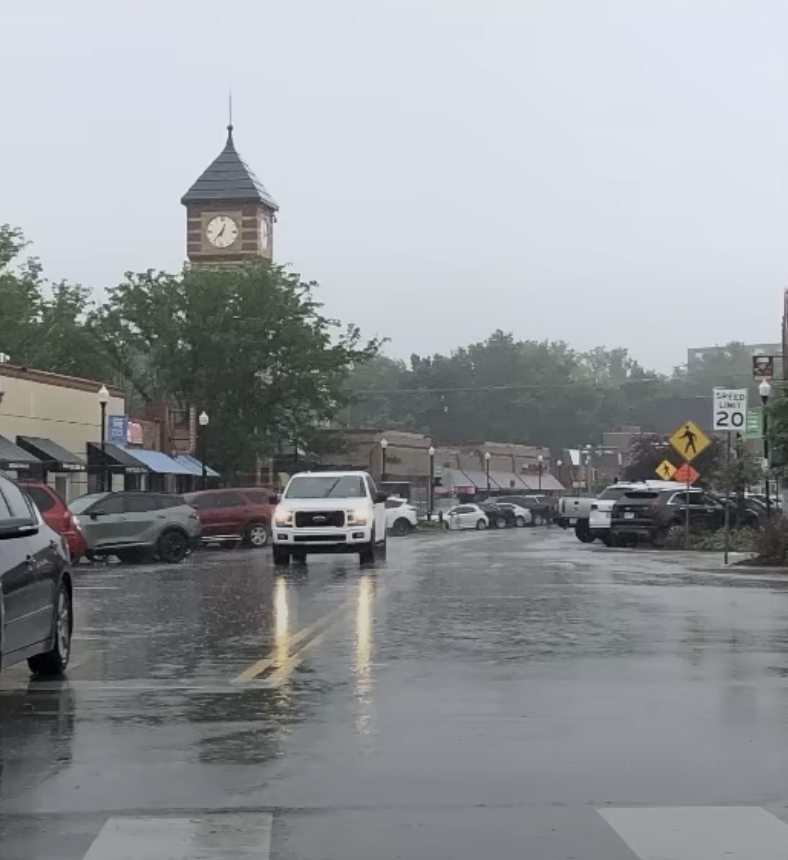
3 Washes to Paint A Rainy Street With Watercolor
Rainy days have a way of relaxing me. Even our midwestern storms, while they can come with violent winds and intense thunder, can be refreshing.
Capturing the subdued mood of a cloudy, rainy day is a fun challenge in watercolor.
Let me show you how I created this scene!
What Supplies Do You Need to Paint This Rainy Scene?
I am painting on Saunders Waterford Cold Press 140lb paper, and I have my surface tilted to 35 degrees.
I use a variety of brands of brushes, but I mainly stick to a large mop, medium round and smaller synthetic brush with a point.
Here are the list of pigments on my palette:
- Burnt Sienna
- Cadmium Red
- Cadmium Yellow Medium
- Cerulean Blue
- Cobalt Blue Cobalt
- Teal Blue
- Cobalt Turquoise
- Lavender
- Neutral Tint
- Payne's Gray
- Quinacridone Gold
- Raw Sienna
- Raw Sienna Light
- Raw Umber
- Rose Madder Permanent
- Ultramarine Blue
If you would like to purchase some of the brushes I feature in this video you can take a look at my Amazon Affiliate link: https://www.amazon.com/shop/m.white.art
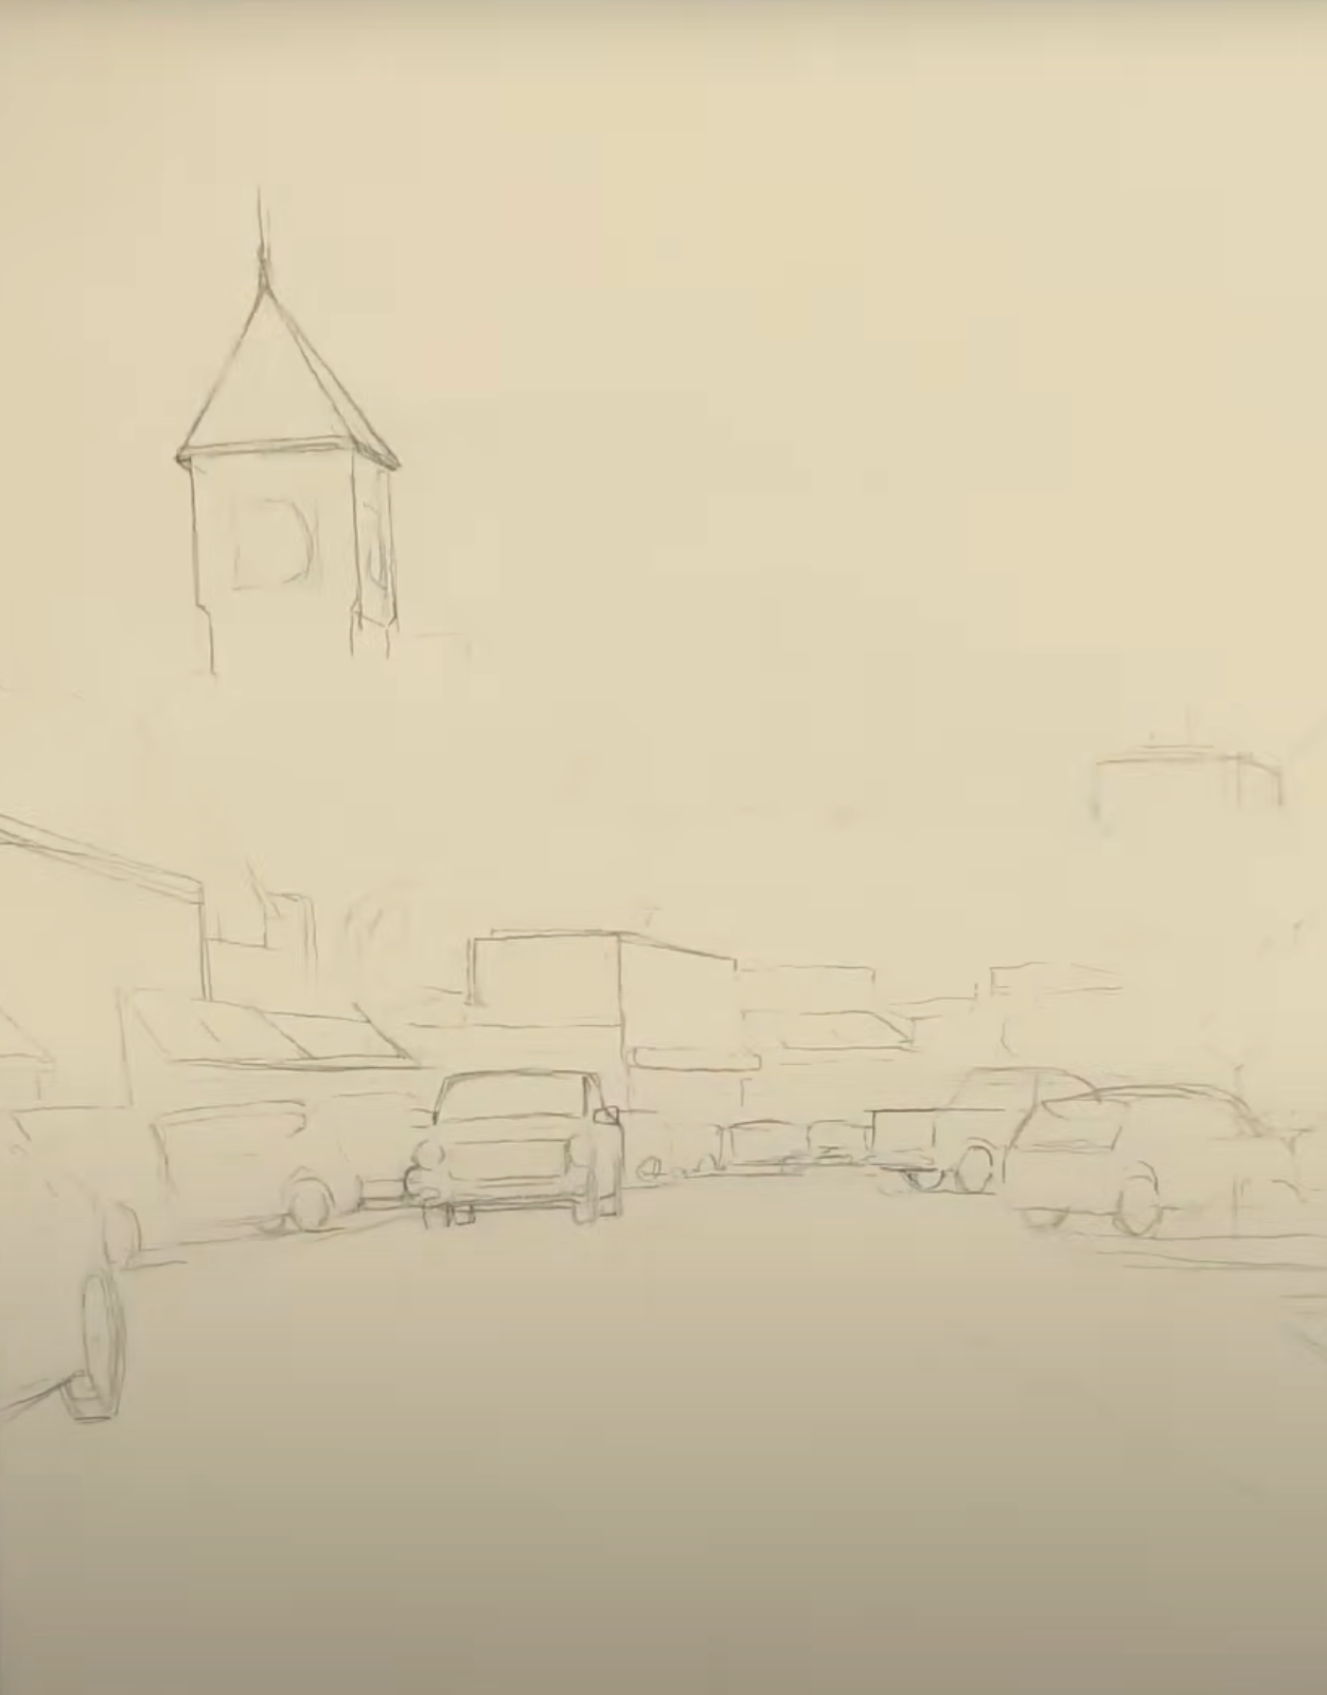
Rainy Street Drawing
First things first, I draw my scene and dampen the front and back of my paper with water. This always blurs. my pencil lines a little bit, but they're just there to guide me, and will not show up on the final painting.
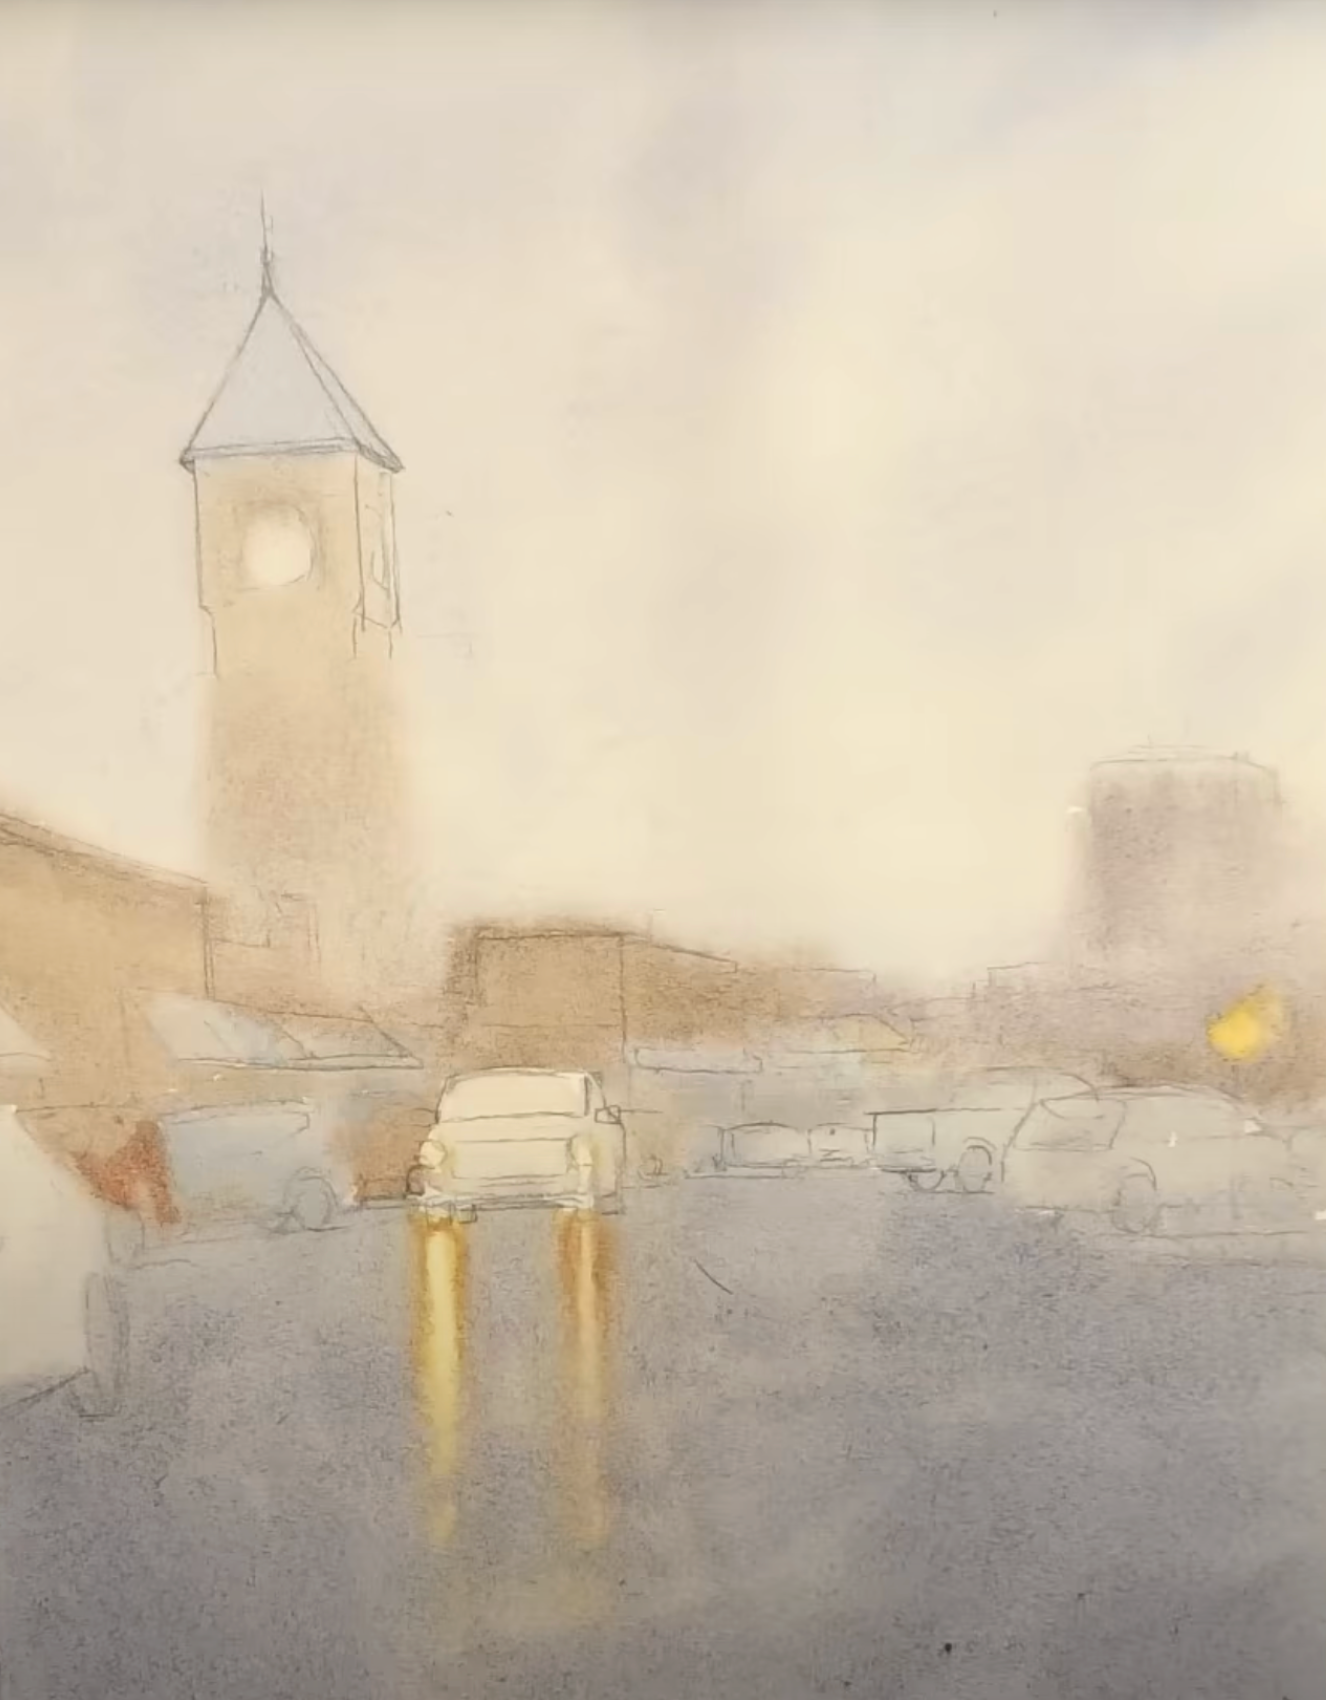
Rainy Street - First Wash
The first wash is all about the lightest values.
If there are areas where you want to preserve the white of the paper, paint around them. Sometimes it's difficult to preserve the light you want, especially when the areas are small. Remember that you can also lift off paint on your wet surface. I had to do this to get the white in the headlight reflections that I wanted. I also lifted off some paint from the street to create directional lines later.
It's difficult - and sometimes impossible - to lighten things up once you've laid darker values down. This first layer is your chance to lay down these light values and achieve the full range of values that is so essential to a dynamic watercolor painting.
Rainy Street - Second Wash
The second wash is the one I get the most questions about. The goal of creating a connected shape can take a while for students to understand.
We're adding middle value hues at this step, and working to connect them to one another throughout the scene. I usually paint from left to right, finding ways for these middle values to connect.
Compare this wash to the first wash and notice what I've added. Can you follow the middle value hues throughout the painting and see how I've connected them?
This connection goes a long way in creating a unified painting. It changes it from a painting with several separate subjects to a cohesive scene where the subjects are in relationship with one another.
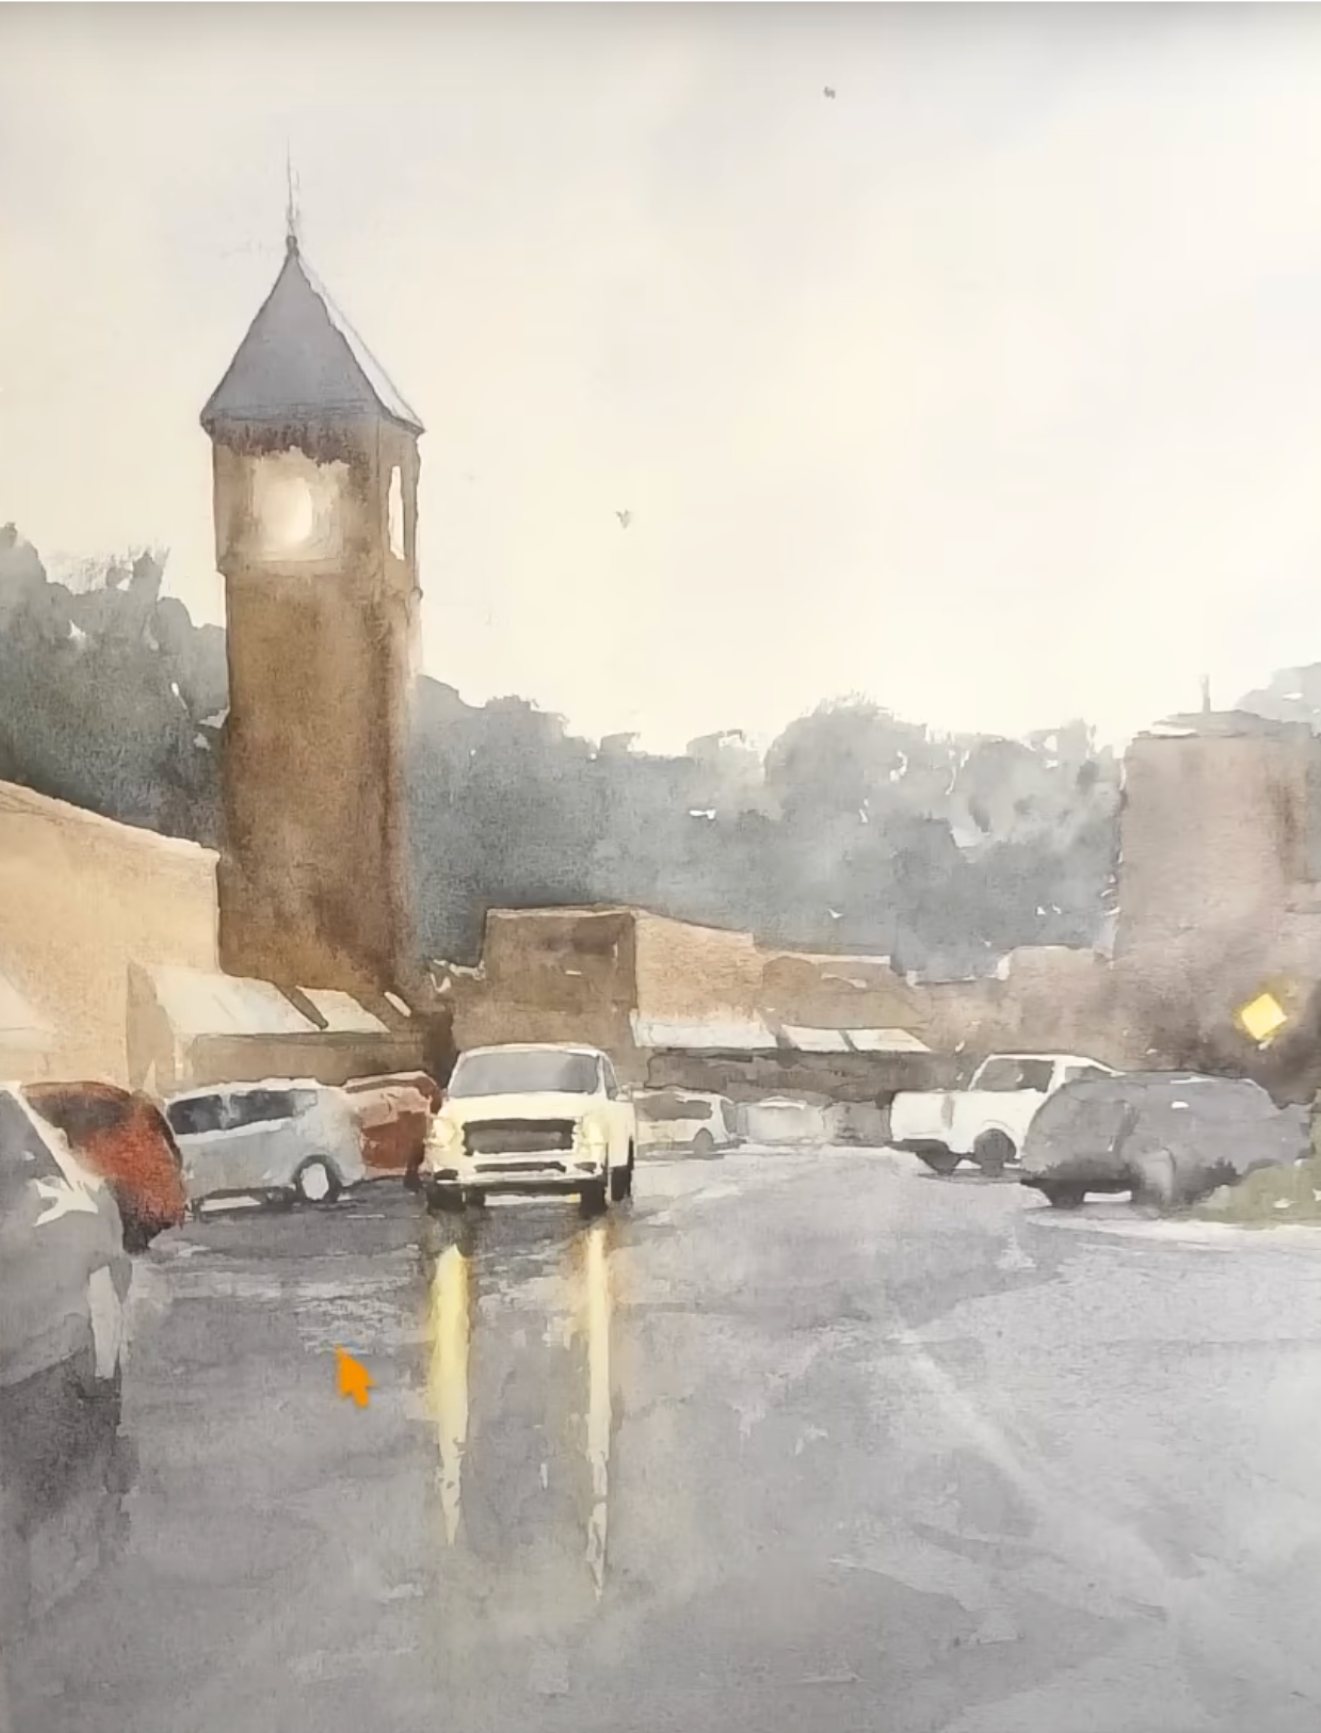
Rainy Street - Third Wash
The third and final wash is for adding your darkest values and the details.
The approach to the third wash is completely different from the second wash; you are focusing on separation between subjects in your scene and defining the objects and spaces in your painting.
When you add the darkest values to your watercolor, you can see the importance of all the other values leading up to this wash. The contrast pops, and all the hard work pays off.
The Goal of Each Watercolor Wash
First Wash = Light and Loose
Second Wash = Middle Values Connect
Third Wash = Darks and Details
As you go through the washes of a watercolor painting, think about each of these mantras. And if you'd like, start with this scene. You can follow along with the video, where I give you additional tips and let you know how I mixed different colors for the scene.
Related Blogs
Layers that will Give You Better Results
All You Need to Know About Layers in Painting Watercolor
Simple Steps To Paint A Watercolor Sky Scene
